
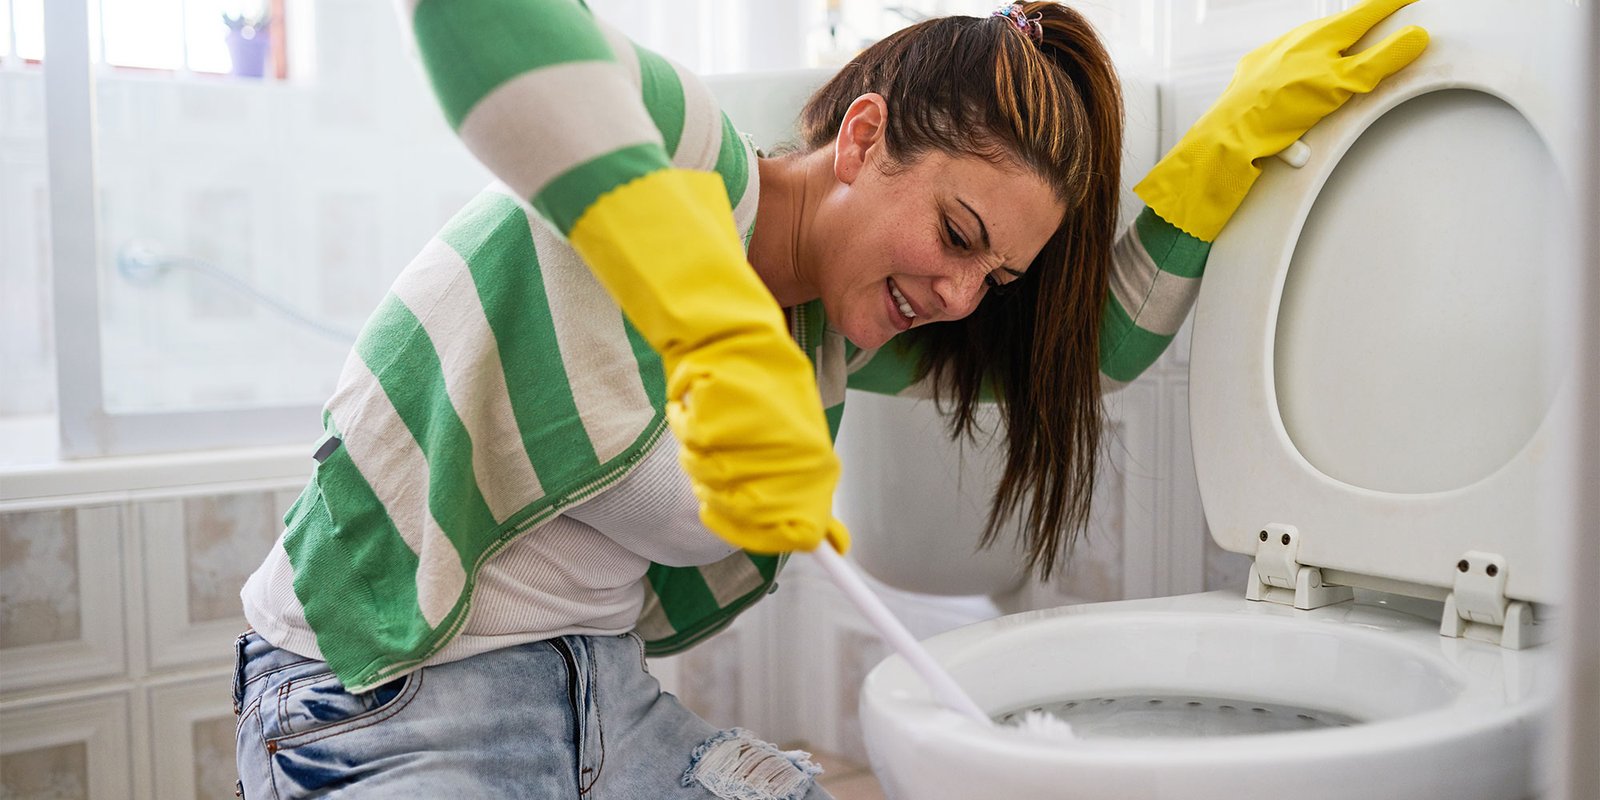
You walked into your bathroom, took one look at the toilet, and groaned. There it is — that stubborn, blueish-green ring staining the porcelain like some kind of algae bloom from a haunted lake. You’ve scrubbed it. You’ve thrown more bleach at it than a public swimming pool. And it’s still there, mocking you.
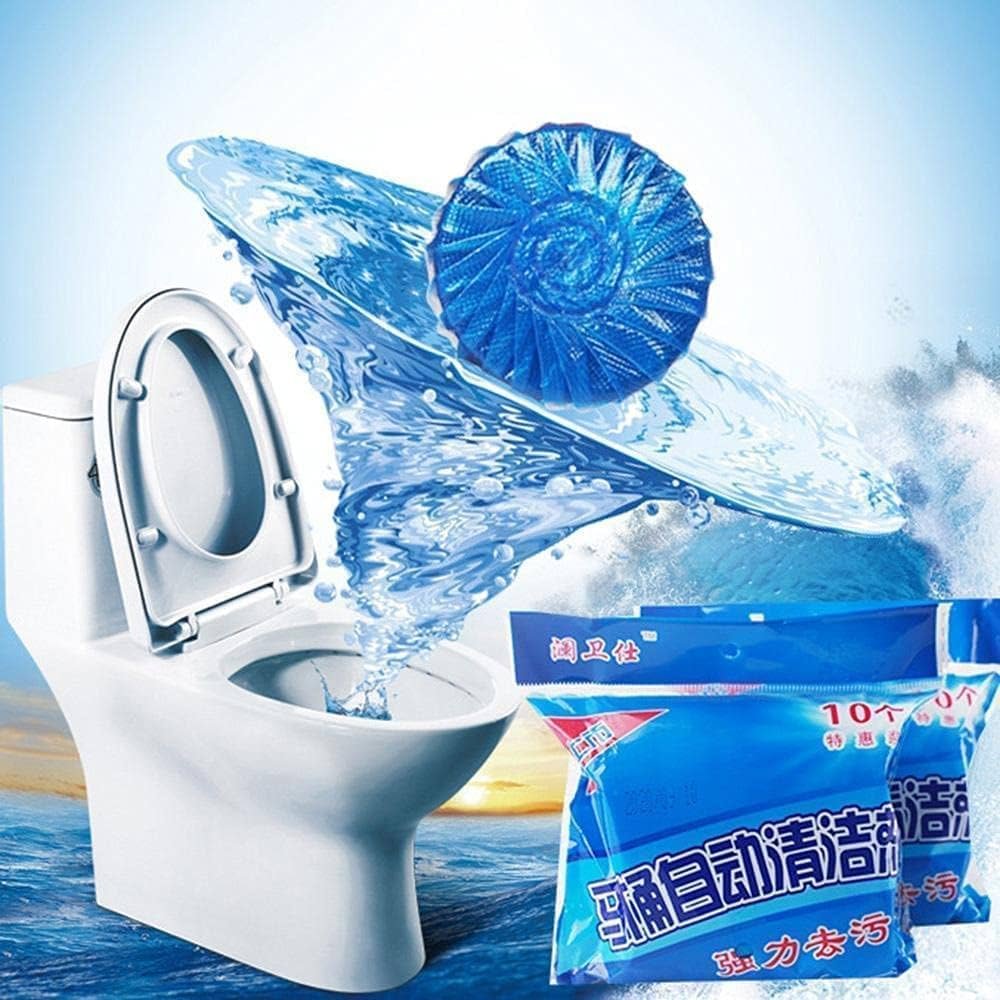
I’ve been there. Actually, I caused one of the worst cases I’ve ever seen. Years ago I dropped an in-tank blue cleaner tablet into a toilet before leaving for a two-week vacation. When I came back, the bowl looked like something from a Smurf crime scene — and the stain had bonded to the porcelain so hard that I half-expected it to have property rights by then. That experience taught me everything I’m about to share with you.
Blue toilet bowl cleaner stains are one of the most surprisingly stubborn bathroom cleaning problems out there. They look innocent enough on the packaging — a little blue tablet, a fun blue swirl — but the dye in those products can permanently (or near-permanently) discolor porcelain, plastic toilet seats, grout, and even floor tile if you’re not careful. Let’s fix it.
Why Blue Toilet Bowl Cleaner Stains Are So Hard to Remove
Before we start scrubbing, you need to understand what you’re actually up against. Blue toilet bowl cleaners — the tablet kind, the gel kind, the under-rim kind — get their color from synthetic dyes, usually a combination of copper-based compounds and blue colorants. These dyes are designed to cling to surfaces so the color “indicator” stays visible. That’s great for marketing. It’s terrible for your porcelain.
When the dye sits in contact with a porous surface like unglazed porcelain, old ceramic, or grout, it can seep below the surface layer. That’s why the first thing most people try — a toilet brush and some dish soap — does absolutely nothing. You’re cleaning the surface, but the stain is living slightly underneath it.
The second reason these stains are stubborn is chemical. Many blue bowl cleaners are alkaline. When you try to clean them with another alkaline product (like baking soda alone or most all-purpose bathroom sprays), you’re not creating the chemical reaction you need to break the dye bond. You need acid. Specifically, you need the right kind of acid at the right concentration — which I’ll get into below.
The good news? These stains are almost never truly permanent on glazed porcelain. I’ve removed stains that had been sitting for months. It takes the right products and a little patience — but it’s absolutely doable without calling a plumber or replacing the toilet.
What You’ll Need Before You Start
Don’t skip this section. I can’t count how many times I’ve started a cleaning project, gotten my hands wet, and then had to drip-trail through the house hunting for something I forgot. Gather everything first.
For light to moderate stains:
- White vinegar (distilled, not apple cider)
- Baking soda
- Pumice stone (specifically a toilet pumice stone — not a foot care pumice)
- Rubber gloves
- Old toilet brush or a stiff-bristle scrub brush
For heavy or set-in stains:
- CLR (Calcium, Lime & Rust Remover) or Bar Keepers Friend powder
- Muriatic acid (for really severe cases — more on this later)
- Paper towels or old rags
- Eye protection if using muriatic acid
One thing I’ve found to be a total waste of money, even though it looks great on Pinterest: those “magic eraser” melamine foam pads for toilet bowl stains. They work beautifully on flat surfaces like walls and countertops. Inside a curved toilet bowl with standing water? You’re basically paying $3 to create a soggy sponge that accomplishes nothing.
Method 1: White Vinegar and Baking Soda (For Fresh or Light Stains)
This is always my first move, especially if the stain is relatively new or mild. It’s cheap, it’s safe, and it works better than most people expect — as long as you do it right.
Step 1: Drop the water level in the bowl. Flush the toilet, then immediately turn off the water supply valve (the knob behind the toilet near the floor). Flush once more. This drops the water level so your cleaning solution isn’t getting immediately diluted. This step alone doubles the effectiveness of everything that follows, and almost nobody does it.
Step 2: Pour in the vinegar. Add 2–3 cups of undiluted white vinegar directly into the bowl. Let it sit for at least 30 minutes. I usually let it go an hour if the stain has been there a while. The acetic acid in vinegar starts breaking down the dye and mineral deposits that are trapping the colorant against the porcelain.
Step 3: Add baking soda and scrub. After the soak, sprinkle about half a cup of baking soda into the bowl. It’ll fizz — that’s normal and that’s good. That fizzing action is creating a mild abrasive scrubbing effect right at the stain surface. Grab your toilet brush and scrub hard, focusing on the stained areas. Use circular motions and put some muscle into it.
Step 4: Let it sit again, then flush. After scrubbing, let the vinegar-baking soda mixture sit for another 15–20 minutes before flushing. Don’t rush this part. The longer the acid stays in contact with the stain, the more it breaks it down. Turn your water supply back on, flush, and assess. For mild stains, one round of this is often enough. For anything more stubborn, move to Method 2.
A quick side note: the smell of vinegar in an enclosed bathroom is genuinely unpleasant. Open a window or run the exhaust fan. I once did this in a tiny half-bath with no ventilation and emerged feeling like I’d been pickling myself.
TIRED OF DEALING WITH BLUE TOILET BOWL CLEANER STAINS? TRY LYSOL!
Method 2: Bar Keepers Friend or CLR for Stubborn Blue Dye Stains
When vinegar doesn’t fully cut it — and with older, set-in blue cleaner stains, it often won’t — it’s time to bring in oxalic acid (Bar Keepers Friend) or a commercial descaler like CLR. These are my go-to products for serious toilet staining, and I genuinely reach for them before bleach almost every time.
Step 1: Drop the water level again. Same as before — shut off the supply valve, flush twice, get as much water out of the bowl as you reasonably can. This is non-negotiable. You need your cleaner sitting directly against the stain, not floating in diluted toilet water.
Step 2: Apply Bar Keepers Friend as a paste. If using Bar Keepers Friend powder (I prefer the powder over the liquid for toilet bowls), mix it with just enough water to form a thick paste. Apply it directly to the stained areas using a sponge, old cloth, or even your gloved hand. The goal is direct contact. Spread it thick on the worst spots.
Step 3: Let it dwell — this is the key. Most people rinse too soon. Leave Bar Keepers Friend paste on the stain for 15–30 minutes minimum. For really set-in stains, I’ve gone up to an hour. The oxalic acid needs time to work on the dye molecules. Set a timer and go do something else.
Step 4: Scrub with a stiff brush. After dwelling, scrub vigorously with a toilet brush or a stiff-bristle nylon brush. You should see the blue color transferring and lifting. Rinse, assess, and repeat if needed. In my experience, two rounds of this process handles about 90% of blue bowl cleaner stains, including some that had been sitting for weeks.
For CLR, the process is similar — apply, let it dwell 2 minutes (follow their label directions), scrub, and rinse thoroughly. CLR is particularly effective when blue staining is combined with hard water mineral buildup, which is common if you live somewhere with high-calcium municipal water.

Method 3: Pumice Stone for Stains That Won’t Budge
If you’ve done two rounds of Bar Keepers Friend and still have a ghost of a stain clinging on, it’s pumice stone time. This is the method people are scared of — and understandably so, because used incorrectly, a pumice stone can scratch porcelain. Used correctly, it’s incredibly effective and totally safe.
The key rule: the pumice stone must stay wet at all times. A dry pumice stone on porcelain will scratch. A wet pumice stone on porcelain is actually softer than the glaze and won’t leave a mark. I know that sounds counterintuitive, but it’s the science. Keep a cup of water handy and pour a little on the stone every 20–30 seconds as you work.
Work in small, circular motions with light-to-medium pressure directly on the stain. You’ll see a grayish paste forming — that’s normal, it’s just fine particles from the pumice and the stain material. Keep the area wet and keep working. This method physically abrades the top layer of staining off the porcelain. It’s particularly effective when dye has bonded near the waterline.
Don’t use a pumice stone on plastic toilet parts, colored porcelain, or toilet seats. Only on standard white glazed porcelain bowl interiors. I learned that lesson on an almond-colored toilet in a 1987 ranch house I was flipping — pumiced right through the glaze on a rim section and had to replace the whole toilet. Not my finest hour.
Method 4: Muriatic Acid for Extreme Cases (Read This Carefully First)
I want to be upfront: I only recommend muriatic acid for extreme, long-neglected stains that have resisted everything above. This is not a “try it first” solution. Muriatic acid is hydrochloric acid — it will irritate your lungs, burn your skin, and damage grout, metal fixtures, and most surfaces it touches besides porcelain. I’m including it because it genuinely works when nothing else does, but please respect it.
You must have: rubber gloves, eye protection, and strong ventilation (open window + fan running). Never mix muriatic acid with bleach or any other cleaner. The fumes are dangerous.
Dilute muriatic acid heavily — about 1 part acid to 10 parts water, always adding acid to water, never the reverse. Drop the water level in the bowl. Apply with a long-handled brush, let sit for no more than 5 minutes, then scrub and flush immediately with lots of water. Neutralize any drips on the floor with baking soda immediately.
For most homeowners dealing with a blue tablet stain, you will never need to go this far. But if you bought a house with a toilet that looks like it was cleaned exclusively with Windex Blue for 15 years, this is your last resort before calling a professional or budgeting for a new toilet.
Real Talk: What Can Go Wrong (And What’s Honestly Not Worth It)
Here’s where I have to be honest with you, neighbor-to-neighbor.
Some stains are permanent. If blue dye has sat on unglazed porcelain (common in older toilets or toilet components with worn glaze) for many months, it may have penetrated past the point of surface cleaning. If you’ve done three rounds of Bar Keepers Friend, pumice work, and still see a stain, it might be time to price out a new toilet. A basic elongated toilet runs $150–$300 installed. Sometimes that’s the right call.
Bleach is nearly useless for blue dye stains. I know — every cleaning list in existence says “bleach.” And bleach is great for killing bacteria and whitening mineral stains. But synthetic blue dye doesn’t respond to bleach the way mold or mildew does. Bleach can actually set certain dye stains deeper into porcelain. I wasted two bottles learning this lesson so you don’t have to.
In-tank tablet cleaners are the villain here. I’ve completely stopped recommending them to anyone. They’re convenient, they smell okay, and they look satisfying. But they slowly erode toilet flapper seals and fill valves (your plumber will confirm this), and when they cause staining, it’s relentless. A good toilet brush used twice a week beats any tablet cleaner I’ve ever tried.
Toilet seats are a different problem. Blue staining on a plastic toilet seat almost never fully comes out — the plastic is porous in a way porcelain isn’t. If your seat has extensive blue staining, I’d just replace it. A quality toilet seat is $30–$60, takes 10 minutes to swap, and gives you a genuinely fresh start.
How to Prevent Blue Toilet Bowl Cleaner Stains From Coming Back
Once you’ve done the work to get your bowl clean, the last thing you want is to be back in this same situation six months from now. Prevention is simple.
If you still want to use in-tank cleaners despite my strong opinions about them, choose a clear or lightly tinted formula rather than a heavy blue dye product. Several major brands now make nearly-clear tablet cleaners that still freshen the bowl without the staining risk.
Better yet, switch to rim-hanging gel clips or under-rim application products instead of tank tablets. They apply fresh cleaner only during flushing rather than continuously leaching dye into the standing water.
The single best prevention strategy: regular scrubbing. I scrub my toilets twice a week with a brush and a squirt of dish soap. It takes 30 seconds. Consistent mechanical cleaning prevents any buildup from reaching stain-level concentration in the first place. It’s boring advice. It’s also correct.
The Bottom Line on Removing Blue Toilet Bowl Stains
Blue toilet bowl cleaner stains feel hopeless, but most of them aren’t. Start with vinegar and baking soda for fresh stains. Graduate to Bar Keepers Friend or CLR for anything set in. Pull out the pumice stone for stubborn residue. And only consider muriatic acid as an absolute last resort with full safety precautions.
The whole process, start to finish, usually takes a few hours spread over a day or two — mostly waiting time for products to dwell. It costs maybe $15 in supplies. And the satisfaction of seeing that blue ring finally disappear is, I’m not going to lie, disproportionately rewarding for a toilet cleaning task.
My parting piece of wisdom: don’t let a stain sit. The longer any dye sits against porcelain, the deeper it bonds. The moment you notice that blue tint forming, hit it immediately with vinegar and a scrub. Five minutes of early action beats five rounds of Bar Keepers Friend later.
Now I want to hear from you — have you tried any of these methods, or do you have a trick that worked for you that I haven’t mentioned here? Drop your questions or suggestions in the comments below. I read every single one, and if you’ve got a bathroom mystery I haven’t seen yet, I genuinely want to hear about it.