
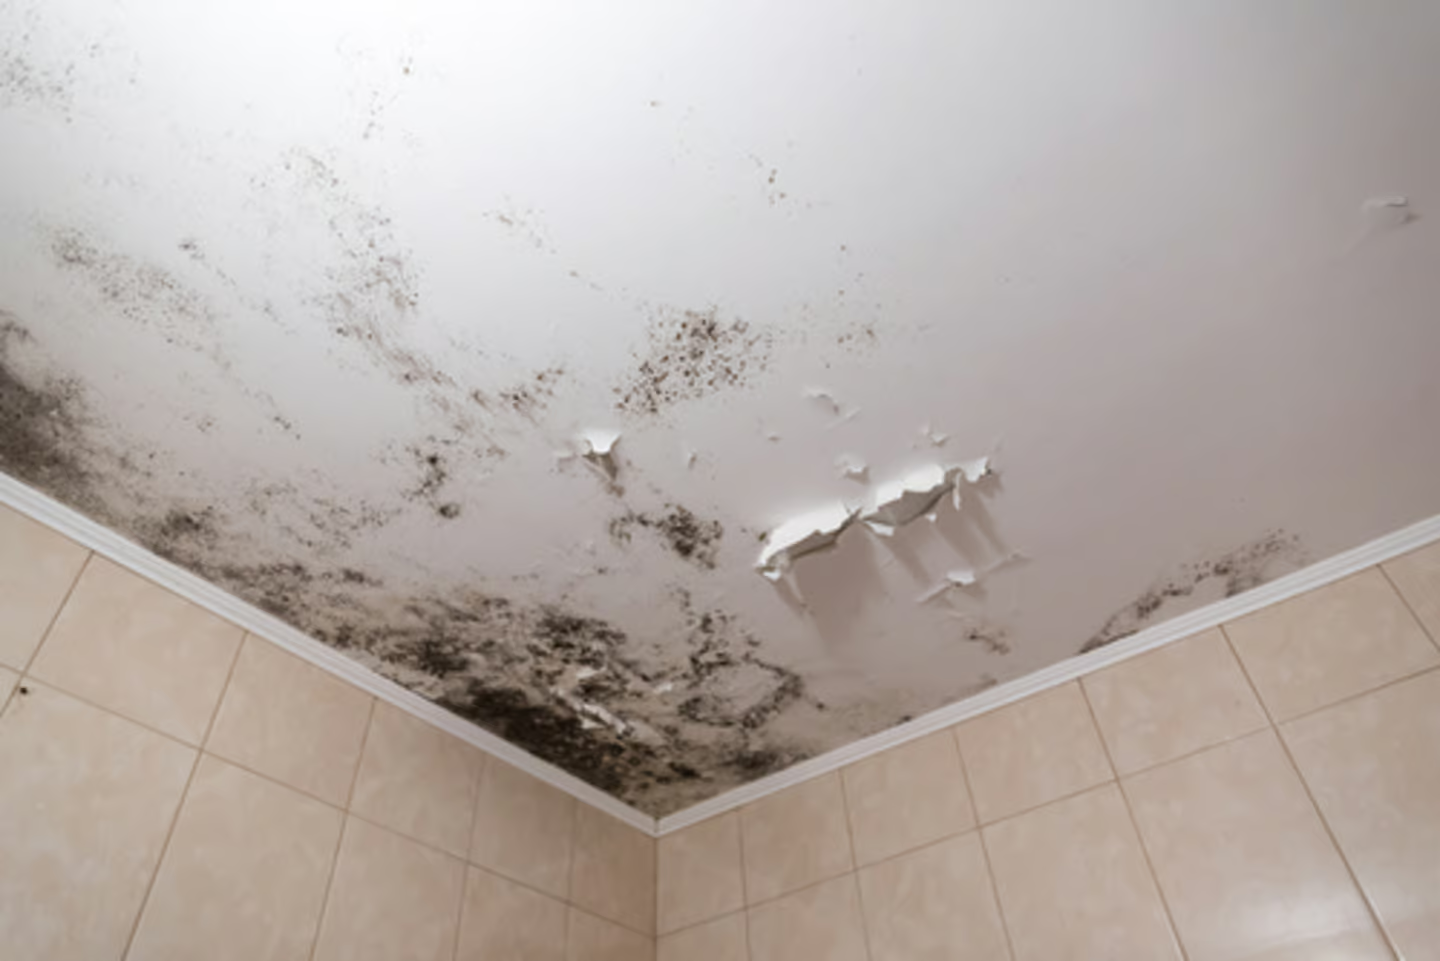
That dark, splotchy patch above your shower isn’t going away on its own. You’ve probably already scrubbed it once, maybe twice, watched it fade for a week, and then found it grinning back at you a month later like nothing happened. I get it. Bathroom ceiling mold is one of those problems that feels impossible to actually solve, because most of the advice out there treats the symptom and ignores the cause.
I’ve pulled down more moldy drywall than I care to admit, and I’ve also patched plenty of ceilings that never needed to come down in the first place — they just needed the right treatment and a change in habits. This guide walks you through both: killing the mold that’s there right now, and making sure it doesn’t move back in.
Why Mold Keeps Coming Back on Bathroom Ceilings
Mold spores are everywhere. That’s not the problem. The problem is your bathroom ceiling gives them exactly what they need to throw a party: warm, damp air that has nowhere to go. Every hot shower sends moisture straight up, and if that moisture just hangs out on the ceiling instead of getting pulled out by a fan or a cracked window, you’ve built a mold incubator.
Bleach and store-bought sprays kill the surface mold you can see. What they don’t do is fix the humidity problem underneath. So the mold dies, you feel good for two weeks, and then it’s back because the actual environment never changed. My neighbor Carol used to bleach her ceiling like clockwork every month for two years before she called me over. The mold wasn’t the disease. It was a symptom of a bathroom that couldn’t breathe.
That’s the mindset shift this whole article is built around. We’re not just cleaning. We’re changing the conditions so mold can’t survive there anymore.
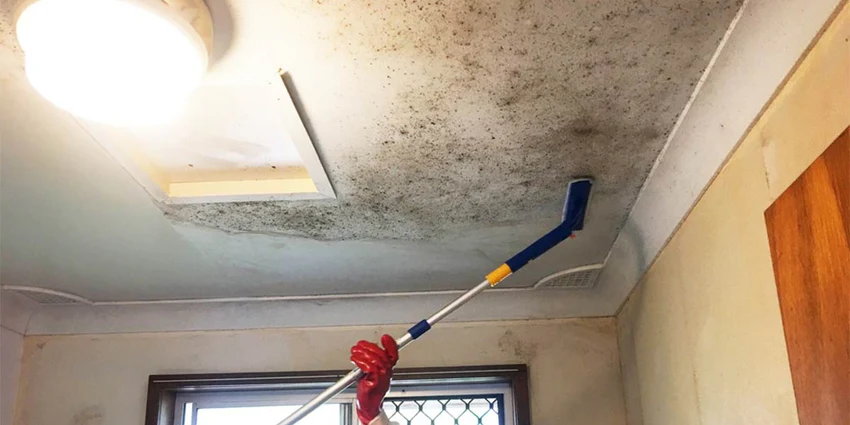
Step 1: Confirm It’s Actually Mold (Not Mildew or Water Stains)
Before you break out the cleaning supplies, take thirty seconds to figure out what you’re dealing with.
- Mold usually looks fuzzy, textured, or slightly raised, and it comes in black, green, or sometimes orange-ish spots. It often has a musty smell you notice the second you walk in.
- Mildew is flatter, powdery, and typically gray or white. It’s a cousin of mold but usually easier to wipe away.
- Water stains are brownish, flat, and don’t smell like anything. These mean you’ve got a leak somewhere, not necessarily mold, though the two often show up together.
A quick trick: dab a little diluted bleach on the spot. If it lightens significantly within a couple of minutes, it’s mold or mildew. If it stays the same color, you’re probably looking at a water stain, and bleach isn’t going to help you.
One more test I use: shine a flashlight across the ceiling at a low angle instead of straight on. Mold tends to have a slight texture that catches shadow, while a plain water stain stays flat no matter what angle you look from. It sounds like a small thing, but it’s saved me from wasting cleaning solution on a spot that just needed a stain-blocking primer instead.
Also pay attention to the shape of the patch. Mold usually spreads in an irregular, spidery pattern that follows moisture and air currents. Water stains tend to form rings, almost like a coffee cup left on a table, because they’re tracing the edge of where water pooled and evaporated. If you see distinct rings, there’s a good chance you’ve got a leak from a pipe or the roof above, and no amount of scrubbing will fix that until the source is patched.
The Best Way to Kill Mold on a Painted Ceiling
For most painted drywall or plaster ceilings, here’s the method I use and recommend to basically everyone who asks.
- Ventilate first. Open a window, run the bathroom fan, and if you can, set up a box fan pointed at the door. You’re about to work with fumes, and you don’t want to be breathing them in a small room.
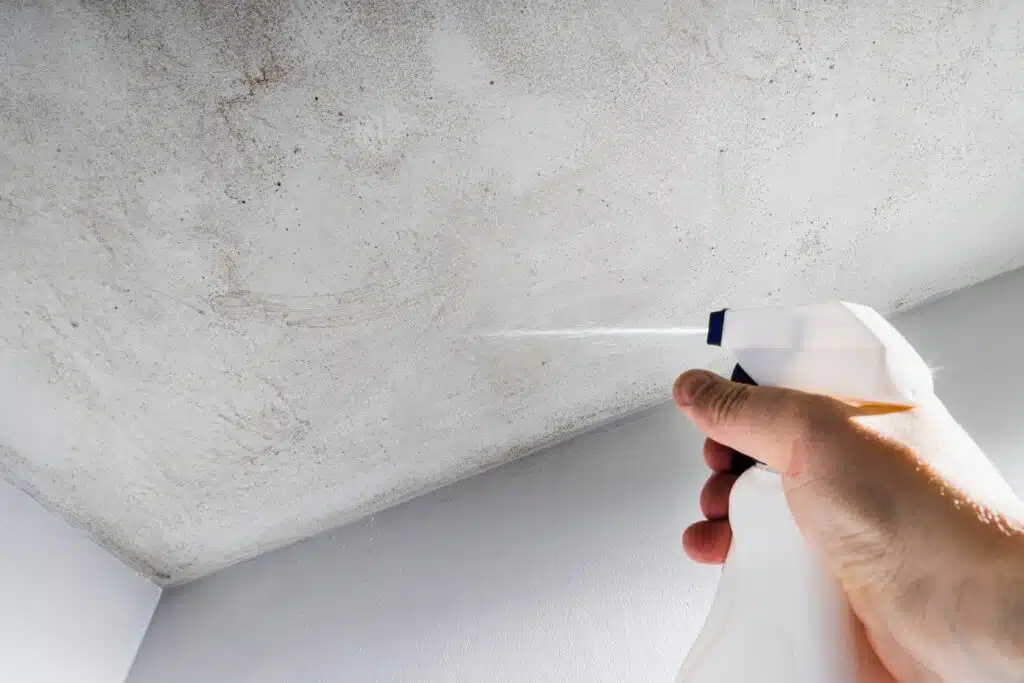
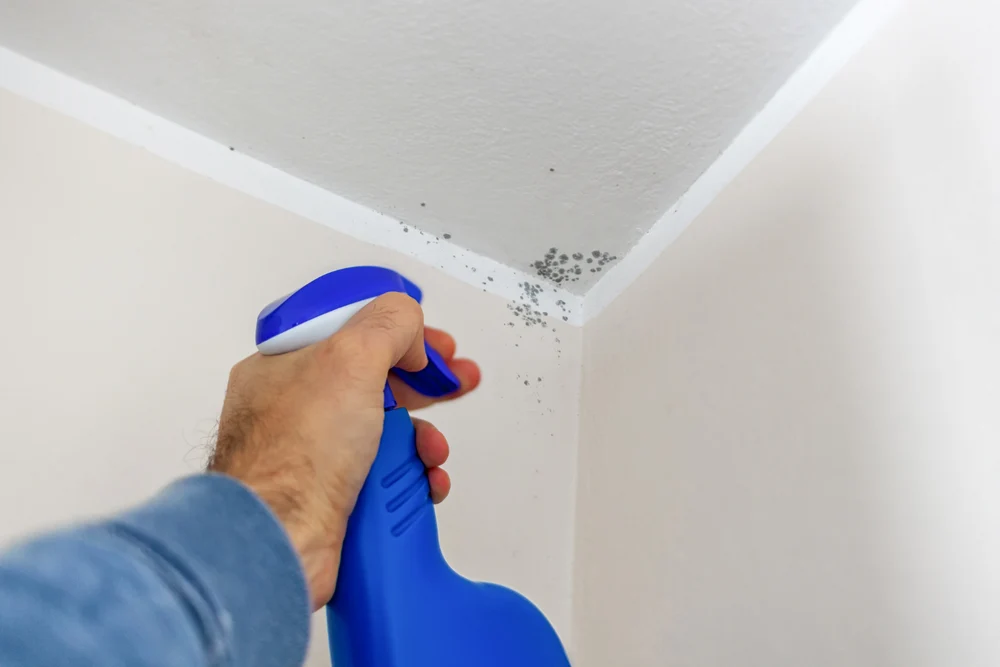
- Mix your solution. Skip straight bleach — it’s harsh on paint and honestly not the most effective long-term option. Instead, mix one part hydrogen peroxide (3%) with two parts water in a spray bottle, or use a solution of white vinegar for lighter cases. Vinegar is mildly acidic and actually penetrates porous surfaces better than bleach does, which matters because mold roots can sit just under the painted surface.
- Spray and wait. Coat the moldy area generously and let it sit for 10 to 15 minutes. Don’t wipe it off right away. You want the solution to actually kill the spores, not just move them around.
- Scrub gently. Use a soft-bristle brush or a scrub sponge. Work in small circles. Avoid scrubbing so hard you damage the paint, especially on textured “popcorn” ceilings where aggressive scrubbing can knock chunks loose.
- Rinse and dry. Wipe with a clean, damp cloth, then dry the area completely with a fan or dehumidifier running. Leaving any moisture behind basically reinvites the mold back in.
- Repeat if needed. Stubborn or deep-set spots may need a second treatment 24 hours later.
Quick side note: if you’re dealing with a huge ceiling area, don’t try to spray-and-scrub the whole thing in one afternoon. Do it in sections so each area gets its full soak time instead of drying out before you’ve had a chance to scrub it.
What to Do When the Mold Has Eaten Into the Drywall
Sometimes surface cleaning isn’t enough, and that’s usually because the mold has gotten past the paint and into the drywall paper itself. If you press on the ceiling and it feels soft, spongy, or crumbly, or if the mold keeps returning to the exact same spot within days of cleaning it, the drywall probably needs to come out.
I had a client (fine, it was my own guest bathroom) where I kept treating the same eight-inch patch for months before I finally cut into it. Behind the paint was a soaked, black mess that had clearly been growing for a year. No spray bottle was ever going to fix that.
Here’s how to handle it:
- Cut out the affected drywall with a utility knife or drywall saw, going a few inches past the visible damage in every direction.
- Bag the debris immediately in a heavy-duty trash bag to avoid spreading spores through the house.
- Treat the exposed studs and surrounding drywall edges with your peroxide or vinegar solution.
- Let everything dry completely — I mean bone dry, not “feels okay” dry — before patching.
- Patch with mold-resistant drywall (usually green or purple board) and repaint with a mold-inhibiting bathroom paint.
This is more work, obviously, but it’s the only real fix when mold has gotten past the surface. Painting over damaged drywall just seals moisture in and buys you a few extra weeks before the problem resurfaces, usually worse.
A word of caution here: if the moldy patch is larger than about 10 square feet, or if you’re noticing symptoms like unexplained coughing, headaches, or allergy flare-ups whenever you’re in that bathroom, it’s worth calling in a professional mold remediation company instead of tackling it yourself. Large-scale mold removal can kick a lot of spores into the air, and without the right containment and respiratory gear, you can end up spreading the problem to the rest of your house rather than containing it. I’m all for DIY, but there’s a line where the health risk outweighs the money you’d save.
The Real Reason Mold Keeps Returning: Bathroom Ventilation
I’ve found that most people treat ventilation as an afterthought, when it’s actually the single biggest factor in whether mold comes back. If your bathroom fan is weak, undersized, or you simply never run it, you’re fighting a losing battle no matter how good your cleaning routine is.
A few things worth checking:
- Is your fan actually venting outside? A shocking number of bathroom fans just blow moist air into the attic, which creates mold problems up there instead of solving the one in your bathroom. Follow the ductwork if you can, or have someone check it for you.
- Is the fan sized correctly for your bathroom? As a rough rule, you want at least 1 CFM (cubic feet per minute) per square foot of bathroom space. A tiny half-bath fan struggling to clear a large bathroom is never going to keep up.
- Are you running it long enough? Turning the fan off the second you step out of the shower isn’t enough. Let it run for at least 20 to 30 minutes afterward to fully clear the humidity.
If your fan is old, loud, or clearly underpowered, upgrading it is one of the best money-to-impact home improvements you can make. It’s not glamorous, nobody posts their new bathroom fan on Pinterest, but it will save you more headaches than any cleaning product ever will.
If a full fan replacement isn’t in the budget right now, there are cheaper stopgaps worth trying first. A window cracked open during and after showers does more than most people give it credit for. A cheap plug-in dehumidifier set up in the corner of the bathroom can pull a surprising amount of moisture out of the air overnight. Even something as simple as leaving the bathroom door open for an hour after a shower, instead of shutting it to keep the steam in, gives moisture somewhere to escape besides your ceiling. None of these replace a proper fan long-term, but they’ll buy you time and noticeably slow down regrowth while you save up for the upgrade.
Paint and Products That Actually Help Prevent Mold
Once your ceiling is clean and dry, what you put back on it matters a lot.
Choose a paint specifically labeled as mold and mildew resistant, formulated for bathrooms or kitchens. These typically contain antimicrobial additives that make it much harder for spores to establish themselves, even in humid conditions. I’ve repainted plenty of bathroom ceilings with standard flat white paint and watched mold creep back within a season. Switch to a proper bathroom-rated paint and that same ceiling can go years without issue.
A few other products worth having on hand:
- A small dehumidifier for bathrooms without great ventilation, especially in humid climates.
- Mold-inhibiting caulk for the seams where the ceiling meets the walls or the shower enclosure.
- A squeegee by the shower, genuinely one of the cheapest and most effective mold-prevention tools that exists, even though almost nobody uses theirs.
Real Talk: What’s Not Worth Your Time or Money
Not every mold “solution” on the internet or in the home improvement aisle is worth pursuing. Here’s where I’d stop you before you waste a weekend or a paycheck.
- Bleach as your only weapon. It kills surface mold and looks satisfying, but it doesn’t penetrate porous materials well and can actually break down over time, leaving behind a chlorinated residue that sometimes feeds future mold growth. Use it sparingly, if at all.
- Painting over mold without treating it first. This is probably the most common mistake I see. Slapping a fresh coat of paint over an untreated moldy spot might hide it for a month, but mold doesn’t need light to grow, and it will absolutely come through the new paint eventually.
- Skipping the drywall replacement when it’s clearly needed. I know it’s tempting to avoid the mess of cutting into your ceiling, but repeatedly cleaning the same soft, damaged spot is just delaying an inevitable, bigger repair. The longer you wait, the more area ends up compromised.
- Expensive “miracle” mold sprays. Some of these products work fine, but you’re often paying five times the price for essentially the same active ingredients you’d get from a bottle of hydrogen peroxide from the drugstore. Save your money and put it toward a better bathroom fan instead.
- Ignoring the humidity source entirely. You can treat and repaint your ceiling perfectly, but if you never address ventilation, you’re basically signing up to do this exact project again in a year. Treat the cause, not just the symptom.
Final Thoughts
Mold on a bathroom ceiling isn’t really a cleaning problem, it’s a moisture problem wearing a cleaning problem’s clothes. Kill what’s there, patch what’s damaged, and then fix the airflow so the whole cycle can’t start over again. Do those three things in order and you’ll actually be done with this project instead of repeating it every few months.
Has your bathroom mold kept coming back no matter what you try, or did one of these steps finally break the cycle for you? Drop your experience in the comments below — I read every one, and I’m always curious what other people’s worst bathroom ceiling horror stories look like.