
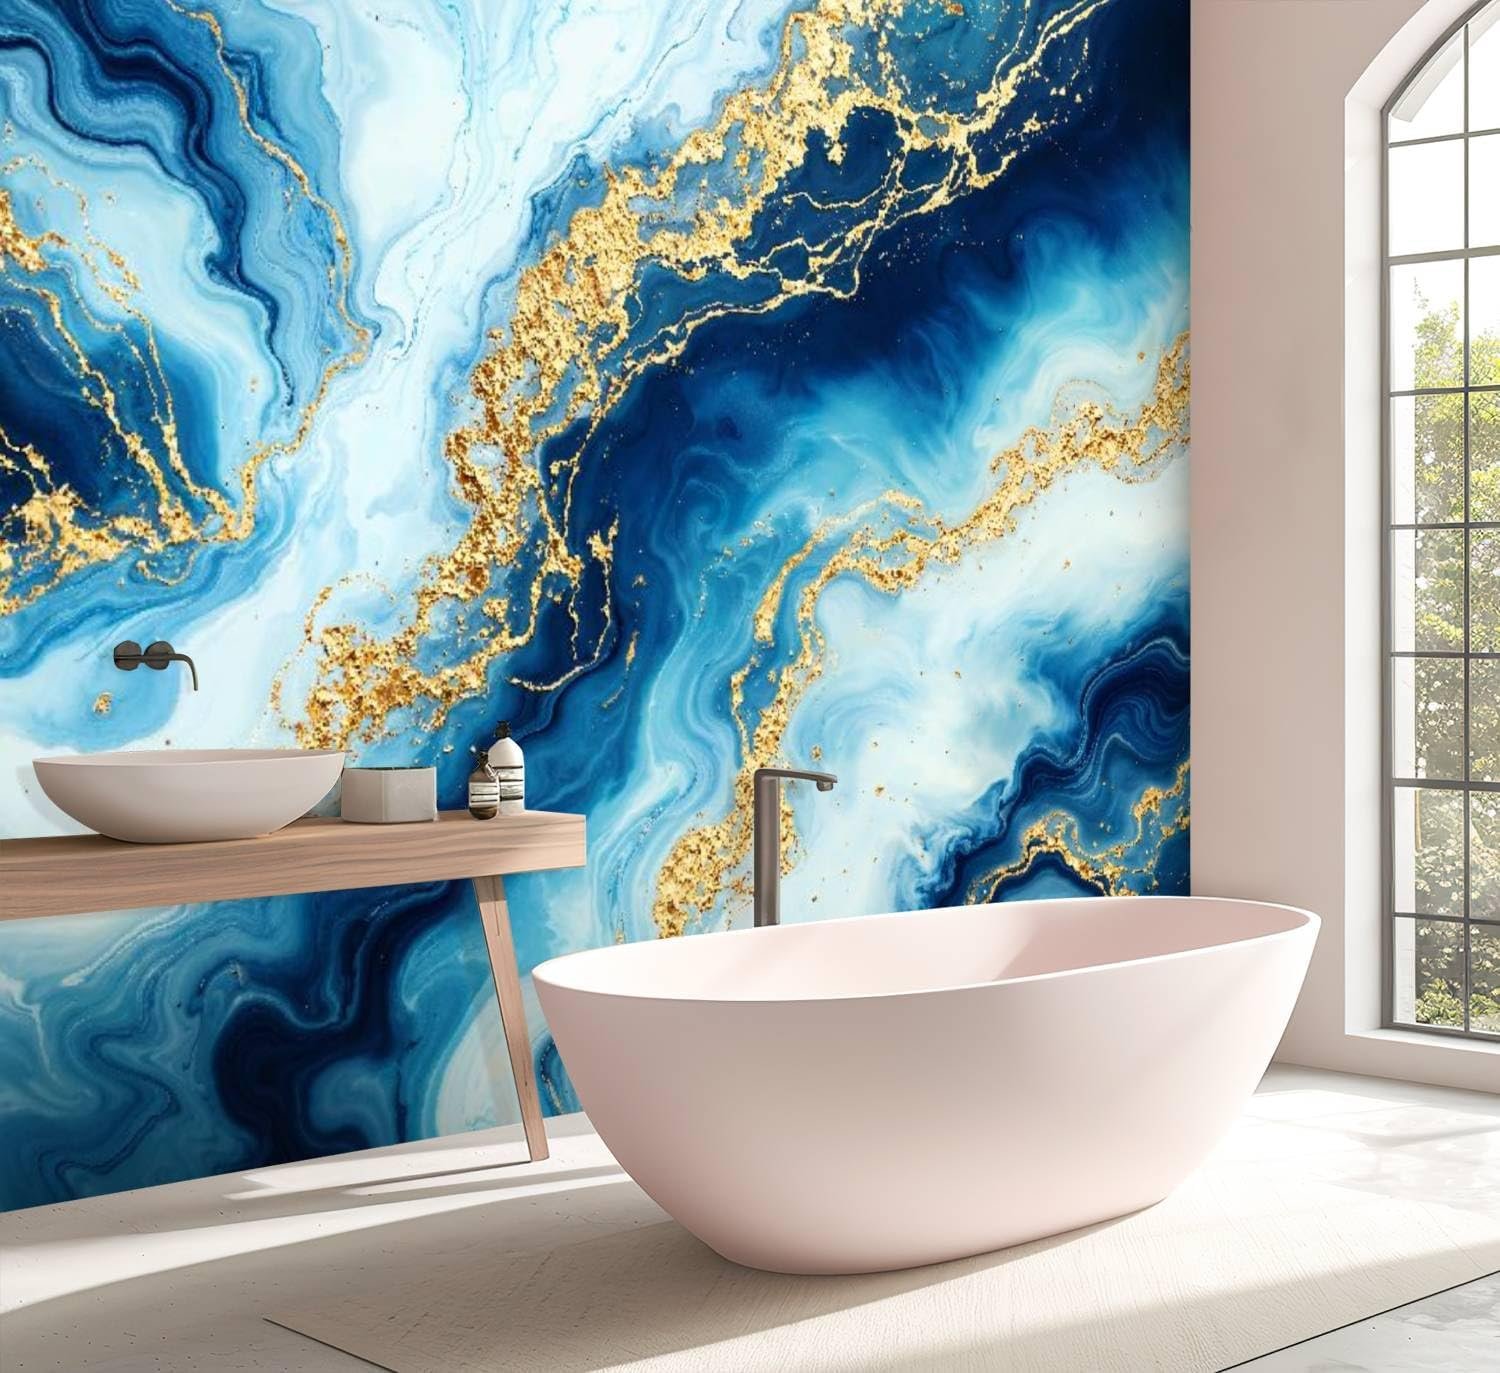
You’re standing in the wallpaper aisle holding a roll of that gorgeous scalloped tile-print peel and stick, and a little voice in your head is asking: “Will this thing be floating in a puddle on my bathroom floor by next spring?”
Fair question. Bathrooms are the one room in the house that actively tries to destroy wallpaper. Steam, splash zones, humidity that never really goes away, and someone in your house who thinks a 45-minute shower is a personality trait. Regular paper doesn’t stand a chance in there.
But peel and stick? That’s a different animal, and the short answer is yes, you can absolutely use it in a bathroom — as long as you pick the right product and prep the wall like you actually mean it. I’ve redone three bathrooms with removable wallpaper in my own house (one of them twice, because I picked wrong the first time), and I’m going to walk you through exactly what works, what doesn’t, and where people torch their money on this project.
Is Peel and Stick Wallpaper Actually Waterproof?
Here’s where I need to correct a misconception right away: most peel and stick wallpaper is water-resistant, not waterproof. Those are two very different promises.
Water-resistant means it can handle steam, humidity, and the occasional splash from a sink without curling up at the seams. Waterproof means you could theoretically hose it down and it wouldn’t care. Very few peel and stick products are truly waterproof, and the ones that are tend to be vinyl-based rather than the trendy fabric or “removable textile” varieties you see all over Pinterest.
This distinction matters enormously depending on where in the bathroom you’re putting it. A powder room with no shower or tub is basically a normal room with better lighting — almost any peel and stick wallpaper will do fine there. A full bathroom with a shower is a different story, especially if that wallpaper is going anywhere near the wet zone.
My rule of thumb: if the wall could conceivably get direct water contact — splashed by the shower curtain, hit by bath toys, whatever — you need a 100% vinyl, water-resistant peel and stick product, full stop. Anything labeled “self-adhesive fabric,” “woven,” or “textured non-woven” is a hard pass for that specific wall. Save it for the dry side of the room.
Where in the Bathroom You Should (and Shouldn’t) Use It
This is the part people skip, and it’s the reason half the “peel and stick wallpaper ruined my bathroom” horror stories exist online.
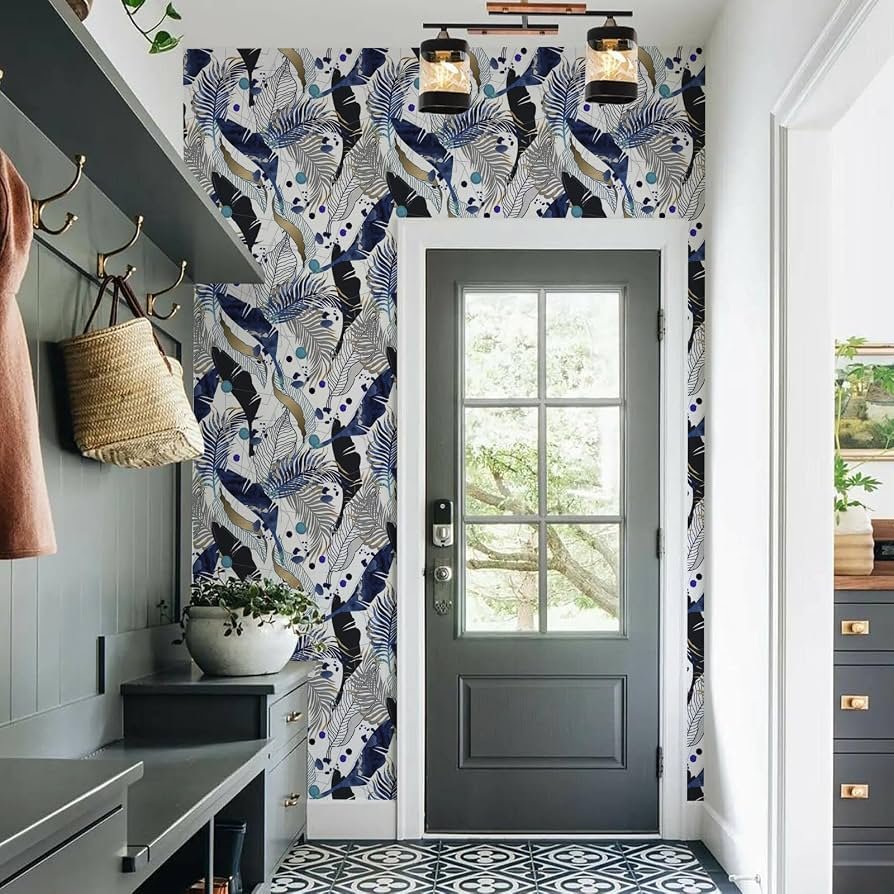
- Good spots: The wall behind your vanity mirror, an accent wall opposite the tub, the ceiling (yes, really, and it looks incredible with the right pattern), inside a linen closet, or the whole room if there’s no shower or tub at all.
- Risky spots: Directly inside a shower enclosure, on a wall that backs up to the shower with no ventilation, or low on the wall near the tub where bath water splashes during bath time. I don’t care how good the reviews are — I wouldn’t put any wallpaper, peel and stick or otherwise, inside an actual shower stall. That’s tile-and-grout territory only.
- The gray zone: Walls that get indirect steam but not direct splash. This is where a genuinely water-resistant vinyl product earns its keep, but it also depends on your ventilation. If your bathroom fan is doing its job and clearing steam within 15–20 minutes after a shower, you’re in decent shape. If your fan sounds like a dying hair dryer and does nothing, fix that before you even think about wallpaper — no adhesive on earth beats chronic humidity.
Prepping Your Bathroom Wall for Peel and Stick (Don’t Skip This)
I once slapped peel and stick straight onto a bathroom wall that “looked clean” and had it bubbling at the corners within three weeks. Lesson learned: bathroom walls carry invisible grime — soap residue, hairspray film, a faint layer of skin oil from a decade of hand towels — that regular dusting doesn’t touch.
- Wash the wall with a degreaser. A mix of warm water and a few drops of dish soap works, or a dedicated TSP substitute if the wall has been painted a while. Rinse with a clean, damp cloth afterward — leftover soap film is its own adhesion killer.
- Let it dry completely. Not “dry to the touch.” Give it a full 24 hours, especially if the bathroom is humid by nature. Run the fan or crack a window if you have one.
- Check the paint finish. Peel and stick loves a smooth, low-sheen surface. Eggshell and satin paint are great. High-gloss and semi-gloss are trouble because the adhesive struggles to grip a slick surface, and it’ll start peeling at the edges within a month. If your bathroom is painted glossy, lightly scuff the surface with fine sandpaper first.
- Fix any texture issues. Popcorn ceilings, heavily textured “orange peel” walls, or old plaster with visible ridges — none of these play nice with peel and stick. The adhesive can’t bridge gaps, so you get air pockets and bubbling almost immediately. A skim coat of joint compound, sanded smooth, solves this, but it’s extra work most people don’t budget for.
- Prime bare drywall or unpainted surfaces. Peel and stick is not designed to go directly onto raw drywall. It needs a painted, sealed surface to bond to.
How to Install Peel and Stick Wallpaper in a Small Bathroom
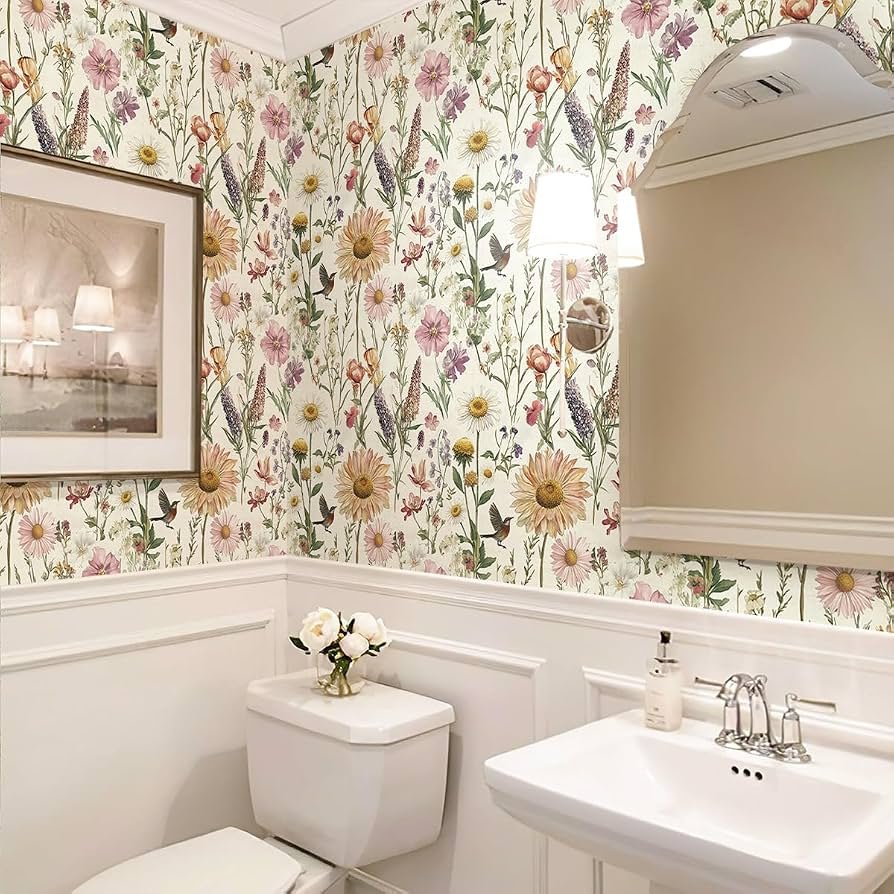
Bathrooms are cramped, full of odd angles, and packed with obstacles like light switches, towel bars, and that one pipe nobody planned around. Here’s how I approach it without losing my mind.
- Start with a plumb line. Use a level or a laser level to draw a perfectly vertical line where you want your first strip to begin. Bathroom walls are almost never as straight as you think, and if you eyeball your first strip, every strip after it drifts a little more crooked. This is the single step people skip that causes the most regret.
- Work top to bottom, small sections at a time. Peel back about 12 inches of backing, stick it to the wall along your plumb line, and smooth it out with a plastic smoothing tool before peeling more backing away. Trying to peel the whole backing off at once in a small bathroom is how you end up wrestling an eight-foot strip of wallpaper while it sticks to itself.
- Use a hairdryer for tricky spots. Around outlets, corners, and any curved trim, a little heat makes the material more pliable so it wraps without cracking or tearing. This trick alone saved me from redoing an entire strip around a bathroom window.
- Trim with a sharp blade, not scissors. A fresh utility knife blade and a smoothing tool or putty knife as your guide gives you crisp, clean edges at the ceiling line and around fixtures. Change your blade often — a dull blade drags and tears instead of cutting.
- Overlap seams slightly, then trim. Rather than trying to butt two strips perfectly edge to edge (nearly impossible in a humid, slightly uneven bathroom), overlap by about a quarter inch and slice through both layers with your blade, then peel away the excess strip underneath. This gives you an invisible, tight seam every time.
- Seal vulnerable edges with clear caulk. This is my personal trick, and it’s optional but worth it: run a whisper-thin bead of clear silicone caulk along the very top and bottom edges of the wallpaper, especially near the tub or sink. It stops moisture from sneaking under the edge and starting a bubble that eventually takes down the whole strip.
Best Peel and Stick Wallpaper Materials for Humid Bathrooms
Not all peel and stick is created equal, and the material matters more than the pattern here.
Vinyl-based peel and stick is your best friend in a bathroom. It’s naturally more water-resistant, wipeable, and holds up to humidity swings far better than fabric alternatives. Look for products specifically marketed as “bathroom-safe,” “waterproof,” or “moisture-resistant” — legitimate brands will say so directly on the packaging or product description because it’s a selling point they want you to see.
I’ve found that the ultra-trendy grasscloth-look and linen-textured peel and stick options are a total waste of money in a full bathroom, even though they look incredible in photos. They absorb moisture instead of shedding it, and I’ve seen them mildew from the back side out within a single humid summer, which means you don’t even see the damage until it’s already ruined.
Thicker gauge material (look for anything described as heavyweight or “commercial grade” in the listing) also tends to outlast thinner budget rolls in a bathroom setting. Thin material shows every wall imperfection and tends to develop tiny air bubbles faster when temperature and humidity fluctuate throughout the day.
Real Talk: Where Peel and Stick Wallpaper Falls Apart in Bathrooms
I’m not going to sell you a fantasy here. Peel and stick has real limitations in bathrooms, and you should know them before you buy a single roll.
Even the best water-resistant peel and stick will eventually struggle in a bathroom with poor ventilation. If your fan is undersized, doesn’t vent outside, or just doesn’t get used, no wallpaper survives that environment long term. The adhesive breaks down, edges lift, and eventually you’re looking at mold growing behind the paper where you can’t even see it. Fix your ventilation problem first. Wallpaper is not a bandage for a moisture problem.
Adhesive quality varies wildly between brands, and the cheapest rolls you find at big box stores are often the worst offenders. I bought a bargain roll for my first bathroom attempt, and within two months, every single seam had curled up like a bad perm. I ended up tearing the whole thing down and starting over with a pricier, better-reviewed brand. Spending an extra fifteen or twenty dollars per roll up front is genuinely cheaper than doing the whole project twice.
Temperature swings matter more than people expect. Bathrooms near an exterior wall, or ones that get blasted by a space heater in winter, put extra stress on the adhesive as the wall material expands and contracts. This is more of an issue in older homes with less insulation.
And here’s the one nobody talks about: renters. Peel and stick markets itself as “removable,” but that promise depends heavily on how long it’s been up and how well the wall was prepped. Paper that’s been on a humid bathroom wall for two-plus years can leave adhesive residue or even peel off bits of paint when you try to remove it, especially over cheaper builder-grade paint. If you’re a renter, do a small test patch in an inconspicuous spot and leave it for a full week before committing to the whole room.
Quick side note: if you’ve got kids who bathe daily and treat the bathroom walls like a canvas, budget peel and stick probably isn’t worth the frustration. Go with a higher-grade waterproof vinyl or just paint that section and save the wallpaper for a lower-traffic wall.
Final Thoughts
Peel and stick wallpaper absolutely has a place in your bathroom — I’ve got it in two of mine right now and it still looks great years later. The trick isn’t luck, it’s picking genuinely water-resistant vinyl material, prepping your wall properly, keeping it away from direct water contact, and fixing your ventilation before you even open the box.
Skip any of those steps and you’re rolling the dice with your walls. Follow them, and you get a bathroom that looks like it cost way more than it did.
Have you tried peel and stick wallpaper in your bathroom, or are you about to take the plunge? Drop a comment below and let me know which room you’re tackling — I’d love to hear how it turns out.