
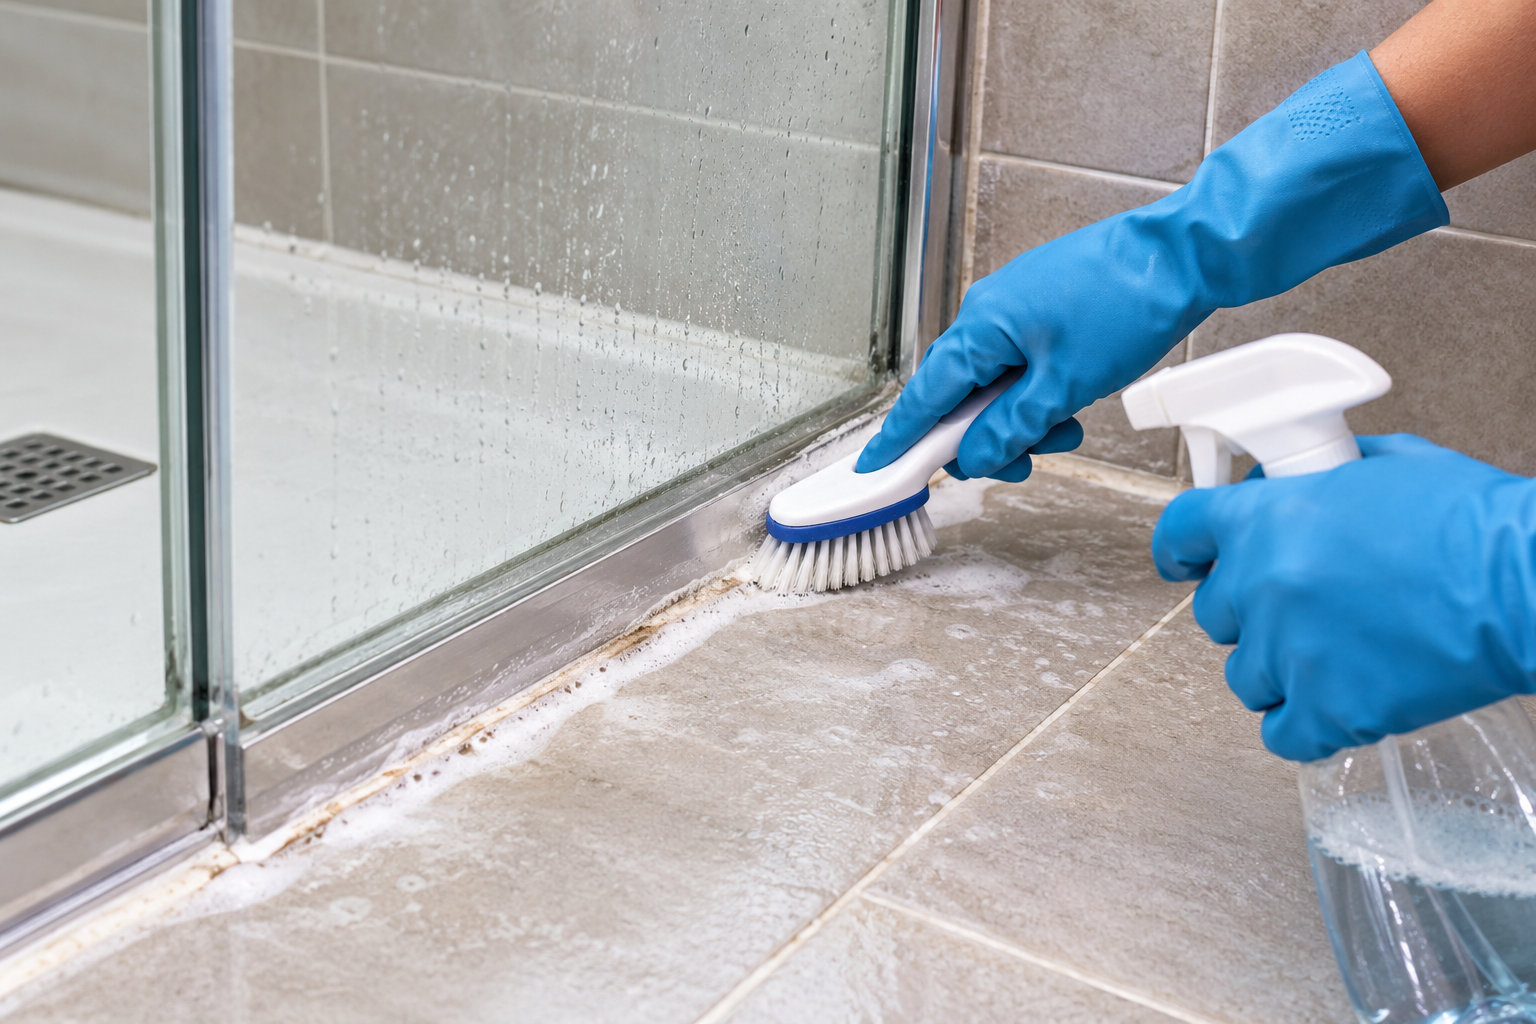
Black or gray-green speckles along the caulk line are usually the first sign of mold in a shower, and they tend to show up where the caulk meets the tub or tile. Many people assume the caulk is ruined and has to be cut out. Often it doesn’t. If the mold is growing on the surface of the bead, you can usually clean it off and save yourself an afternoon of scraping and re-sealing.
The catch is that this only works when the mold is sitting on the caulk, not living inside it or behind it. The first step is working out which situation you have.
Surface Mold or Deep Mold? A Quick Way to Tell
Caulk is porous to some degree, and soap film, skin oils, and constant moisture give mold something to feed on. That produces two very different problems.
Surface mold sits on top of the bead. The caulk underneath is still firm, still stuck to the tile and tub on both edges, and the stain looks like it’s on the material rather than in it. It’s often patchy, with clean-looking stretches between dark spots.
Deep mold has worked into the caulk or behind it. Signs include:
- The bead has pulled away from the tile or tub, leaving a visible gap or a lifted edge
- Black staining shows through the caulk from underneath, or follows the full width of the joint
- The caulk feels soft, crumbly, or spongy
- A musty smell lingers even right after cleaning
- The stain comes back within days of cleaning
If you see any of those, cleaning is a short-term fix at best. Water is getting behind the caulk, and mold there will keep supplying the surface. That’s the point where recaulking is the right answer, and a later section covers it.
If the bead looks intact, you can proceed with cleaning.
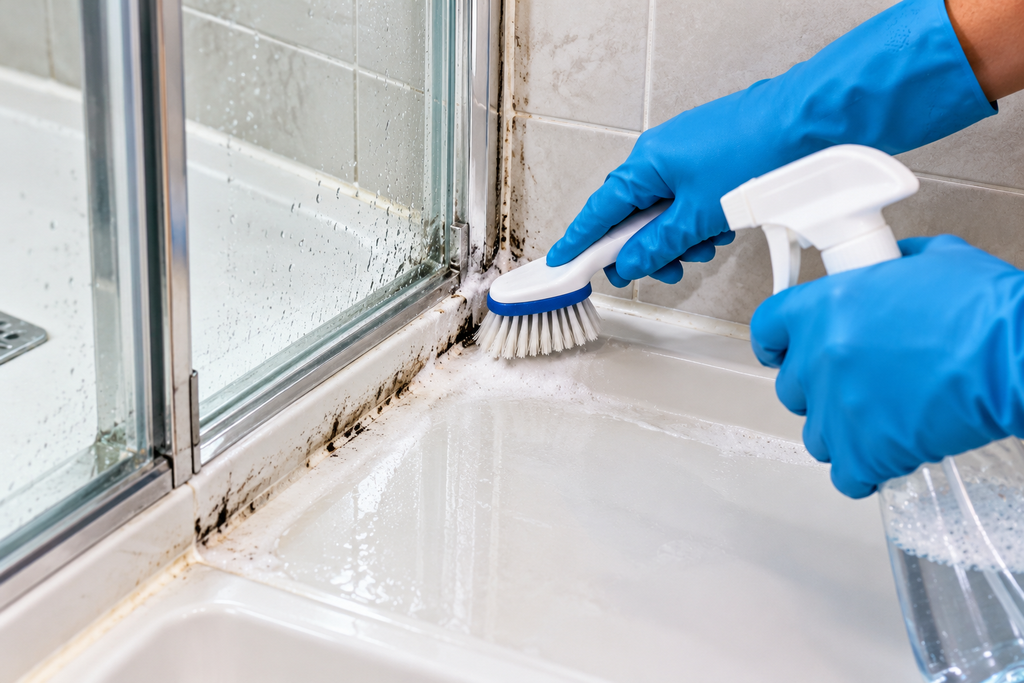
Before You Start: Safety and Surface Checks
Mold cleaners involve chemicals that should be handled with some care, so a few precautions matter more than the product you pick.
Ventilation. Open a window, run the exhaust fan, and leave the bathroom door open. Cleaning fumes build up quickly in a small, closed room.
Protection. Wear rubber or nitrile gloves and eye protection. Mold spores can irritate airways, so a dust mask or an N95-type respirator is sensible if you have asthma, allergies, or a sensitivity to mold. People with those conditions may want someone else to do the cleaning.
Never mix cleaners. Bleach mixed with ammonia produces toxic chloramine gas. Bleach mixed with vinegar or other acids releases chlorine gas. Use one product at a time, rinse the area thoroughly with water between products, and don’t layer a second cleaner on top of a first. This also applies to some commercial shower sprays, which may contain ammonia or acids, so check the label before using anything alongside bleach.
Kids and pets. Keep them out of the bathroom until you’ve rinsed everything and aired the room out.
Surface compatibility. Bleach can discolor colored grout, damage some natural stone, and dull certain finishes. Vinegar is acidic and can etch natural stone like marble and travertine. If your shower has stone tile, test any cleaner on a hidden spot first, or check the stone manufacturer’s care instructions.
Choosing a Cleaner: What Each One Does Well
There’s no single best option. The right one depends on how bad the mold is and what your shower is made of.
Hydrogen peroxide (3%): the gentle first attempt
The brown bottle sold at drugstores is a reasonable place to start. It’s a mild oxidizer, it doesn’t give off harsh fumes, and it’s less likely to discolor surfaces than bleach. It tends to work best on light to moderate surface staining.
Spray it directly on the caulk, let it sit for around ten minutes while the caulk stays wet, then scrub with a stiff toothbrush and rinse. If the area dries out quickly, reapply.
Distilled white vinegar: fine for light growth, limited for heavy
Vinegar’s acidity can kill some molds, and it’s inexpensive and widely available. It’s weaker on heavily stained caulk, though, and it won’t lift deep discoloration. Use it undiluted, let it sit for an hour if you can, then scrub and rinse. Skip it on natural stone, and never use it in the same session as bleach.
Baking soda paste: useful as a scrubbing aid
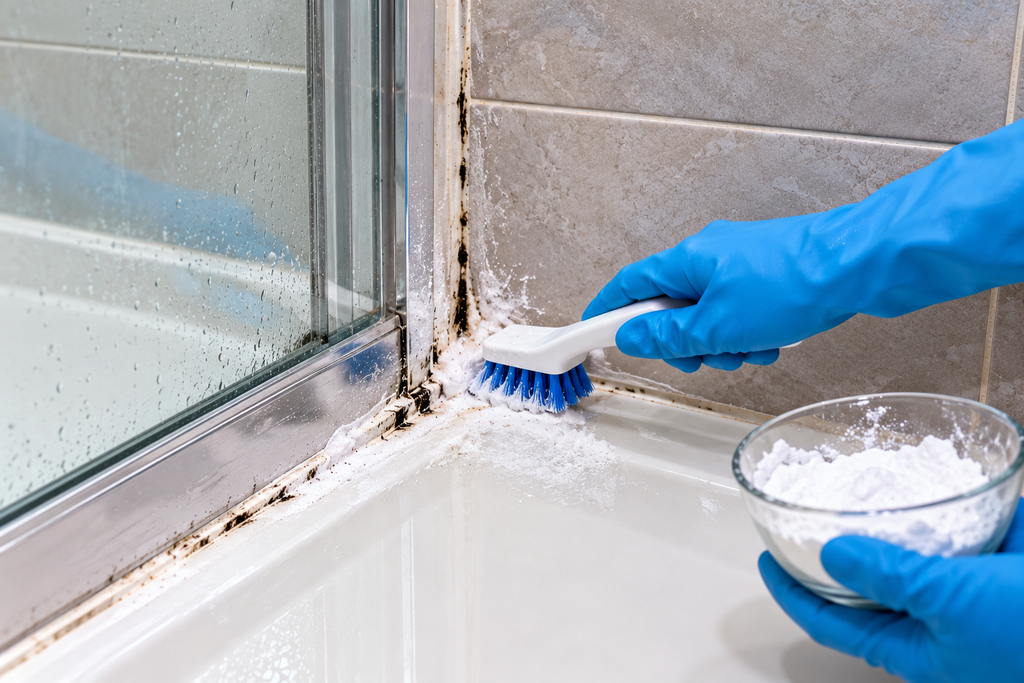
Mixed with a little water into a thick paste, baking soda adds gentle abrasion for scrubbing stubborn spots. It isn’t a strong mold killer on its own. It works best paired with peroxide, applied in sequence rather than premixed, or as a follow-up scrub.
Diluted household bleach: the strongest standard option
Bleach is the most commonly recommended choice for stubborn surface mold on nonporous or lightly porous materials, and it’s the one that most reliably removes dark staining from white or clear silicone. A common dilution is about one cup of household bleach per gallon of water. Check the label on your bottle, since concentrations and directions vary by product, and don’t make the mixture stronger than the label allows.
Apply it with a spray bottle or a cloth, keep the caulk wet for roughly ten to fifteen minutes, scrub, and rinse thoroughly with clean water. Bleach is hard on skin, lungs, and some surfaces, which is why it comes after the gentler options in this list.
One limitation worth knowing: bleach is better at removing the color of mold than at reaching mold rooted in porous material. A clean, white-looking bead doesn’t prove the growth underneath is gone. That’s another reason to watch for it returning.
Commercial mildew removers
Products made for shower mildew generally work on the same principles, often with bleach or another oxidizer plus a surfactant that helps them cling to vertical surfaces. Gel formulas stay put better on caulk lines than thin sprays do. Follow the label on contact time, ventilation, and rinsing, and don’t combine them with other cleaners.
A Method That Works on Stubborn Stains
If a quick spray and scrub leaves the staining behind, soaking the caulk usually does better than scrubbing harder.
- Dry the area first. Wipe the caulk and surrounding tile so the cleaner isn’t diluted by water.
- Clean off soap scum. A simple shower cleaner or dish soap with a toothbrush removes the film that shelters mold. Rinse.
- Make a poultice. Cut paper towels or cotton strips to the length of the caulk line and press them onto the bead.
- Saturate with your chosen cleaner. Peroxide or diluted bleach both work for this. Soak the strips so they hold liquid against the caulk.
- Wait. Keep the strips damp for around thirty minutes to an hour. If they dry out, spray them again.
- Remove, scrub, and rinse. Use a soft-bristled brush or an old toothbrush, then rinse with plenty of water.
- Dry completely. Wipe the area down and let the bathroom air out.
The strip method works because it holds the cleaner against the caulk instead of letting it run down the wall in seconds. It’s most useful on horizontal joints, like where the tub meets the wall, but it also works vertically if you press the strips firmly.
Avoid scrubbing with wire brushes or abrasive pads. They scratch the caulk surface, and tiny scratches give mold more places to hold on.
What to Expect, and When It Won’t Work
Cleaning can get silicone caulk looking nearly new if the mold hasn’t gone deep. It rarely restores the look of an old, heavily stained bead. If the stain lightens but doesn’t disappear after two rounds of treatment, the pigment is likely embedded in the caulk. Continued scrubbing at that point usually just damages the surface.
It also won’t fix:
- Caulk that has separated from the surface. A gap lets water in, and no cleaner will close it.
- Mold behind the caulk. If the stain returns quickly, moisture is probably trapped behind the bead.
- Soft or spongy substrate. Caulk that moves or feels spongy under pressure may be sitting on damaged backing. Soft drywall, rotted wood, or a failing waterproof layer is a bigger problem than a caulk job, and a contractor should look at it.
Larger mold problems matter too. The EPA’s mold guidance for homes generally suggests that growth covering more than about ten square feet, roughly a three-by-three-foot patch, may call for professional help. A caulk line on its own won’t reach that, but if mold has spread across the tile, ceiling, or walls, it’s no longer a caulk issue.
Why Caulking Over Moldy Caulk Doesn’t Work
A tempting shortcut is squeezing fresh caulk over the old bead. It won’t bond properly to a dirty, moldy, or cured surface, and it traps moisture and growth underneath. The new bead usually peels within weeks.
If cleaning doesn’t work, the old caulk has to come out. That means cutting it loose with a utility knife or caulk removal tool, scraping out all residue, cleaning and drying the joint thoroughly, and applying new caulk made for kitchens and baths. Most manufacturers say to wait the stated cure time, often around 24 hours, before the shower gets wet again. Check the tube for your product’s timing.
Keeping Mold From Coming Back
Mold needs moisture, organic material, and time. Cleaning handles the second item, but the first is what decides how soon it’s back.
Dry the caulk lines after showers. A squeegee on the walls and a quick wipe along the bottom joint takes less than a minute and removes most of the standing water.
Run the exhaust fan long enough. Many guides suggest leaving it on for at least twenty to thirty minutes after showering. Check that it vents outside rather than into the attic, and that it’s actually pulling air. Hold a tissue near the grille; if it doesn’t cling, the fan may be weak or blocked.
Watch humidity. The EPA recommends keeping indoor humidity between 30 and 50 percent. An inexpensive hygrometer will tell you where your bathroom sits.
Keep soap film from building up. Body washes and shampoos leave a residue along the base of the shower that mold feeds on. A weekly wipe of the caulk line with a mild cleaner helps.
Don’t leave wet items sitting on the ledge. Bottles, loofahs, and washcloths hold water against the joint for hours.
Use mildew-resistant caulk next time. When you do replace it, choose a product labeled for mold and mildew resistance and make sure the joint is bone dry first. Resistant formulas help, but they aren’t permanent, since they can still grow mold once soap scum and moisture accumulate on the surface.
Key Takeaways
Surface mold on firm, well-bonded caulk can usually be cleaned off with hydrogen peroxide or diluted bleach, applied with a poultice and a soft brush and given time to work. Pick the gentlest cleaner that does the job, never mix chemicals, and ventilate well. If the stain comes back fast, the caulk has gaps, or the bead is soft, cleaning won’t fix it and the old caulk needs to come out. Then work on the cause: keep the area dry and the humidity down.