
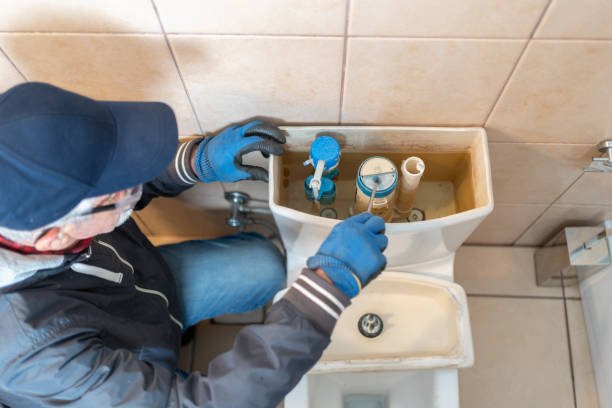
You’re in the next room and hear it: a short burst of water refilling the tank, even though nobody flushed. It stops. Ten minutes later it happens again. This is often called a phantom flush, and it means water is slowly escaping from the tank into the bowl. Once the level drops far enough, the fill valve opens to top it off, and the cycle repeats.
The leak is usually small enough that you’ll never see it. It still adds up. The EPA’s WaterSense program has put the waste from a leaky toilet at around 200 gallons a day, and a fault that triggers a refill every few minutes can sit well inside that range. The good news is that the cause is usually a $5 to $15 part you can replace in about 20 minutes with no special tools.
What’s Happening Inside the Tank
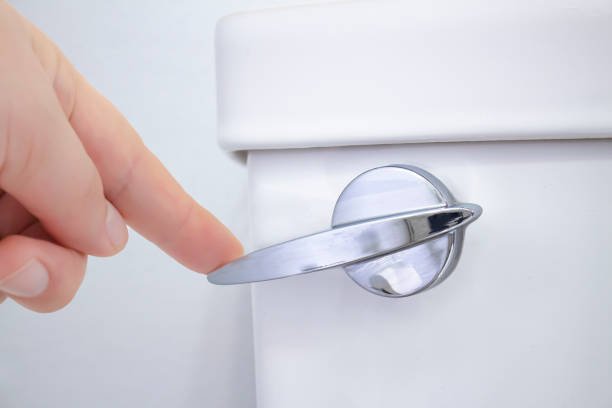
The tank holds water behind a rubber seal called the flapper. When you flush, the handle lifts the flapper by a chain, water rushes into the bowl, and the flapper drops back down to reseal the opening. Meanwhile the fill valve refills the tank, and a small tube sends some water into the overflow tube to refill the bowl.
Four things typically go wrong:
- The flapper is worn, warped, or coated in mineral deposits, so it doesn’t seal and water seeps past it.
- The chain is too tight or too loose, holding the flapper slightly open or catching under it.
- The water level is set too high, so water spills down the overflow tube.
- The fill valve is failing, either leaking or not shutting off properly.
The first two account for most intermittent-running toilets. The test below separates them from the others.
Run a Dye Test Before Buying Anything
This takes 15 minutes and tells you whether the flapper is leaking.
- Lift the tank lid and set it somewhere safe. Porcelain chips and cracks easily.
- Add several drops of dark food coloring to the tank water, or drop in a dye tablet from a hardware store.
- Don’t flush. Wait 10 to 15 minutes.
- Look in the bowl.
If colored water has appeared in the bowl, water is getting past the flapper. If the bowl water is still clear, the flapper is probably sealing fine and your problem is likely the water level or the fill valve.
One caution: if the toilet runs very frequently, flushing to refresh the water will confuse the results. Run the test right after a refill cycle ends, and give the dye time to reach the bottom of the tank where the flapper sits.
Check the Water Level Against the Overflow Tube
The overflow tube is the open vertical pipe in the middle of the tank. It exists as a safety valve: if the fill valve fails, extra water goes down the tube into the bowl instead of onto your floor.
The water level should sit below the top of that tube. Many tanks have a fill line molded or marked inside the tank, and the manufacturer’s instructions take priority over any rule of thumb. A commonly cited guideline is about an inch below the top of the tube. If water is lapping at the top edge, it’s running down the tube constantly and the fill valve cycles on and off to compensate.
Adjusting the level depends on the fill valve design:
- Ball float (older style): A round float on a metal or plastic arm. Gently bend the arm downward, or turn the adjustment screw at the valve if it has one, to lower the shutoff point.
- Cup float (modern style): A cylinder sliding up and down the fill valve shaft. Most have a screw or a clip on a rod. Turn the screw or move the clip to lower the float, which stops the water sooner.
Make small changes and flush to see the new level. Dropping the level too far can weaken flushes.
Fixing the Flapper and Chain
Check the chain first
It costs nothing, so start here. The chain should have a little slack, roughly half an inch, when the flapper is closed. If it’s pulled tight, it can hold the flapper slightly open. If it’s too long, it can drop under the flapper and prevent a clean seal. Move the clip to a different link, or trim the excess, so the chain falls loosely without tangling.
Clean the flapper seat
The flapper seals against a ring at the bottom of the tank called the flush valve seat. Mineral buildup or a bit of grit on that ring is enough to cause a slow leak, even with a perfectly good flapper.
Turn off the water at the shutoff valve behind the toilet, flush to drain the tank, then wipe the seat with a nonmetal scouring pad. Wipe the flapper’s sealing edge too. Avoid steel wool or abrasive tools that could scratch the seat, since scratches create new leak paths. If the seat is pitted, cracked, or rough enough that cleaning doesn’t fix it, you’re looking at a flush valve replacement. More on that below.
When the flapper needs replacing
Flappers are rubber, and rubber ages. A flapper that feels soft, slimy, sticky, or warped has probably stopped sealing. Typical lifespans are often given as several years, but it varies with water chemistry and the cleaners used in the tank. A flapper in a house with hard water can degrade or collect mineral deposits faster.
How to Replace a Flapper
- Shut off the supply valve (turn it clockwise) and flush to empty the tank. Sponge out any water left at the bottom.
- Unhook the chain from the flush lever arm.
- Slide the flapper’s side ears off the pegs on the overflow tube. Some flappers have a ring that slips over the tube instead.
- Take the old flapper to the store so you can match it. Most standard toilets use a 2-inch flapper, but many newer toilets have a 3-inch flush opening, and a 2-inch flapper on a 3-inch opening won’t seal. If you can find a brand and model number inside the tank, that helps.
- Install the new flapper, attach the chain with the slack described above, and turn the water back on.
- Run the dye test again to confirm the fix.
Adjustable “universal” flappers exist and work for many toilets, but a flapper designed for your model usually seals more predictably.
When the Fill Valve Is the Problem
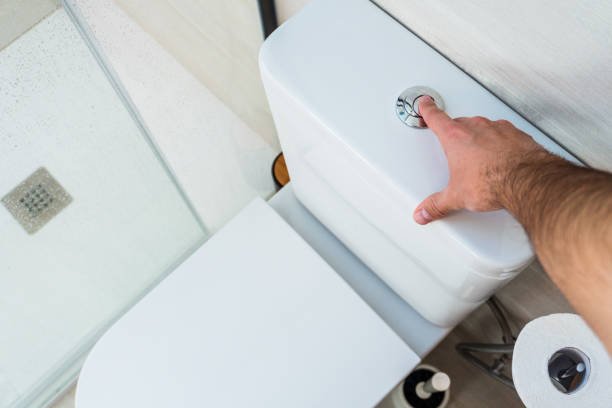
If the dye test is clean but the toilet still refills on its own, the leak may be in the fill valve, or the water level may be set too high. Look for these signs:
- Water running over the top of the overflow tube even when the toilet hasn’t been flushed.
- A hissing sound between cycles, which can mean the valve isn’t seating completely.
- Mineral deposits or cracks on the valve body or seal.
- The refill tube pushed down into the overflow tube below the water line. The small tube that feeds the bowl should be clipped above the water level. If it’s submerged, water can siphon backward in some situations.
A quick check: after a refill cycle ends, close the supply valve. If the tank level still drops and rises on its own pattern, it’s the flapper. If the level holds steady when the supply is closed but water seems to be dripping in when open, suspect the fill valve.
Replacing a fill valve takes more effort than a flapper, but it’s still a standard DIY repair. It involves shutting off the water, disconnecting the supply line, removing the locknut under the tank, and installing the new valve at the correct height. Universal kits are widely sold, and the instructions in the box are usually clear. Place a towel or small bucket under the connection, because a few cups of residual water will come out.
The Bleach Tablet Problem
In-tank cleaning tablets, usually blue or bleach-based, are a known cause of premature rubber wear. Many plumbers and manufacturers warn against them because the strong chemicals sit in contact with flappers, seals, and the fill valve every time the tank refills. If you’ve been using them and your flapper looks swollen or deteriorated, that’s a plausible cause. Cleaning the bowl directly is safer for the parts.
Whatever you use, don’t mix bleach with other cleaners, especially ammonia-based products or acidic ones. They can release toxic gases. Keep the bathroom ventilated when cleaning, and read the label on anything you add to the tank or bowl.
When to Call a Plumber
Most phantom flushes go away after a new flapper, a chain adjustment, or a float adjustment. A professional is worth calling if:
- The flush valve seat is cracked or heavily pitted. The fix involves removing the tank from the bowl, which is doable but fiddly and risks cracking porcelain.
- The shutoff valve doesn’t fully close or leaks when you turn it, which makes repairs messy and may need a new valve.
- You see water around the base of the toilet or under the tank. That points to a failed wax ring or tank bolt gaskets, not a phantom flush.
- You’ve replaced the flapper and fill valve and the problem continues.
- The tank or bowl is cracked.
Questions Readers Often Ask
Is it okay to just jiggle the handle to stop it? It can quiet the toilet for a while, but the fact that jiggling works usually means the chain is catching or the flapper isn’t dropping squarely. Treat it as a sign to check those parts.
Can the toilet run for days without anyone noticing? Yes. A slow leak into the bowl makes little noise, so it’s easy to overlook. A sudden jump in your water bill can be the first clue.
Final Thoughts
Start with the dye test, since it separates a leaking flapper from a water level or fill valve problem in a quarter of an hour. Then work from the cheapest fixes to the more involved ones: chain slack, a cleaned seat, a new flapper, a lowered float, and finally a new fill valve. Leave the flush valve, supply valve, and base leaks to a plumber unless you’re comfortable removing the tank.