
Your new bidet attachment is leaking onto the bathroom floor at 6 a.m., your water pressure feels like a sad garden hose, and you’re standing there in your socks wondering if you just wasted sixty bucks on a glorified squirt gun. I get it. I’ve been there, towel under my feet, wrench in hand, questioning my life choices before coffee.
Bidet attachments are one of the best cheap upgrades you can make to a bathroom. They save toilet paper, they’re genuinely more hygienic, and most install in under an hour with zero plumbing experience. But they’re also fussy little machines with a lot of small parts, and when something goes wrong, the instruction manual usually just shrugs at you in broken English.
I’ve installed probably two dozen of these things in my own homes and for friends who got tired of paying me in beer to fix theirs. Here are the seven problems that show up again and again, plus the fixes that actually work — not the generic “contact customer support” nonsense.
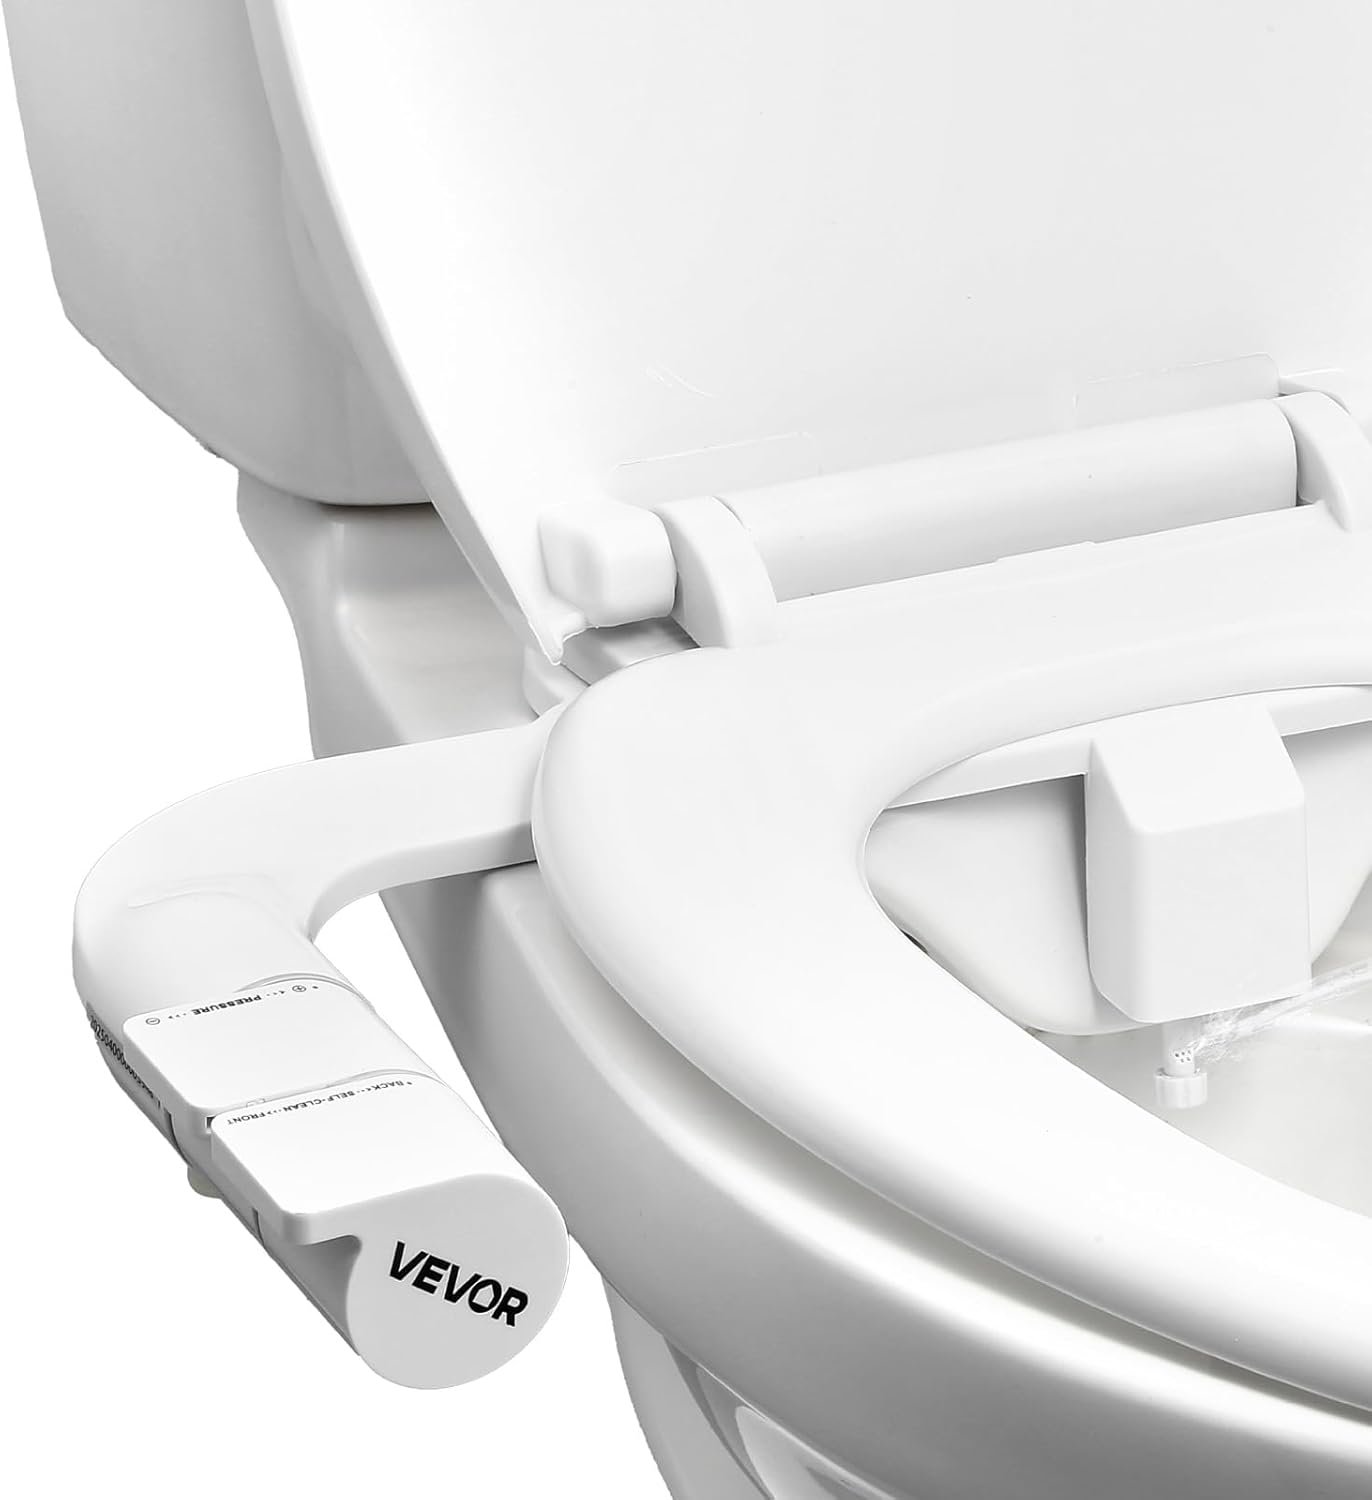
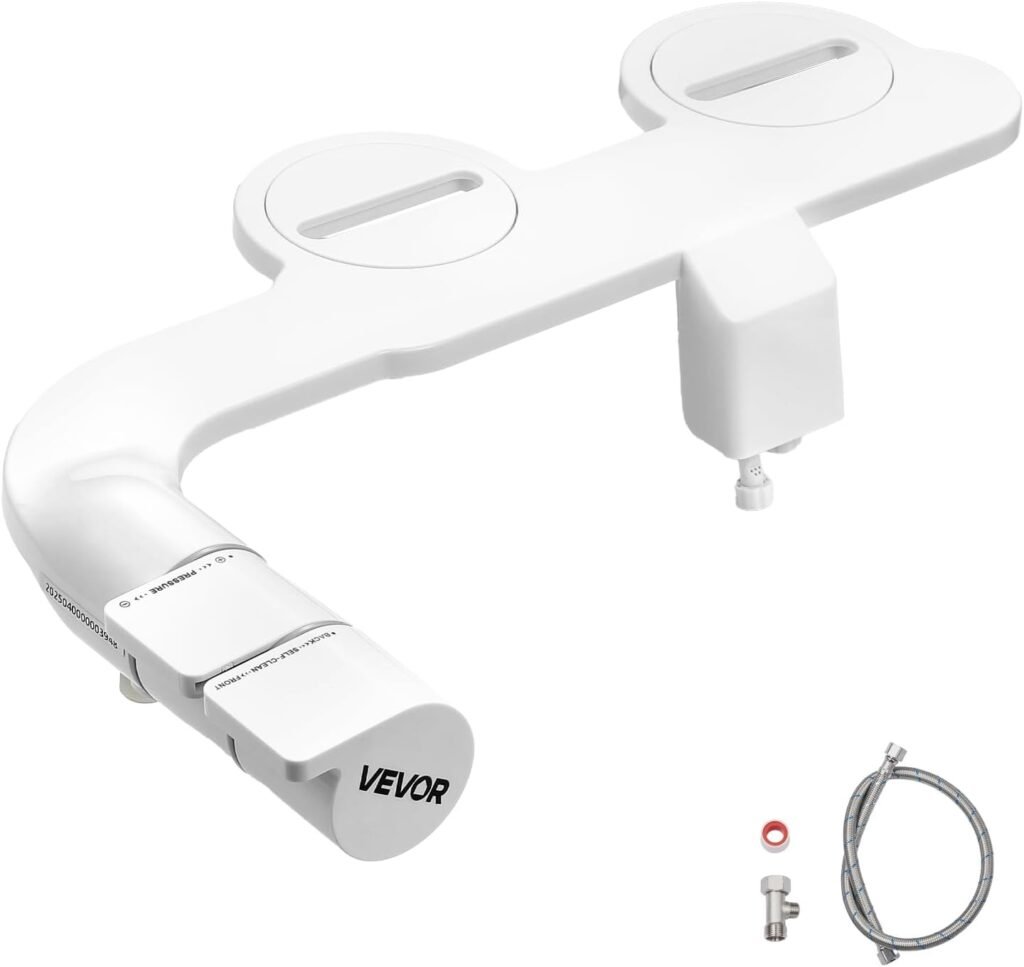
Problem 1: The Bidet Attachment Is Leaking From the T-Valve
This is the number one bidet attachment leaking issue, hands down. You hook everything up, turn the water back on, and suddenly there’s a slow drip-drip-drip coming from where the T-valve connects to your toilet’s water supply line.
Nine times out of ten, this is a thread tape problem. The T-valve threads need a generous wrap of plumber’s tape (that white Teflon tape) before you screw anything onto them. A lot of kits include a tiny scrap of tape that’s barely enough to wrap a pencil, let alone a valve fitting.
Here’s my fix:
- Shut off the water supply and disconnect the T-valve.
- Dry the threads completely with a rag.
- Wrap plumber’s tape clockwise around the threads, 8 to 10 times. Yes, that many. Don’t be shy with it.
- Reattach by hand first, then snug it with a wrench — a quarter turn past hand-tight is plenty.
- Turn the water back on slowly and watch the connection for two full minutes.
I once skipped the “watch it for two minutes” step on a rush job and came back an hour later to a soaked bath mat and a very confused cat standing in a puddle. Don’t be me. Watch the connection.
If you’re still getting drips after re-taping, check that the rubber washer inside the valve fitting didn’t get pinched or twisted during install. A bent washer will never seal right, no matter how much tape you use.
Problem 2: Weak or Inconsistent Water Pressure
You expected a confident, controlled stream and instead you’re getting something closer to a light mist. Low bidet water pressure is almost always one of three things: a kinked supply hose, a partially closed shutoff valve, or sediment clogging the tiny inlet screen.
Start with the easy stuff. Trace your supply hose from the wall to the T-valve and make sure it isn’t bent at a sharp angle behind the toilet tank. These hoses kink more easily than you’d think, especially in tight spaces.
Next, check your shutoff valve under the sink or behind the toilet. If it’s not fully open, you’re choking your own water supply before it even reaches the bidet. Turn it counterclockwise as far as it goes.
If pressure is still weak, the culprit is usually mineral buildup in the small inlet filter screen, especially if you’ve got hard water. I learned this one the hard way after assuming my brand-new attachment was just defective, when really it was just clogged with the same scale that was crusting up my showerhead. Unscrew the supply line from the bidet body, locate the small mesh screen at the inlet, and soak it in white vinegar for 30 minutes. Scrub gently with an old toothbrush, rinse, and reinstall.
Quick side note: if you live somewhere with genuinely hard water, consider a small inline filter before the T-valve. It’s a $15 part that’ll save you from doing this vinegar dance every few months.
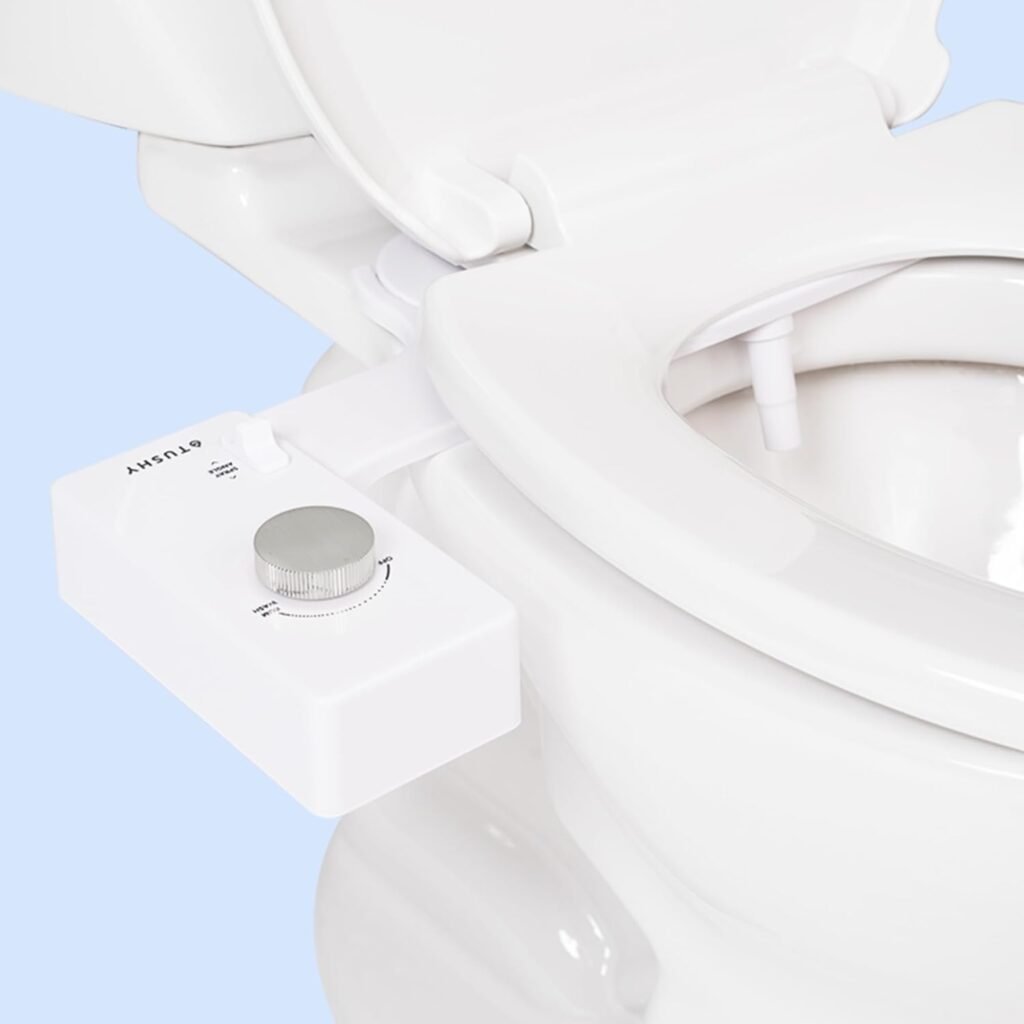
Problem 3: Spray Nozzle Won’t Retract or Gets Stuck
A nozzle that won’t retract is more than annoying — it’s unsanitary, since the nozzle should tuck away under a self-cleaning cover when not in use. This usually comes down to debris in the track, a misaligned mounting bracket, or a worn spring mechanism.
First, remove the seat (most attachments have a quick-release clip) and visually inspect the nozzle track for hair, hard water buildup, or stray bits of toilet paper. I’ve pulled out some genuinely disgusting stuff doing this, so maybe wear a glove.
If the track is clean and it’s still sticking, check the mounting screws underneath. A slightly crooked install can throw off the whole retraction mechanism, even by a few millimeters. Loosen the mounting bracket, reseat it so it’s perfectly level, and tighten evenly on both sides.
For older units, sometimes the internal spring just wears out from use. If you’ve had the attachment more than two years and you’re seeing sluggish retraction even after cleaning, that’s probably your answer. Most manufacturers sell replacement nozzle assemblies for $10 to $20, which is way cheaper than a whole new unit.
One more thing worth mentioning: don’t force a stuck nozzle back into place with your fingers. You can snap the little plastic gear teeth that drive the mechanism, and then you’re definitely buying a replacement part.

Problem 4: Water Temperature Won’t Adjust (Hot/Cold or Electric Models)
If you sprung for a heated bidet seat or a dual-temperature attachment, temperature problems are probably the most common complaint I hear. Either it’s running ice cold no matter what setting you pick, or it’s stuck on lukewarm and won’t budge.
For non-electric dual-temperature models, the issue is almost always the hot water connection. These attachments tap into your sink’s hot water line using a T-valve and a long supply hose, and if that hose run is too long, the water cools off significantly by the time it reaches the bidet. I’ve found that running more than six feet of hose between the sink and the toilet basically guarantees a temperature complaint. Keep the hose run as short and direct as possible, and insulate it with foam pipe wrap if it has to travel along an exterior wall.
For electric bidet seats with an internal heater, a stuck temperature means it’s time to check the control panel and the heating element itself. Start simple: unplug the unit for 60 seconds and plug it back in. This resets the internal circuit board and fixes more electric bidet glitches than you’d expect. If that doesn’t work, check the temperature dial or digital setting hasn’t been accidentally locked — a lot of models have a child-lock feature that’s easy to trigger by accident.
Real talk: if the heating element itself has failed, you’re not fixing that with a YouTube tutorial. That’s a part replacement or a warranty claim, not a DIY job.
Problem 5: The Toilet Seat Won’t Sit Level After Installation
You finish the install, sit back to admire your work, and notice the seat is rocking like a see-saw or sitting crooked on the bowl. This drives me up the wall more than almost any other issue on this list, because it’s purely a leveling problem, not a mechanical one.
The fix is almost always in the mounting bolts. Bidet attachments replace your existing seat mounting hardware with their own adapter plates, and if those bolts aren’t tightened evenly, the whole seat sits crooked.
- Loosen both mounting bolts underneath the toilet bowl.
- Lift the seat assembly slightly and re-center it so it’s parallel with the bowl edges on both sides.
- Hand-tighten both bolts a few turns each, alternating sides, like you’re tightening lug nuts on a tire.
- Once it’s centered and snug, give each bolt a final quarter turn with a screwdriver.
If it’s still rocking after that, check for a worn or missing rubber gasket between the seat hinge and the toilet bowl rim. That gasket is what keeps everything stable, and it’s easy to lose track of during install. I’ve genuinely found one sitting forgotten in the box a full week after finishing a job.
Problem 6: Remote Control or Buttons Aren’t Responding
Wireless remote and side-panel control issues are common on electric models, and they’re usually the easiest fix on this entire list, even though they feel the most high-tech and intimidating.
Battery issues cause the majority of these complaints. Pop open the remote’s battery compartment and check for corrosion, even on brand-new batteries — sometimes a defective battery from the factory pack just won’t hold a charge. Swap in fresh batteries from a different brand if you’ve got them handy.
If a wired side-panel control isn’t responding, check that the connector cable between the panel and the main unit is fully seated. These cables can shake loose during shipping or installation without you noticing, since they’re tucked underneath the seat.
For wireless remotes specifically, distance and obstruction matter more than people expect. Tile, metal fixtures, and even a thick bathroom door can interfere with the signal. If your remote works fine standing right next to the toilet but not from across the room, that’s your answer — it’s not broken, it’s just got bad signal range.
Problem 7: Unpleasant Odors Coming From the Unit
This one’s unglamorous but important, and it’s the issue people are most embarrassed to ask about. Lingering odors almost always come from one of two places: a buildup inside the nozzle housing, or a small amount of standing water sitting in the unit between uses.
Clean the nozzle and housing weekly with a mix of water and mild vinegar, using a soft brush to get into the grooves around the nozzle track. Most units have a small “nozzle clean” or “self-clean” button — use it, but don’t rely on it alone, because it only rinses the nozzle, not the housing around it.
If the smell persists after cleaning, check the drainage. Some attachments are designed to fully drain after each use, and a slight tilt or installation angle can leave a small pool of stagnant water sitting in the body of the unit. That stagnant water is a breeding ground for odor-causing bacteria. Make sure your toilet bowl itself is level (an actual bubble level helps here) and that the attachment is seated flush against the bowl rim with no gaps.
Real Talk: What’s Not Worth Fixing, and What I’d Skip Entirely
I’ll be straight with you here, because most articles won’t be.
If your bidet attachment is a cheap non-electric model under $40 and it’s having recurring leak problems even after you’ve re-taped everything twice, I’d just replace the unit. The internal valve seals on the bargain-bin models are often low-quality plastic that warps over time, and you’ll spend more in plumber’s tape and aggravation than the thing originally cost.
I’ve also found that aftermarket “universal” remote replacements for electric bidet seats are usually a waste of money. They’re marketed as compatible with everything, but in practice the button mapping is often off, and you’ll end up fighting the remote more than enjoying the bidet. If your original remote dies, go straight to the manufacturer for a replacement, even if it costs a bit more.
One thing that’s genuinely not worth attempting yourself: opening up the internal heating element or electronic control board on a heated electric bidet seat. I know it’s tempting when you’re staring down a $300 replacement part, but these units involve water and electricity in close proximity, and a botched repair here is a real safety risk, not just a wasted afternoon. Call a professional or use the manufacturer’s warranty for anything beyond the seat, nozzle, and remote.
Final Thoughts
Most bidet attachment problems come down to three things: tape, tightness, and buildup. Before you assume your unit is defective, check those three first — it’ll solve the issue more often than you’d think. I learned most of this the slow way, with a lot of trial, error, and one memorably soggy bath mat. You don’t have to.
Have you run into a bidet attachment problem that wasn’t on this list? Drop it in the comments below — I read every one, and I’d genuinely like to know what I missed.