
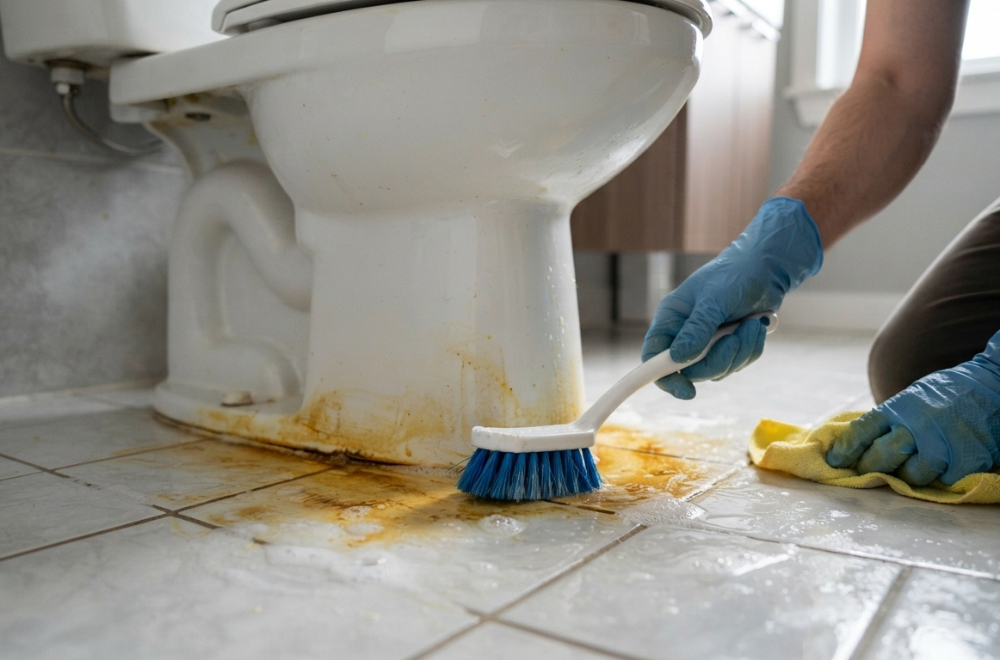
You walk into the bathroom, glance down, and there it is again. That ring of yellow-brown gunk hugging the base of your toilet, right where the porcelain meets the floor. You scrub it. It fades for a week. Then it’s back, sometimes darker than before.
I’ve pulled up more toilets than I can count, and this exact stain is one of the top three complaints I hear from homeowners. It’s not just ugly. It usually means something underneath is going on, and if you ignore it long enough, you’re looking at a much bigger repair than a bottle of cleaner can fix.
Here’s the good news: most yellow toilet base stains are fixable in an afternoon, and you don’t need to call a plumber for the easy cases. Let’s get into what’s actually causing that stain and how to make it disappear for good.
What Causes Yellow Stains Around the Toilet Base?
Before you grab any cleaner, you need to know what you’re dealing with. Yellow stains around a toilet base usually come from one of three sources, and each one needs a different fix.
- Hard water mineral buildup. If your water is hard, the minerals in it (mostly calcium and magnesium) leave deposits behind wherever water sits or splashes. Over time these deposits oxidize and turn a rusty yellow or orange color. This is the most common cause, and honestly the easiest to deal with.
- Urine residue. I’m just going to say it because pretending otherwise doesn’t help anyone. Urine that seeps into the grout lines or the caulk around the toilet base will stain yellow and start to smell over time. This happens in every household with a toilet, not just ones with kids or male family members, so don’t feel singled out.
- A failing wax ring or leaking base seal. This is the one that worries me. If the stain is damp, spreading, or paired with a soft or discolored floor, you might have water leaking from the base of the toilet itself. That’s not a surface cleaning problem. That’s a “shut off the water and investigate” problem.
A quick way to tell the difference: dry, crusty, and only around the visible base trim is almost always mineral or residue buildup. Damp, spongy, or spreading into the floor is a seal issue. Keep that distinction in mind because it changes everything about how you approach the fix.
How to Clean Yellow Mineral Stains Around the Toilet Base
If your stains are dry and crusty, start here. This is the fix for probably 80% of the cases I’ve seen.
- Grab distilled white vinegar and a spray bottle. Fill the bottle with plain white vinegar, no dilution needed for tough stains. Vinegar’s acidity breaks down mineral deposits without wrecking your finish.
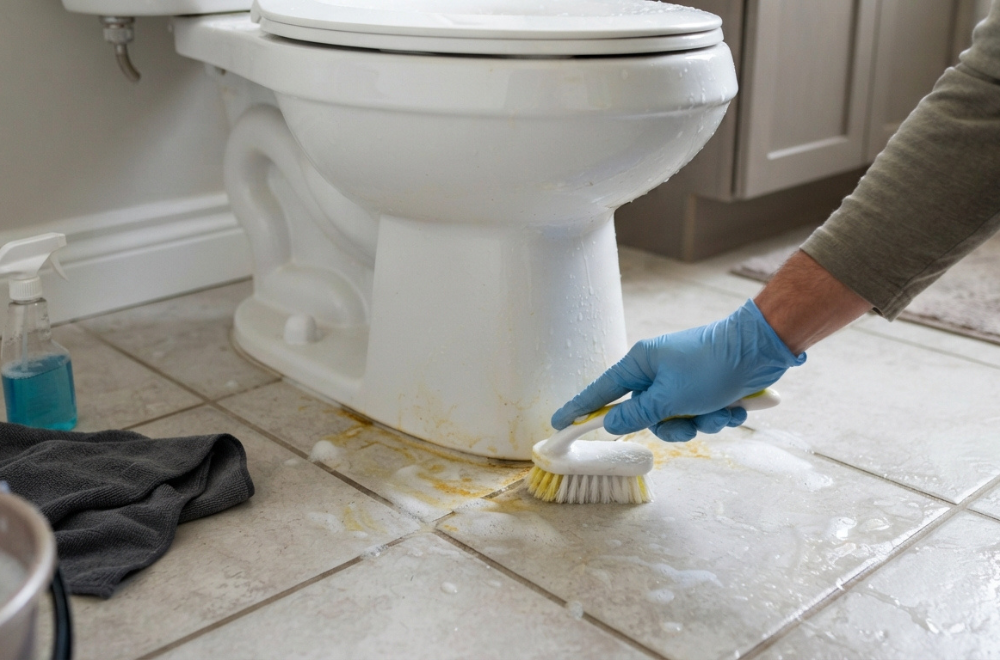
- Saturate the stained area. Spray it directly onto the base trim, the caulk line, and the floor grout around it. Let it sit for 15 to 20 minutes. I know that feels like forever when you’re standing there with a rag in your hand, but the soak time is what actually dissolves the minerals.
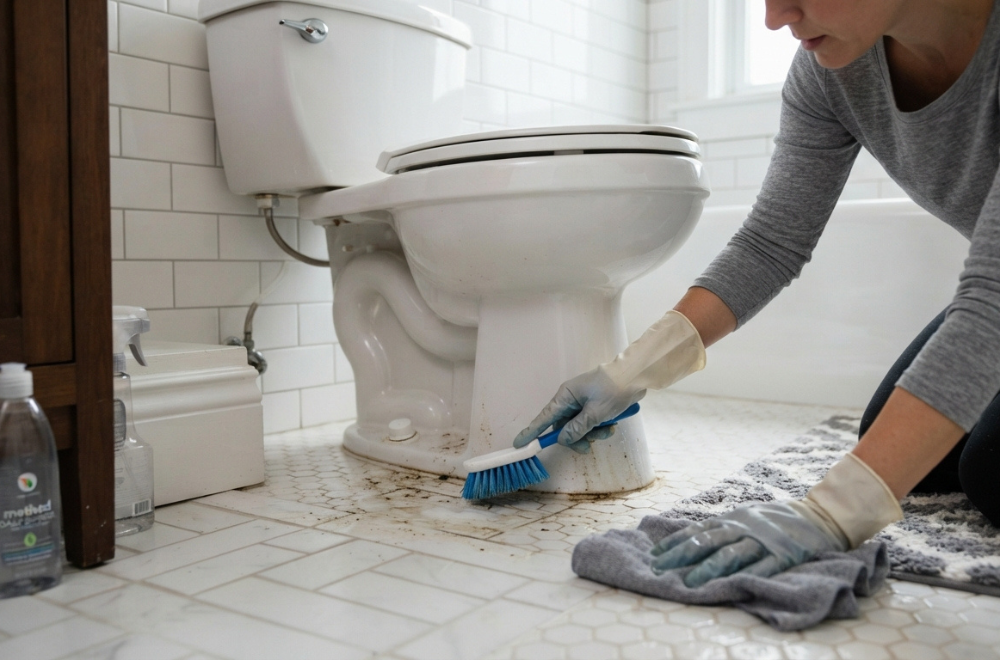
- Scrub with a stiff nylon brush. An old toothbrush works great for tight grout lines. Avoid steel wool or anything metal near porcelain or chrome trim pieces, since it’ll scratch the finish and give the grime something new to grab onto.
- Rinse and dry thoroughly. Wipe everything down with a clean, damp cloth, then dry it completely. Leaving moisture behind just invites the next round of buildup.
- For stubborn spots, make a baking soda paste. Mix baking soda with a little vinegar until it forms a thick paste, apply it directly to the worst areas, and let it sit for 10 minutes before scrubbing again. This combo handles the deposits that plain vinegar alone won’t touch.
If the stain is on unglazed grout or unsealed stone tile, skip the vinegar and use an oxygen-based cleaner instead. Vinegar’s acidity can eat away at natural stone and unsealed grout over time, and I’ve seen well-meaning homeowners turn a yellow stain problem into a pitted floor problem.
Removing Urine Odor and Stains from Bathroom Floor Grout
Mineral deposits are one thing. Urine stains soaked into grout are a different animal, mostly because they carry a smell that vinegar alone won’t fully kill.
- Mix hydrogen peroxide with a small amount of dish soap. Hydrogen peroxide breaks down the organic compounds causing both the stain and the odor, while the dish soap helps lift residue off the grout surface.
- Apply and let it foam. Pour or spray the mixture directly onto the grout lines around the toilet base. You’ll see it start to bubble, which is a good sign it’s working on the buildup.
- Let it sit for a full 30 minutes. This is not a five-minute job. Grout is porous, and the solution needs time to work its way into the material, not just sit on top of it.
- Scrub with a grout brush, then rinse well. Use plenty of clean water when you rinse, because leftover peroxide residue can leave its own faint discoloration if you don’t flush it out.
- Seal the grout once it’s completely dry. This is the step almost everyone skips, and it’s the reason the stain keeps coming back every few months. A penetrating grout sealer creates a barrier so future splashes and drips can’t soak in the same way. Reapply it once a year in high-traffic bathrooms.
If the smell persists after cleaning, the issue might not be the grout at all. It could be urine that’s worked its way under the caulk line and into the subfloor. That’s more involved, and I’ll get into it in the next section.
Removing and Replacing Caulk Around the Toilet Base
This is the fix that actually solves the problem long-term instead of just masking it, and I genuinely think it’s the most underrated step in this whole process. Old caulk is a magnet for mineral deposits and moisture, and once it’s stained, no amount of scrubbing will make it look new again.
- Cut away the old caulk with a utility knife. Score along both edges of the caulk line where it meets the floor and the toilet base, then peel it away in strips. A caulk removal tool makes this faster, but a sharp utility knife works fine for a single toilet.
- Scrape off any leftover residue. Use a plastic putty knife to get up the last bits stuck to the porcelain and the floor. Don’t use metal here, since it can scratch both surfaces.
- Clean the area with rubbing alcohol. Wipe down the whole base and the surrounding floor to remove any oil, soap film, or leftover cleaner residue. Caulk won’t stick well to a dirty or damp surface, so give it a few minutes to dry completely before moving on.
- Apply a bead of 100% silicone caulk, leaving a small gap at the back. Run a smooth, even bead around the front and sides of the toilet base. Here’s my opinionated take: leave a one to two inch gap at the very back of the toilet, unclaulked. Building inspectors in a lot of areas actually recommend this now, because a fully sealed base traps any leak inside instead of letting it show up as a puddle you’d notice right away.
- Smooth the bead and let it cure. Run a wet finger or a caulk smoothing tool along the bead for a clean line, then leave it alone for at least 24 hours before you mop or let water anywhere near it.
Fresh caulk isn’t just cosmetic. It’s the barrier that keeps grime, water, and residue from working their way back into the grout and subfloor. Skipping this step is why so many people end up scrubbing the same stain every single month.
When Yellow Stains Mean a Leaking Toilet Base
I mentioned earlier that some stains are a warning sign, not just a cleaning chore. Here’s how to check.
Rock the toilet gently from side to side. If it wobbles even slightly, the wax ring seal underneath may already be compromised, and every flush is pushing a small amount of water past it. Combine that with a soft spot in the floor, a musty smell, or a stain that keeps darkening no matter how well you clean it, and you’re likely looking at a failed wax ring.
Replacing a wax ring isn’t a huge job, but it does mean shutting off the water, disconnecting the supply line, unbolting the toilet, and lifting it off completely. If you’ve never done it, I won’t sugarcoat it: it’s heavier and messier than people expect. That time I tried to move a toilet solo without draining the tank first, I ended up with water across half the bathroom floor. Drain the tank and bowl fully before you lift anything.
If you rock the toilet and it’s rock solid with no wobble, no soft floor, and no smell, you’re almost certainly dealing with a surface stain, not a leak. Go back to the cleaning steps above and you should be fine.
Preventing Yellow Stains From Coming Back
- Wipe the base weekly. A quick pass with a disinfecting wipe around the trim and caulk line takes 30 seconds and stops buildup before it starts.
- Install a water softener if you have hard water. This is the single biggest fix for recurring mineral stains, because you’re addressing the source instead of the symptom.
- Reseal grout annually. I mentioned this above, but it’s worth repeating because it’s the step everyone forgets.
- Fix a wobbly toilet immediately. Don’t wait for the stain to get worse. Tighten the base bolts or replace the wax ring as soon as you notice movement.
Quick side note: those toilet bowl tablets that drop into the tank and turn the water blue? I’ve found they’re a total waste of money for this specific problem. They handle bowl staining, not the base and floor, and some of them actually degrade rubber seals over time with prolonged use. Skip them if base staining is your main concern.
Real Talk: What’s Not Worth the Effort
Let’s be honest about a few things.
Bleach is not your friend here. I know it’s the instinct every homeowner reaches for, but bleach doesn’t dissolve mineral deposits the way an acid does, and on grout or natural stone it can actually cause more discoloration than it fixes. Save it for the toilet bowl interior, not the base.
Painting over stained caulk is a trap. I’ve seen people try to “refresh” old, stained caulk with paint or a caulk-colored marker instead of replacing it. It looks fine for about a week, then the paint peels and you’re left with an even worse mess than before. Just replace the caulk. It takes an hour and actually solves the problem.
Pressure washing your bathroom floor is overkill and a bad idea. Some people get frustrated enough to bring in tools that are way too aggressive for an indoor space. You’ll force water into places it shouldn’t go, including under your flooring and around electrical outlets. Stick to the manual scrubbing methods above.
And if you’re dealing with a genuine leak from a failed wax ring, don’t try to “just add more caulk” to seal it shut. I’ve seen this attempted more than once, and sealing the base while a leak is active just traps the water where you can’t see it, which leads to subfloor rot. Fix the actual leak first.
Final Thoughts
Yellow stains around your toilet base are almost always fixable without a full bathroom renovation, but the fix only sticks if you address the actual cause instead of just scrubbing the surface. Clean it, reseal it, and keep an eye on whether your toilet is sitting solid. That combination handles the problem for good in most homes.
Have you dealt with a stain that kept coming back no matter what you tried, or found a trick that worked better than what I’ve listed here? Drop it in the comment box below. I read every one, and the best tips in this article usually came from readers just like you.