
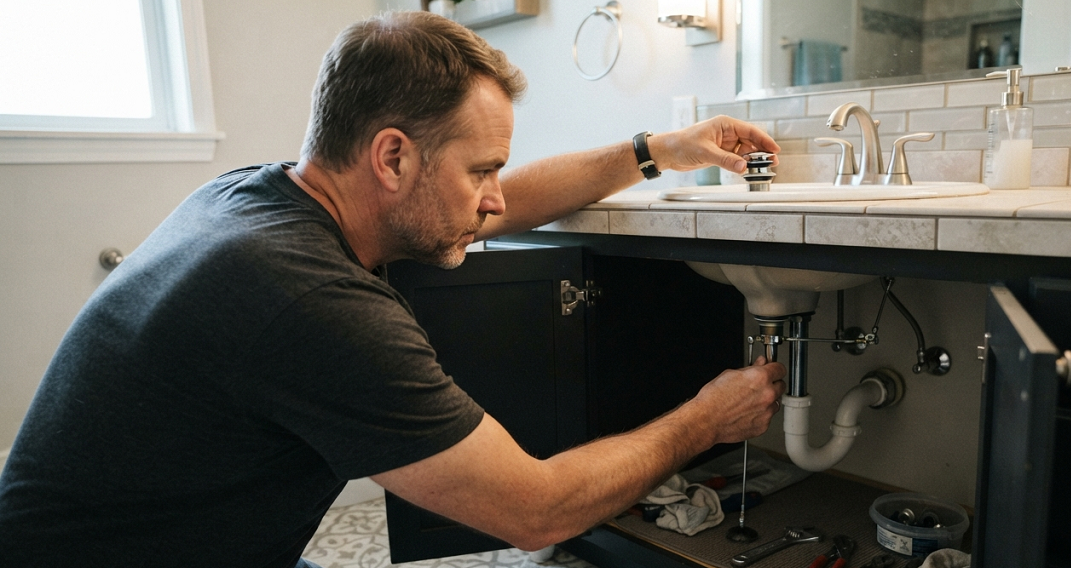
Your bathroom sink either won’t hold water at all, or it won’t drain no matter how hard you jiggle that little lever. Both problems usually trace back to the same cheap little part: the sink stopper. And both are fixable in about twenty minutes, with tools you probably already own.
I’ve swapped out more sink stoppers than I can count, in houses ranging from a 1920s bungalow with pipes held together by what I can only assume was hope, to a brand-new build where the stopper broke inside of eight months. My favorite part of this job? It’s one of the rare home repairs where the “after” photo looks exactly as good as a $150 plumber visit, and it costs you about twelve bucks.
If your sink is slow to drain, won’t drain, won’t hold water for shaving or hand-washing delicates, or the little lever behind your faucet feels loose and useless, you’re in the right place. Let’s get your sink working again.
I remember the first time I tried this repair. I was convinced I’d need to shut off water to the whole house, lay down a tarp, and brace for some kind of plumbing disaster. Twenty minutes later I was standing there with a dead stopper in one hand, feeling a little silly about how much I’d built it up in my head. That’s the thing about most bathroom fixture repairs — they look intimidating from the outside because you can’t see what’s happening under the sink, but once you get your head down there with a flashlight, it’s just a handful of simple connected parts.
Signs You Need a New Bathroom Sink Stopper (Not Just a Cleaning)
Before you buy a replacement part, figure out if you actually need one. Sometimes a stopper just needs a good scrub-down and a squirt of lubricant.
Here’s how I tell the difference:
- Slow drain, but water still eventually goes down. This is usually gunk — hair, soap scum, toothpaste residue — built up on the stopper itself or the pivot rod. Pull the stopper, clean it, and you’re often done.
- Stopper won’t stay down / sink won’t hold water. This points to a worn-out seal, a stopper that’s the wrong size for your drain, or a pivot rod that’s disconnected.
- Lever behind the faucet feels loose, wiggly, or does nothing. That’s your clevis strap or pivot rod — the mechanical linkage — failing. Sometimes you can fix this without a full stopper replacement, but I usually just replace the whole assembly since the parts are so cheap.
- Stopper is cracked, discolored, or just plain old. Rubber seals degrade. Metal ones corrode. If yours looks rough, don’t bother nursing it along. Twelve dollars and twenty minutes buys you peace of mind.
Quick side note: if your sink drains fine but smells bad, that’s a different problem entirely — usually a dry P-trap or biofilm buildup, not your stopper. Don’t waste money replacing a part that isn’t broken.
I’ve also seen people replace a perfectly good stopper because the sink was draining slow, when the real culprit was a hair clog sitting an inch below the stopper, completely out of sight. Before you buy anything, try this five-minute test: pull the stopper out completely, shine a light down the drain opening, and see if you can spot a dark clump of hair or gunk sitting on top of the P-trap. If you can, fish it out with a bent wire hanger or a cheap plastic drain-clearing tool before you assume the stopper itself is the problem. It’s saved me more than one unnecessary trip to the hardware store.
Tools and Materials You’ll Actually Need
I like keeping this job dead simple. Here’s my list, and I promise I’m not padding it with stuff you’ll never use:
- Adjustable pliers (channel-lock or slip-joint both work fine)
- A rag or old towel — trust me, put this under the pipes before you start
- A small bucket or bowl to catch drips
- Replacement stopper assembly — sold at any hardware store, usually under $15
- Plumber’s grease or petroleum jelly for the new seal
Bonus item: a flashlight or your phone’s flashlight. The space under a bathroom sink is dark, cramped, and never quite as accessible as you’d like. I once spent ten minutes hunting for a pivot rod nut by feel alone before I remembered I own a phone with a light on it.
Choosing the Right Type of Bathroom Sink Stopper
Not every stopper works the same way, and this trips people up more than you’d think. Before you buy a replacement, figure out which style you’re dealing with.
- Pop-up stopper (pivot rod style). This is the classic setup, controlled by a lever behind your faucet, connected to a horizontal pivot rod under the sink. Most of this guide focuses on this style, since it’s what you’ll find in the vast majority of American bathrooms.
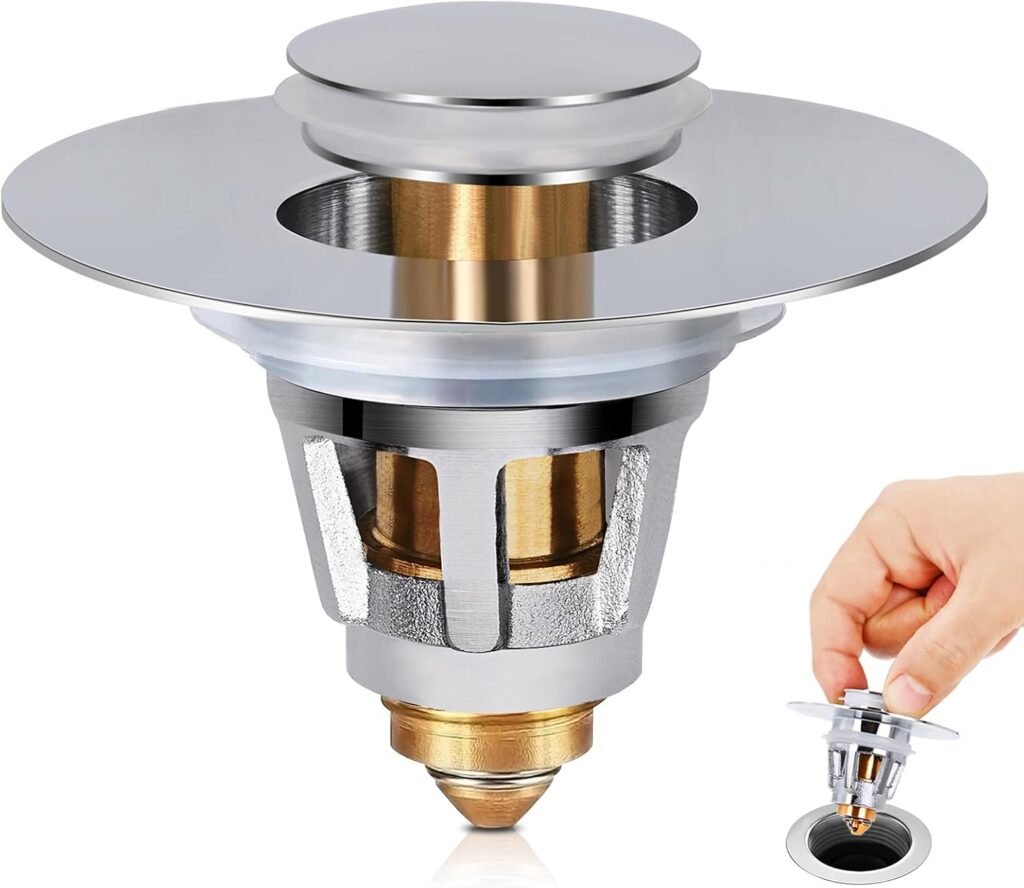
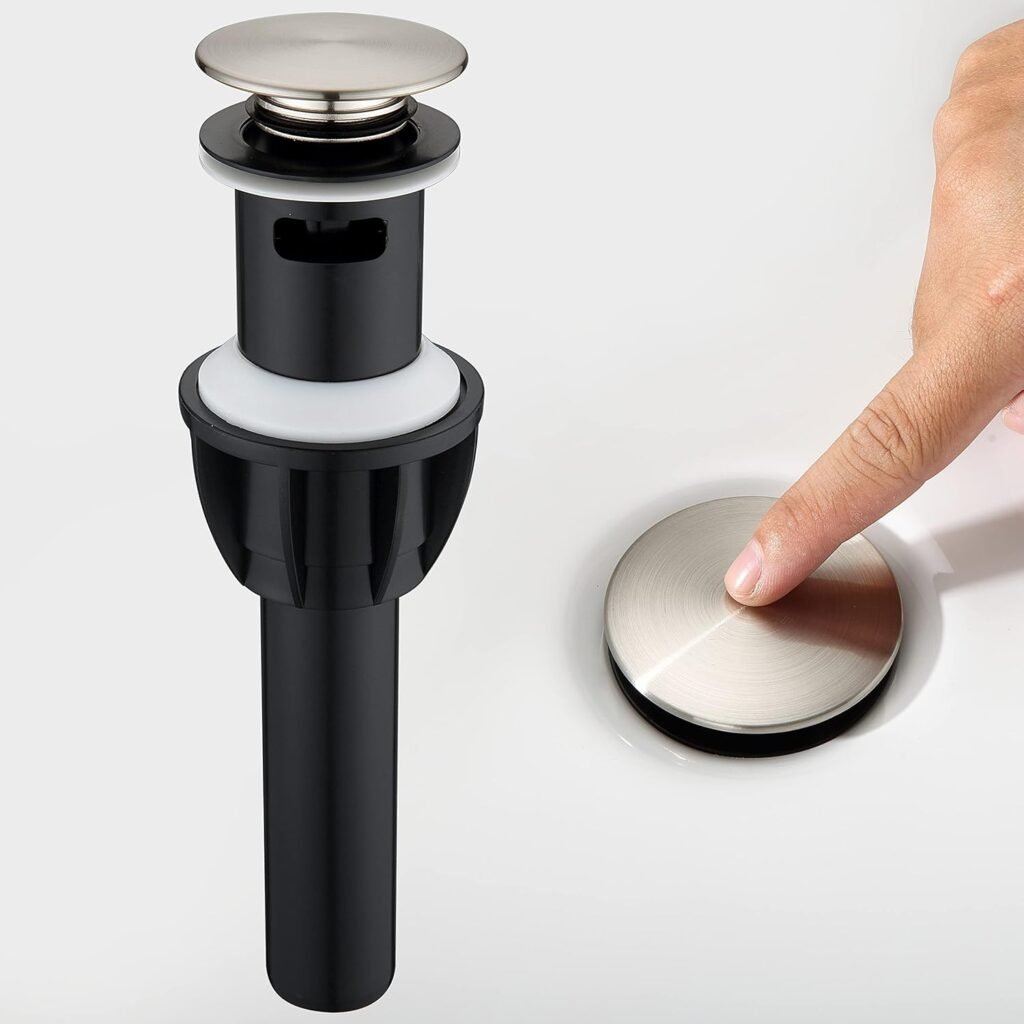
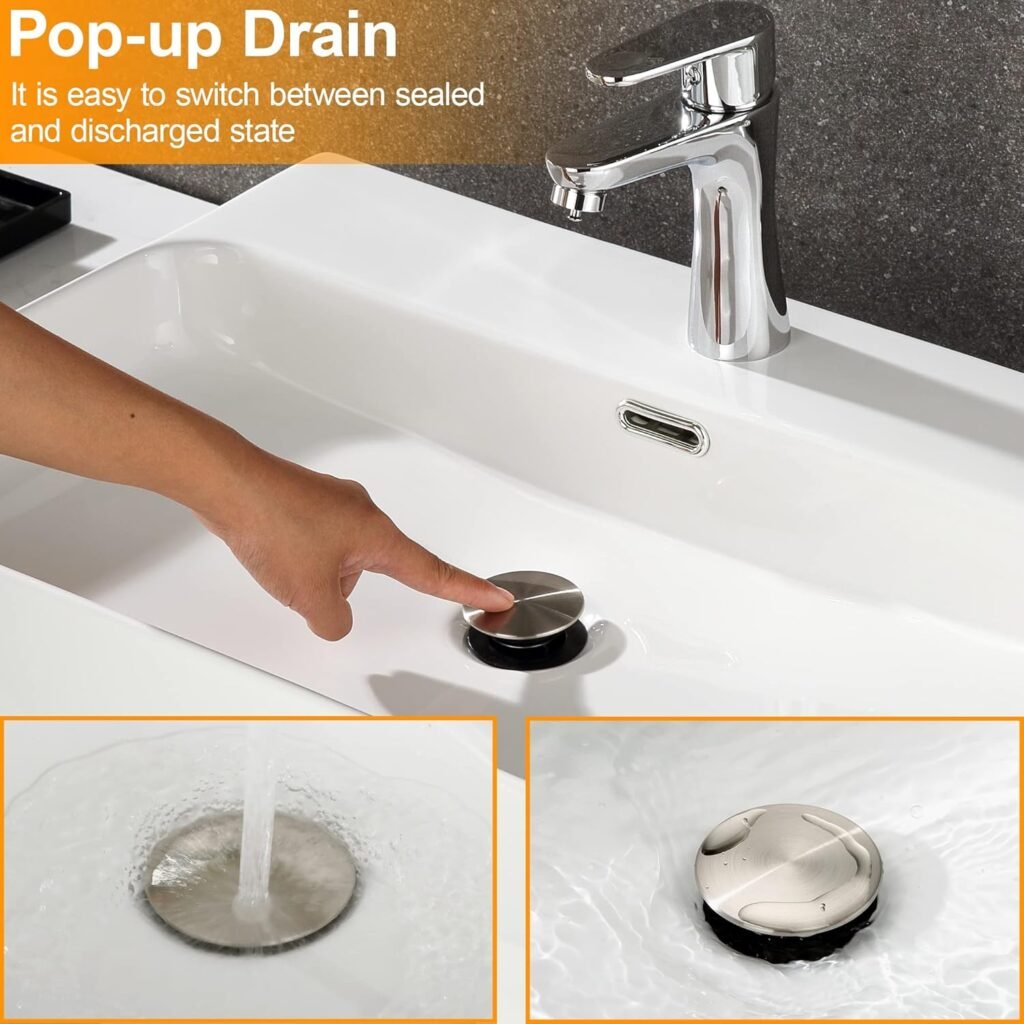
- Push-and-seal stopper (toe-touch or push style). No lever, no pivot rod. You just press down on the stopper itself to open or close the drain. These are common in newer builds and are honestly a little easier to replace, since there’s no linkage to fuss with under the sink.
- Lift-and-turn stopper. You twist the stopper knob to open and close it. These thread directly into the drain body and don’t connect to anything under the sink at all.
Take a photo of your current stopper and the area under your sink before you head to the store. I’ve watched a friend buy three different stopper kits over two trips because he kept guessing wrong about which style he had. A thirty-second photo would’ve saved him an afternoon.
How to Remove the Old Sink Stopper
This is the part that intimidates people, and it shouldn’t. There’s no water shutoff required for most of this job since you’re not touching a supply line.
Step 1: Get under the sink and find the pivot rod. You’ll see a horizontal rod coming out of the drain pipe, connected to a vertical rod that runs up to the lever behind your faucet. That horizontal piece is your pivot rod, and it’s the key to everything.
Step 2: Unscrew the retaining nut. This is the nut where the pivot rod enters the drain pipe. Turn it counterclockwise with your pliers. It might be stiff from mineral buildup — a few drops of penetrating oil helps if it’s really stuck.
Step 3: Pull the pivot rod out. Once the nut is loose, slide the pivot rod backward, out of the drain assembly. Keep your rag handy here; a little water usually dribbles out.
Step 4: Lift the old stopper out from the top. With the pivot rod disconnected, the stopper should lift right out of the drain opening from inside the sink basin. If it’s stuck, give it a gentle twist while pulling up.
Step 5: Inspect the pivot rod and clevis strap. These parts often get reused even when you replace the stopper. Check for rust, cracking, or a strap that’s bent out of shape. If it looks rough, buy a full kit that includes new versions of both.
Installing Your New Bathroom Sink Stopper
Now for the satisfying part.
Step 1: Coat the new seal with plumber’s grease. This keeps the rubber gasket flexible and helps it seat properly. Don’t skip this — a dry seal is a leaky seal, and I’ve found that out the annoying way more than once.
Step 2: Drop the new stopper into the drain opening. Make sure it’s oriented so the little slot or hole on the side of the stopper faces the back of the sink, toward where the pivot rod will enter. This slot is what the pivot rod hooks into.
Step 3: Feed the pivot rod back through the drain pipe. Guide it in slowly until you feel it catch the slot on the bottom of the stopper. This takes a little patience and maybe a wiggle or two.
Step 4: Hand-tighten the retaining nut, then snug it with pliers. Don’t crank it down like you’re closing a bank vault. Snug is enough. Overtightening plastic nuts is how you end up buying a second stopper kit the same afternoon.
Step 5: Reconnect the clevis strap to the vertical lift rod. This is the strap that connects to the rod behind your faucet. Slide the pivot rod through one of the holes in the strap and secure it with the spring clip.
Step 6: Test the lever. Push and pull the lever behind your faucet. The stopper should rise and fall smoothly in the drain. If it’s not moving enough, or moving too much, adjust which hole in the clevis strap you’re using. This is basically the only “tuning” this job requires.
Step 7: Run water and check for leaks. Fill the sink partway, let it sit for a minute, then pull the stopper and watch it drain. Check under the sink for drips at the retaining nut. If you see any, snug the nut a bit more.
Common Sink Stopper Problems and How I’ve Fixed Them
- The lever moves but the stopper barely budges. Nine times out of ten, this is a clevis strap connected to the wrong hole, or a pivot rod that’s not seated all the way into the stopper’s slot. Reopen the retaining nut, reseat everything, and try a different hole on the strap.
- Water drains too fast even with the stopper “closed.” Check that you bought the right size stopper. Bathroom sink drains typically come in two standard sizes, and a stopper that’s even slightly undersized won’t seal against the drain walls no matter how well it’s installed.
- The stopper pops out on its own. This usually means the pivot rod isn’t actually hooked into the stopper’s slot — it’s just resting against it. Pull everything back apart and make sure you feel that little catch when you feed the rod through.
How Long a Bathroom Sink Stopper Should Last
A decent stopper assembly should last you five to ten years with basic care. Cheap plastic ones sold in big-box “universal” kits sometimes give out sooner, especially if your water is hard and mineral-heavy. If you’re on well water or live somewhere with a lot of calcium buildup, I’d spend the extra few dollars for a metal pivot rod and clevis strap instead of the all-plastic version. Plastic handles hard water fine for the stopper itself, but the moving linkage parts wear out faster when they’re constantly coated in mineral deposits.
A little maintenance stretches that lifespan even further. Once every couple of months, pull the stopper, rinse off any hair or soap film, and wipe the rubber seal clean. It takes about ninety seconds and it’s the kind of small habit that keeps you from ever having to do this full replacement job in the first place. My rule of thumb: if I’m already cleaning the bathroom, the stopper gets a quick pull-and-rinse too. It’s not glamorous, but it works.
Real Talk: What Can Go Wrong (and What’s Not Worth Your Time)
I want to be straight with you about a few things before you start.
- Old pipes are unpredictable. If your drain pipe is old metal instead of PVC, that retaining nut might not want to budge, and forcing it can crack decades-old fittings. If you’re fighting it for more than a few minutes and it’s not moving, stop and consider calling a plumber instead of turning a $12 fix into a $400 pipe replacement.
- Universal kits aren’t always universal. I’ve bought “universal” stopper kits that didn’t quite fit my drain opening. Measure your existing stopper’s diameter before you buy, and keep the receipt.
- Skipping the grease step will bite you later. It seems optional. It’s not. A dry rubber seal cracks faster and leaks sooner, and you’ll be back under that sink in six months wondering why.
- Don’t bother with the “pop-up stopper cleaning tablets” sold near the plumbing aisle. I’ve tried them. They do almost nothing that a toothbrush and some vinegar won’t do better and cheaper.
One thing that’s genuinely not worth the effort: trying to repair a badly corroded metal pivot rod instead of just replacing it. The kits are cheap enough that fighting rust for twenty minutes to save two dollars isn’t a good use of your Saturday.
Wrap-Up: A Working Sink Is a Small Win Worth Having
Replacing a bathroom sink stopper is one of those repairs that feels bigger than it actually is. Once you’ve done it once, you’ll never pay someone else to do it again. Keep a spare kit in your garage or closet, because these little parts wear out eventually, and it’s nice to fix the problem the same day it shows up instead of living with a sink that won’t hold water for a week.
Have you run into a stopper that just wouldn’t cooperate, or found a trick that made this job easier? Drop it in the comments below — I read every one, and I’m always curious what other people have figured out under their own sinks.