
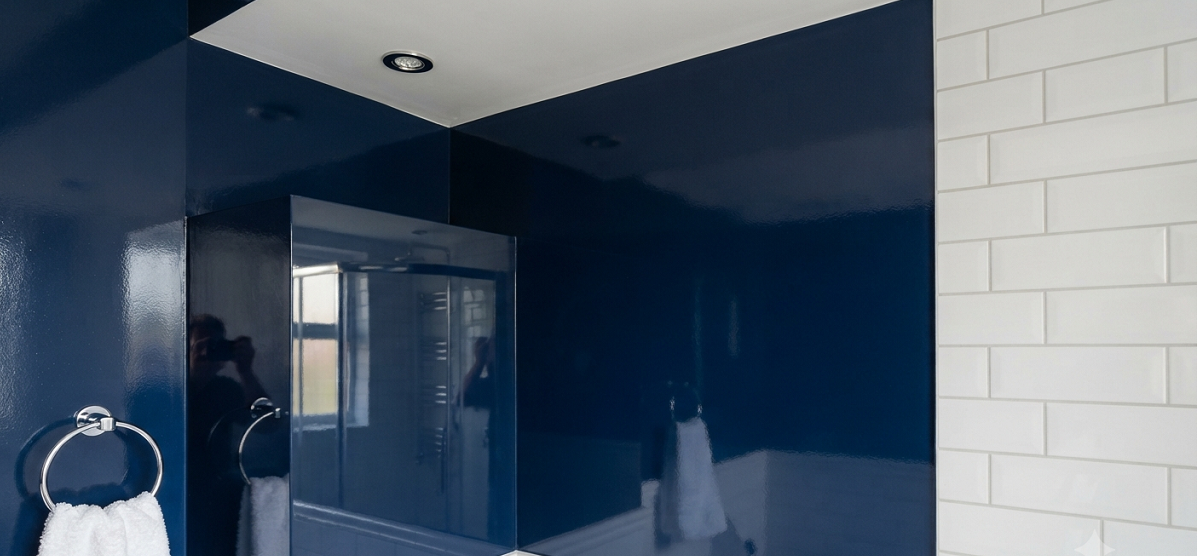
Steam fogs up your mirror every morning. Water beads on the tile and drips down onto your baseboards. And somewhere on your bathroom wall, right behind where the shower door swings open, there’s a patch of paint that’s starting to bubble like old wallpaper paste.
If that sounds familiar, you picked the wrong finish. I promise you, it’s almost never the paint brand’s fault. It’s the sheen.
I’ve repainted more bathrooms than I can count at this point — my own house twice, my sister’s two houses, a rental property I used to manage, and a small parade of friends who called me in a panic after their “cute matte gray” started peeling off in sheets. The finish you choose matters more in a bathroom than in any other room in your house, full stop. Bedrooms and living rooms are forgiving. Bathrooms are not.
So let’s fix this. I’m going to walk you through exactly which paint finishes work for bathroom walls, which ones to avoid no matter how good they look on the paint chip, and where people waste money on finishes they didn’t need.
Why Bathroom Paint Finish Matters More Than Color
Here’s the thing nobody tells you at the paint counter: sheen level controls moisture resistance way more than the paint’s “bathroom-safe” label does. Two cans of the same color, one in matte and one in semi-gloss, will behave completely differently on a wall that gets steamed on every single day.
Higher sheen means fewer microscopic pores in the dried paint film. Fewer pores means less water soaking in, less mildew getting a foothold, and a wall you can actually wipe down without ruining it. Lower sheen looks softer and more expensive, but it’s basically a sponge for humidity.
This is the whole ballgame. Once you understand that sheen equals moisture protection, every other decision gets easier.
The Best Paint Sheens for Bathroom Walls, Ranked
1. Satin Finish: My Go-To for Most Bathrooms
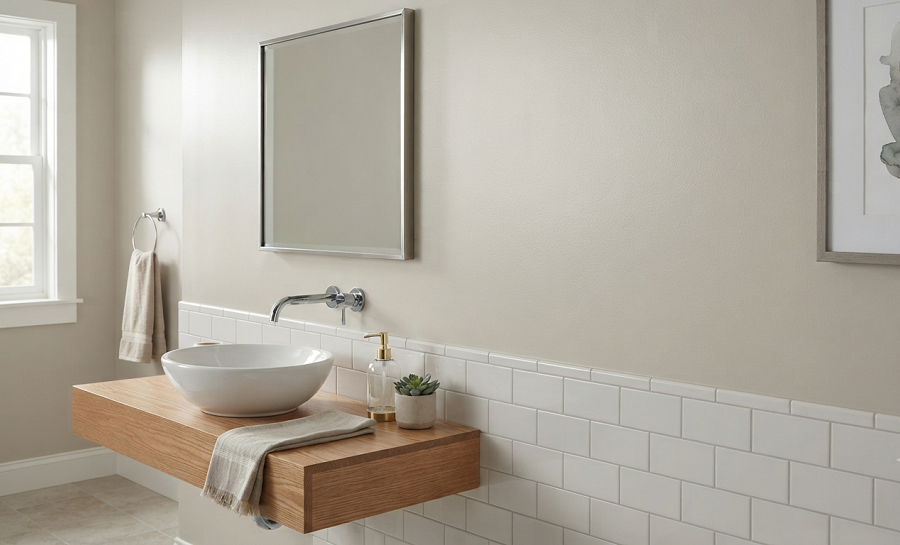
If you only remember one thing from this article, remember this: satin is the sweet spot for bathroom walls. It’s durable enough to survive daily steam and quick enough to wipe clean, but it doesn’t scream “hospital hallway” the way a full gloss does.
I painted my own guest bathroom in a satin finish about six years ago. It’s seen two kids, a dog who somehow keeps ending up in the tub, and zero repainting since. That’s the kind of track record I want from a paint job I’m not eager to redo.
Satin sits in that middle zone — enough shine to resist water and grime, enough softness that it hides minor wall imperfections like drywall seams or old nail holes. If your bathroom walls aren’t perfectly smooth (and honestly, whose are), satin is more forgiving than a higher-gloss option that reflects every little bump.
It also cleans up beautifully. A damp microfiber cloth and a little dish soap will get toothpaste splatters, hairspray residue, and soap scum off a satin wall without leaving marks. I can’t say the same for flat or matte paint, which tends to burnish or discolor when you scrub it.
2. Semi-Gloss: The Workhorse for Wet Zones
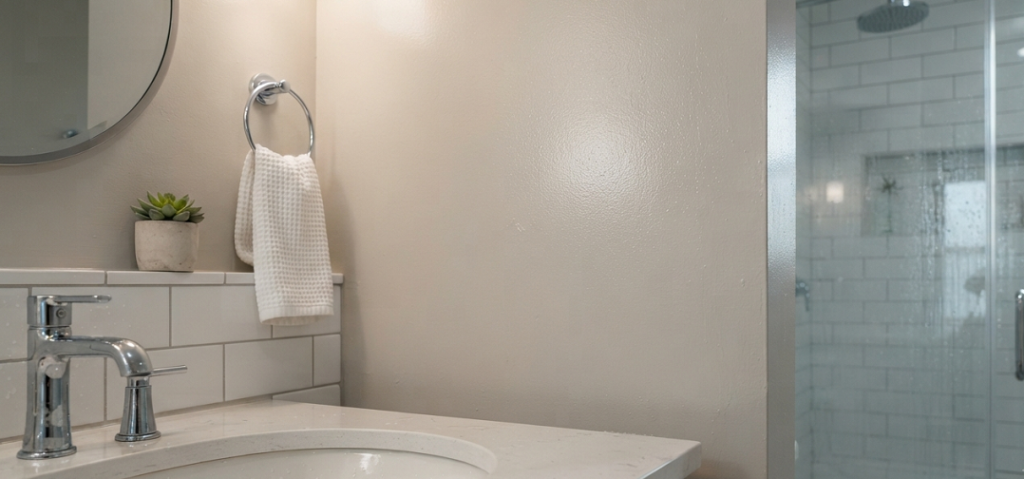
Semi-gloss is the traditional bathroom paint recommendation, and there’s a reason it’s stuck around for decades. It’s tougher than satin, sheds water more aggressively, and stands up to direct splashing near the tub, shower, and sink.
I’d point you toward semi-gloss specifically for the walls closest to your shower or tub — the zone that takes the most direct hits of water and steam. Some people do their entire bathroom in semi-gloss, and that’s a completely legitimate choice, especially in a small powder room where you want everything easy to wipe down.
The tradeoff is that semi-gloss shows imperfections. Every drywall seam, every patch job, every slightly uneven roller stroke catches the light. If your walls have any texture or damage, you’ll want to skim coat and sand before you paint, or that gloss is going to broadcast every flaw to anyone standing in your bathroom.
Semi-gloss also reads a little more “clinical” or dated to some eyes, especially in bright white. I’ve found that using semi-gloss in a warmer or more saturated color solves this completely — a deep forest green or a warm terracotta in semi-gloss still looks intentional and cozy, not like a school bathroom.
3. High-Gloss: Powerful, But Overkill for Most People
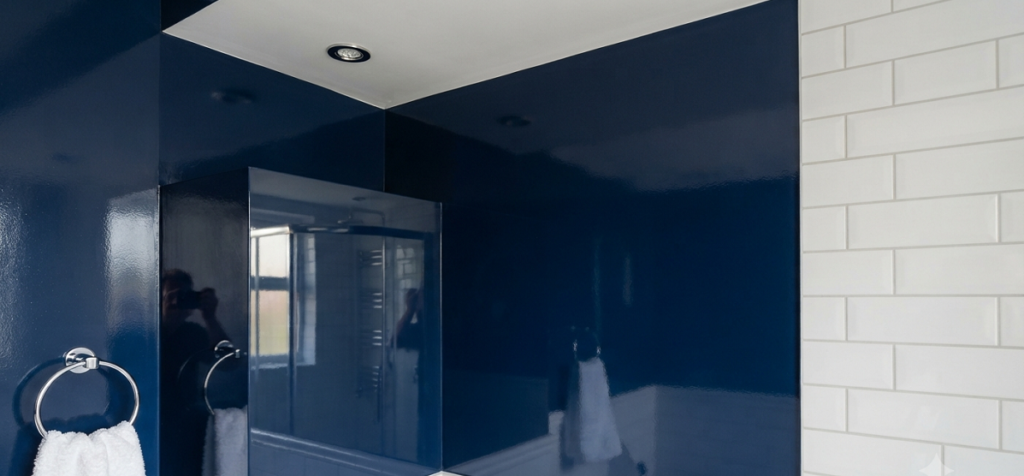
High-gloss is the most water-resistant option you can buy, and it’s genuinely excellent on trim, doors, and cabinetry in a bathroom. On full walls, though, I think it’s a total waste of money for most homeowners, even if it looks striking in a design magazine photo.
Here’s my honest take: high-gloss on a full wall is unforgiving. It highlights every roller mark, every ceiling texture bump, every spot where the drywall tape isn’t perfectly flat. Unless you’re hiring a professional painter who’s spraying the walls (not rolling), you’re going to end up with a finish that looks more like a mistake than a design choice.
Where high-gloss earns its keep is on smaller surfaces — window trim, door frames, a vanity you built yourself. Those surfaces are smaller, easier to prep perfectly, and benefit from that extra shine without turning your whole bathroom into a fun-house mirror.
4. Eggshell: A Compromise, Not a Favorite
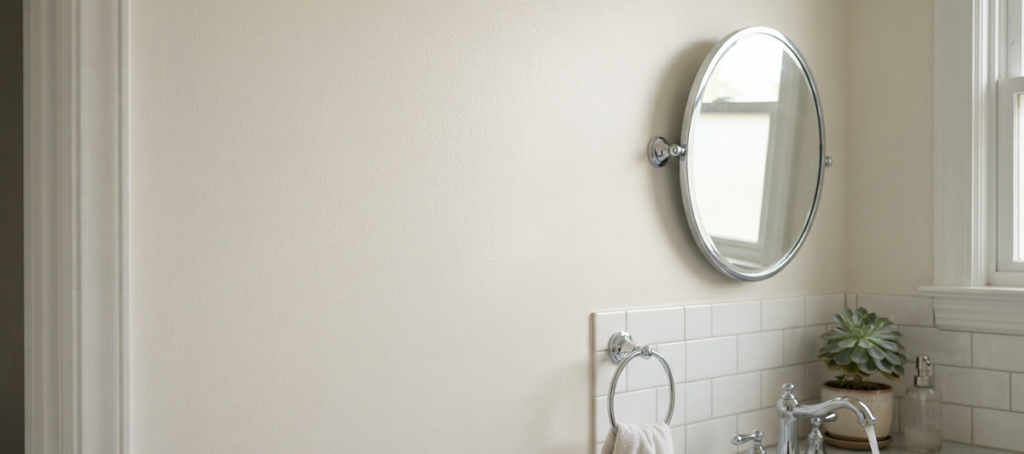
Eggshell sits between satin and flat, with a soft, low-luster look. It’s genuinely nice for hallway bathrooms or powder rooms with no shower or tub — spaces that get some humidity from a nearby kitchen or laundry room but aren’t taking direct water spray.
I’ve used eggshell in a half-bath off my living room, and it’s held up fine because that room never actually gets wet. If you’re painting a bathroom that’s really more of a “wash your hands and leave” situation, eggshell can work.
But for a full bathroom with a shower or tub, I wouldn’t reach for eggshell first. It doesn’t resist moisture as well as satin, and it’s more prone to that dull, cloudy look mildew leaves behind once humidity starts building up over months.
Paint Finishes to Avoid in Bathrooms (No Matter How Pretty They Look)
Flat and Matte Finish
Flat paint is having a real design moment right now — moody, velvety walls all over Pinterest and Instagram. I get the appeal. But please don’t put flat or matte paint in a bathroom that sees regular showers.
Flat paint has almost no protective sheen, which means water soaks straight into the paint film. Over time that leads to staining, bubbling, and paint that peels away from the wall in sheets, usually starting right around the shower or tub. I watched this happen to a friend’s “moody spa bathroom” within eight months of her painting it. She had to sand, prime, and repaint the whole thing in satin.
If you’re completely set on that matte look, save it for a powder room with zero shower or tub, good ventilation, and light traffic. Even then, I’d still nudge you toward eggshell over true flat.
What About the Ceiling?
People almost always forget the ceiling until they’re standing in the shower staring up at peeling paint above their head. Bathroom ceilings take a beating from rising steam, so don’t just grab whatever flat white ceiling paint is left over from another room.
I always go at least eggshell on a bathroom ceiling, and honestly, satin isn’t a bad call either if the ceiling is in good shape. Yes, a shinier ceiling shows a bit more texture from the drywall or old popcorn removal. But a peeling, streaky ceiling looks far worse than one with slightly visible texture.
If your bathroom doesn’t have great ventilation, treat the ceiling paint choice as seriously as the walls. Steam rises, it hangs up there, and it does its damage slowly, so you might not notice the problem until you’ve got water stains or paint flaking down onto your towels.
Should You Test Paint Before Committing to a Full Gallon?
Yes, always, and here’s my process. Buy a sample pot in your top pick, and paint a two-foot-square patch near the shower, not on some random hidden wall. That’s the zone that gets hit hardest, so it’s the real test of how the finish handles steam and splashing.
Let it cure for a full week, run your shower on hot a few times a day like normal, and check on it. If it’s holding up with no bubbling or dullness, you’re good to buy the full gallon. I know it feels like an extra step when you’re excited to get painting, but it’s saved me from repainting an entire bathroom more than once.
Color looks different under bathroom lighting than it does on the paint chip in a bright hardware store, too. Vanity lights, especially warmer bulbs, can shift a cool gray into something with a greenish or purple cast you didn’t sign up for. Testing a real patch solves both the sheen question and the color question at the same time.
SEO Aside: Paint Finish Order From Lowest to Highest Sheen
For quick reference, here’s the sheen order you’ll see on most paint cans, from least shiny to most:
- Flat / Matte
- Eggshell
- Satin
- Semi-Gloss
- High-Gloss
Bathrooms generally do best starting at satin and working up from there, depending on how much direct water exposure a given wall gets.
What to Look for on the Paint Can (Beyond the Sheen Label)
Sheen isn’t the only thing that matters. A few features to check for specifically when you’re standing in the paint aisle:
- Mold and mildew resistance additives. Many major paint brands now sell a bathroom-specific or “kitchen and bath” line that includes anti-microbial additives baked into the formula. This isn’t a gimmick — it genuinely slows down the mildew that loves to grow in grout lines and along ceiling corners.
- 100% acrylic formula. Acrylic paints flex slightly with temperature and humidity changes, which means less cracking over time compared to cheaper vinyl-acrylic blends. It costs a bit more per gallon, but it’s worth it for a room that goes through constant temperature swings.
- Primer built in, or a separate stain-blocking primer. If you’re painting over old water stains, use a stain-blocking primer first. Skipping this step is how old yellow water rings bleed straight through your brand-new paint job — I’ve seen it happen more times than I’d like to admit.
Real Talk: Where People Waste Money and Time on Bathroom Paint
Let’s be honest about a few things.
- Ventilation matters more than sheen. You can buy the most expensive, most moisture-resistant paint on the market, and it will still fail if your bathroom fan doesn’t actually vent outside, or if nobody ever runs it. Paint finish helps manage moisture; it doesn’t replace a working exhaust fan. If your fan is weak, loud, or you just don’t use it, fix that before you touch a paint roller.
- Skipping prep work is the single biggest mistake I see. People get excited, buy a gallon of the right sheen, and roll it straight onto a wall with old soap scum or mildew still on it. Paint needs a clean, dry surface to actually bond. Wipe walls down with a mild bleach solution or a dedicated mold-and-mildew cleaner, let them dry completely, then paint.
- Painting directly around the tub or shower without caulking first. If there’s a gap between your wall and your tub surround, paint isn’t going to seal it. Caulk it with a paintable silicone caulk before you paint, or water will keep sneaking behind the wall regardless of how nice your semi-gloss looks.
- Assuming “paint plus primer in one” is enough over stains. Those combo products are fine for regular walls, but they’re generally not strong enough stain blockers for water stains or smoke damage. For real staining, get a dedicated stain-blocking primer.
Quick side note: if you’re repainting a bathroom that already has a mildew problem, don’t just paint over it. Kill the mildew first with a proper cleaner, let the wall dry for at least 24 hours, and only then prime and paint. Painting over active mildew just traps it under the new coat, and it’ll bleed through within a few months.
My Final Recommendation
If you want the short answer: go with satin for your main bathroom walls, and step up to semi-gloss for the areas right around your tub or shower. Save flat and matte finishes for powder rooms with good airflow and no direct water exposure. Skip full-wall high-gloss unless you’re working with a professional sprayer and flawless drywall.
Paint finish isn’t the most exciting decision in a bathroom remodel, but it’s one of the few that quietly determines whether your paint job looks good for six months or six years.
What finish did you end up going with for your bathroom, and how’s it holding up? Drop a comment below — I read every one, and I’d love to know if satin is treating you as well as it’s treated me.