
Steam rolling off your mirror after every shower isn’t just annoying. It’s a warning sign. That fog, the damp towels that never dry, the musty smell creeping into your grout lines — that’s moisture your fan should be pulling out and isn’t.
I’ve crawled through more attics chasing bad bathroom ductwork than I care to admit. My own upstairs bathroom fooled me for two years. The fan ran, it made noise, it even moved a little air. But my ceiling still grew a faint gray shadow above the shower every winter. Turns out the fan was doing almost nothing.
If your fan hums along but your bathroom still feels like a sauna twenty minutes after you’re done, something in the system is broken. Good news: it’s almost always fixable without calling in a contractor. Bad news: it’s rarely the fan itself. Let’s get into it.
Why Your Bathroom Fan Isn’t Removing Moisture
A bathroom exhaust fan has one job: pull humid air out of the room and dump it outside. When that job doesn’t get done, moisture has nowhere to go except your walls, ceiling, and eventually your framing.
Here’s the thing nobody tells you at the hardware store. A fan that sounds powerful can still be moving almost no air. Noise and airflow are two different things, and a cheap or clogged fan can be loud and useless at the same time.
Most moisture problems trace back to one of these:
- The fan is undersized for your bathroom’s square footage
- The ductwork is crushed, disconnected, or way too long
- The vent cap outside is blocked or has a stuck flap
- Dust and lint have packed the fan housing solid
- The duct dumps into the attic instead of outdoors (this one’s more common than you’d think)
I’ll walk through each one, how to diagnose it, and what actually fixes it.
How to Test If Your Exhaust Fan Is Actually Working
Before you replace anything, run this quick test. It takes five minutes and saves you from buying parts you don’t need.
- Grab a single-ply tissue. Not a paper towel. A thin tissue works best because it reacts to weak airflow.
- Turn the fan on and hold the tissue near the grille. If it’s pulled flat against the vent and stays there, you’ve got decent suction. If it barely flutters, your airflow is weak.
- Check the CFM rating against your bathroom size. A basic rule of thumb: your fan needs at least 1 CFM (cubic feet per minute) per square foot of bathroom. A 60-square-foot bathroom needs a fan rated for at least 60 CFM, and honestly I’d round up.
- Time how long steam lingers after a shower. If your mirror is still fogged fifteen minutes after you’ve stepped out and the fan has been running the whole time, that’s your answer. The fan isn’t keeping up.
That tissue test alone tells you ninety percent of what you need to know. Weak pull means either a weak fan or a blocked path. Strong pull at the grille but moisture still hanging around means the problem is downstream, somewhere in the duct or the outside vent.
Fix 1: Clean the Fan Housing and Blades
This is the cheapest fix and the one everyone skips. I skipped it for a full year on my own fan because I assumed the motor was shot. It wasn’t. It was just buried in dust.
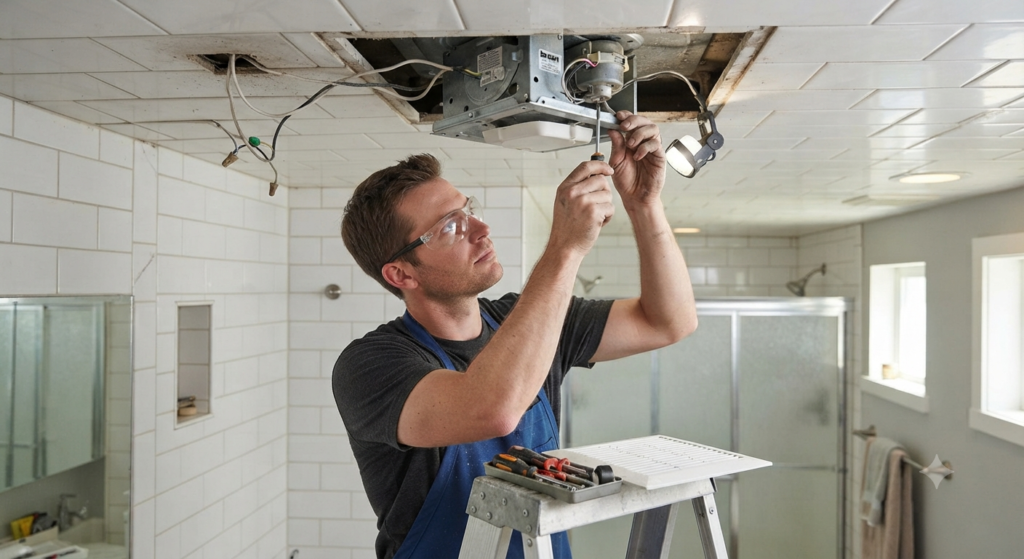
Turn off the power at the breaker first. I mean it. Don’t trust the wall switch alone.
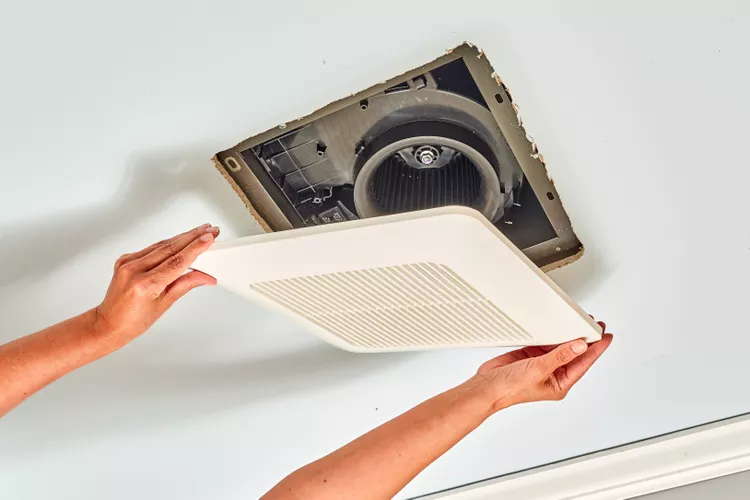
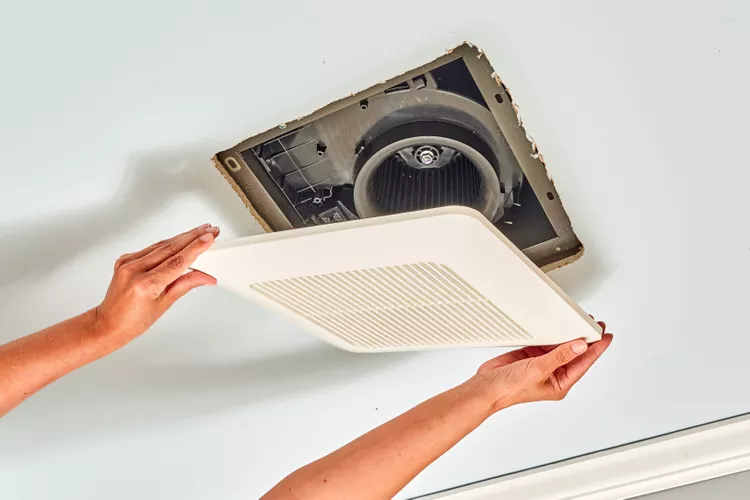
- Remove the grille cover. Most just pull down or unclip with light pressure.
- Vacuum out the dust bunnies coating the housing and fan blades.
- Wipe the blades with a damp cloth to knock off the sticky grime that vacuums miss.
- Check the motor for a layer of caked dust. If it’s thick, that motor has been working twice as hard as it should for a long time.
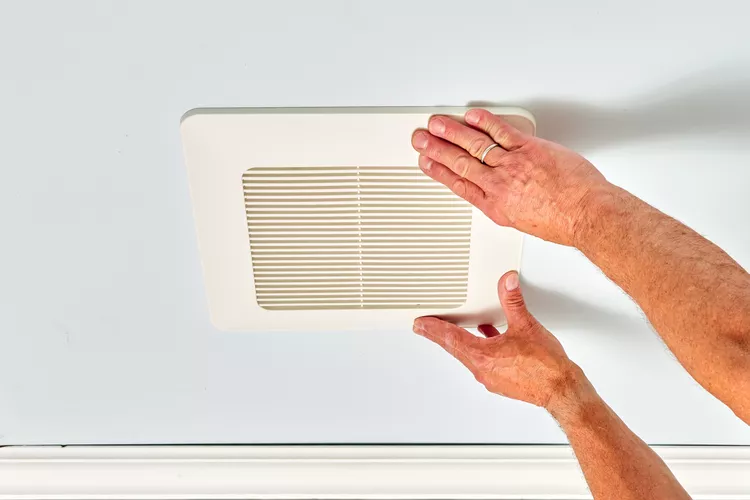
- Reattach the grille and restore power.
A fan caked in dust can lose thirty to fifty percent of its rated airflow. That’s not a guess, that’s what I’ve seen firsthand pulling apart fans that “stopped working” and were really just clogged.
Fix 2: Inspect and Fix the Ductwork
Ductwork is where most moisture problems actually live, and it’s the part homeowners never check because it’s hidden in the attic or ceiling cavity.
Crushed or kinked flex duct. The cheap accordion-style flex duct that comes with a lot of fan kits crushes easily if something gets set on top of it, or if it was installed with too sharp a bend. A crushed duct chokes airflow even with a brand-new fan pushing hard.
Ducts that are too long. Every foot of duct and every turn reduces airflow. A duct run longer than 25 feet, or one with more than a couple of 90-degree bends, needs a more powerful fan to compensate. If your bathroom is on the far side of the house from an exterior wall, this might be your whole problem.
Disconnected sections. I’ve found duct sections that had simply come apart at a joint, dumping all that humid air straight into the attic instead of outside. This is sneaky because the fan still runs fine and still pulls air out of the bathroom. The air just never makes it outdoors.
The fix: Get into the attic (safely, on the joists, not the drywall) and trace the duct from the fan housing to the exterior vent. Watch for crushing, sagging, disconnected joints, or duct tape that’s dried out and lost its grip. Replace flex duct with smooth rigid metal duct where you can. It costs more upfront but it moves air far more efficiently and doesn’t sag over time the way flex duct does.
Fix 3: Check the Exterior Vent Cap
Here’s a mistake I see constantly. Someone replaces the fan, checks the ductwork, and everything still isn’t working. The culprit is a $12 part on the roof or the wall outside.
Exterior vent caps have a flap designed to keep rain, bugs, and cold air out. Over time these flaps get gunked up with dust, nests, or paint, and they stop opening properly. If the flap barely moves, your fan is fighting against a nearly closed door the entire time it runs.
Walk outside and find where your bathroom fan vents. It might be a roof cap or a wall cap.
- Check for the flap and gently test if it opens and closes freely.
- Clear out any leaves, dust, or debris blocking the opening.
- Check for bird or wasp nests, which are shockingly common in these vents.
- If the flap is bent, rusted, or painted shut, replace the cap. They’re inexpensive and take about twenty minutes to swap.
I once found a vent cap so packed with old spider webs and dust it looked like a solid gray disk. The fan inside had been running fine for months, pushing air into what was basically a wall.
Fix 4: Make Sure the Duct Actually Vents Outside
I mentioned this above but it deserves its own section because it’s the single most damaging mistake I run into. Some bathroom fans, especially in older homes or ones with sloppy remodels, vent straight into the attic space instead of through the roof or a wall to the outdoors.
This is a huge problem. All that humid bathroom air just sits in your attic, soaking into the insulation and roof sheathing. Over a few seasons, that turns into mold, rot, and sometimes sagging or discolored ceiling drywall that looks like a roof leak but isn’t.
Get into the attic and physically follow the duct with a flashlight. If it just ends somewhere in the middle of the attic with no connection to an exterior vent, that’s the whole problem right there. This needs a proper duct run to an outside vent cap, no exceptions. I don’t care how much of a hassle it is to route through the roof or a gable wall. Venting into an attic is not a shortcut, it’s a slow-motion mold factory.
Fix 5: Upsize the Fan If It’s Underpowered
Sometimes everything downstream is clean, connected, and clear, and the fan is just too small for the room. This happens a lot in homes where a builder installed the cheapest 50-CFM fan they could find in a bathroom that really needed 90 or 110 CFM.
Bigger bathrooms, bathrooms with jetted tubs, or bathrooms that share space with a laundry area need more airflow than the builder-grade minimum. If you did the tissue test earlier and got weak suction even with clean ducts and a clear vent cap, the fan itself is your bottleneck.
Shop for a fan rated with enough CFM for your square footage, and consider one with a built-in humidity sensor that kicks the fan on automatically when moisture levels spike, even if nobody remembers to flip the switch. That feature alone has saved more than one bathroom ceiling I’ve worked on.
Quick Side Note: Run Time Matters More Than People Think
Even a perfectly working fan won’t solve your moisture problem if you shut it off the second you step out of the shower. Moisture keeps evaporating off wet surfaces for a while after you’re done.
I run mine for a solid 20 to 30 minutes after every shower. A cheap timer switch that runs the fan for a set period automatically is one of the best five-dollar upgrades you can make to a bathroom. It takes the guesswork, and the forgetting, completely out of the equation.
Real Talk: What’s Not Worth the Effort (and What Can Go Wrong)
I’ve made plenty of mistakes here, so let me save you the trouble.
Don’t just crank up fan speed without checking ducts first. I’ve seen people buy the biggest, loudest fan on the shelf assuming more power fixes everything. If your ductwork is crushed or disconnected, a bigger fan just makes more noise pushing against the same blockage. Fix the path before you upgrade the motor.
Skip the scented bathroom sprays and moisture absorber tubs as a “fix.” They mask the smell for an afternoon. They do nothing for the actual humidity sitting in your walls. I wasted money on those little moisture-absorbing crystal tubs for months before admitting they were doing basically nothing against a real duct problem.
Be careful climbing into the attic. This isn’t a scare tactic, it’s a real hazard. Step only on joists, never on the drywall between them, and bring a proper work light. Attic work in summer is brutal too. Do it early morning or evening if you can.
Watch for old, brittle wiring near the fan. If your fan is original to a home built before the 90s, the wiring insulation can be dried out and crumbly. If anything looks scorched, cracked, or smells like burnt plastic, stop and call an electrician. This isn’t the spot to cut corners.
Don’t assume a working fan means no more mold. If moisture sat in your ceiling or walls for months before you fixed the airflow, mold might already be established behind the drywall. Fixing the fan stops new damage. It doesn’t undo what’s already there. If you see dark staining that keeps coming back even after fixes, that needs a separate mold remediation conversation.
Final Thoughts
A bathroom exhaust fan that isn’t pulling moisture out is rarely a mystery once you actually trace the whole path, from the grille to the outside cap. Clean the fan, check the ducts, clear the vent, confirm it’s actually venting outdoors, and size the fan correctly for your space. Do those five things and most moisture problems disappear within a week or two.
I’ll be honest, tracing ductwork through a hot attic is nobody’s favorite Saturday. But it beats replacing rotted drywall and scrubbing mold off your ceiling two years down the road.
Has your bathroom fan been fighting a losing battle against steam and fog? Tell me what you’ve found when you traced yours, or drop your questions in the comments below. I read every one.