
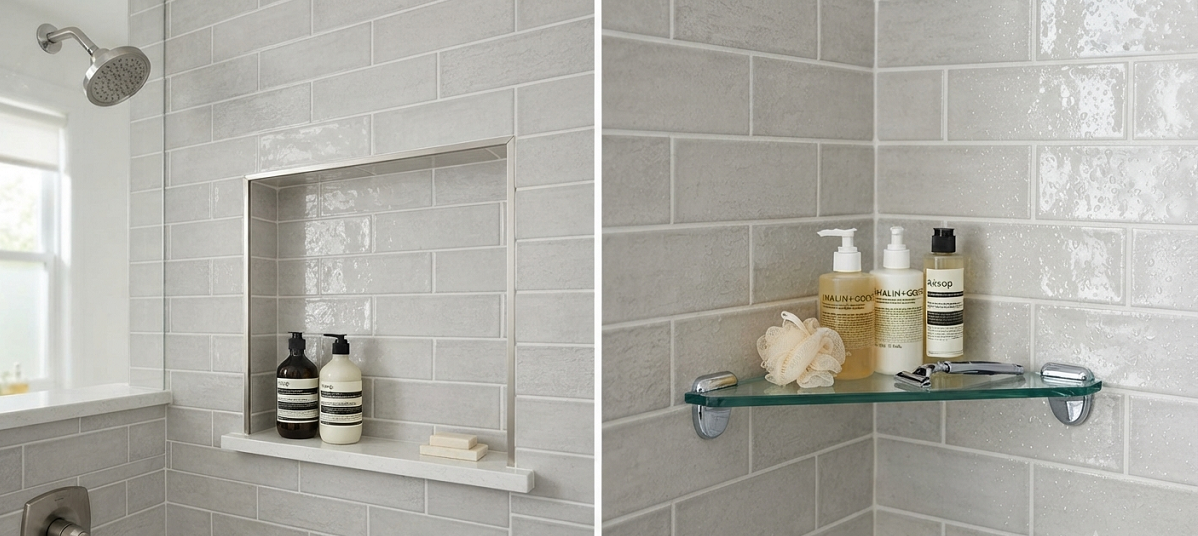
Standing in the shower, juggling a slippery bottle of conditioner while trying not to elbow the shampoo off some flimsy suction-cup caddy, is a special kind of morning misery. Half the bottles in my house have rusted rings on the bottom from sitting on wire shelves that were never rated for a wet environment. If you’re mid-renovation and stuck choosing between a built-in shower niche and a corner shelf, you’re trying to avoid exactly that mess. Good. That means you’re already ahead of most people who don’t think about storage until the drywall is closed up and it’s too late.
I’ve installed both. I’ve ripped both out. I’ve got strong opinions on which one is worth the extra work and which one is just a shiny distraction. Let’s get into it.
What’s the Real Difference Between a Shower Niche and a Corner Shelf?
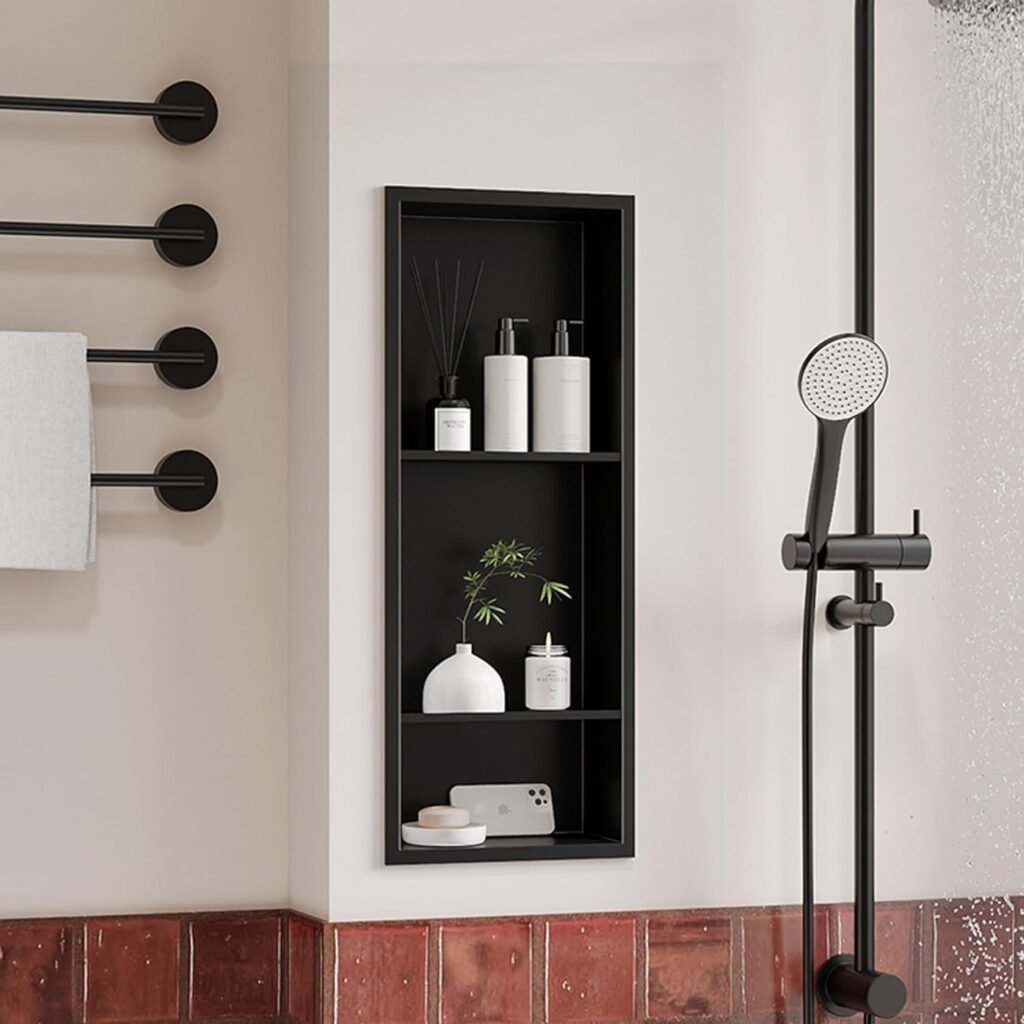
A shower niche is a recessed opening built directly into the wall, usually framed out between the studs before the tile goes up. It sits flush with the tile surface, so there’s nothing sticking out into your shower space.
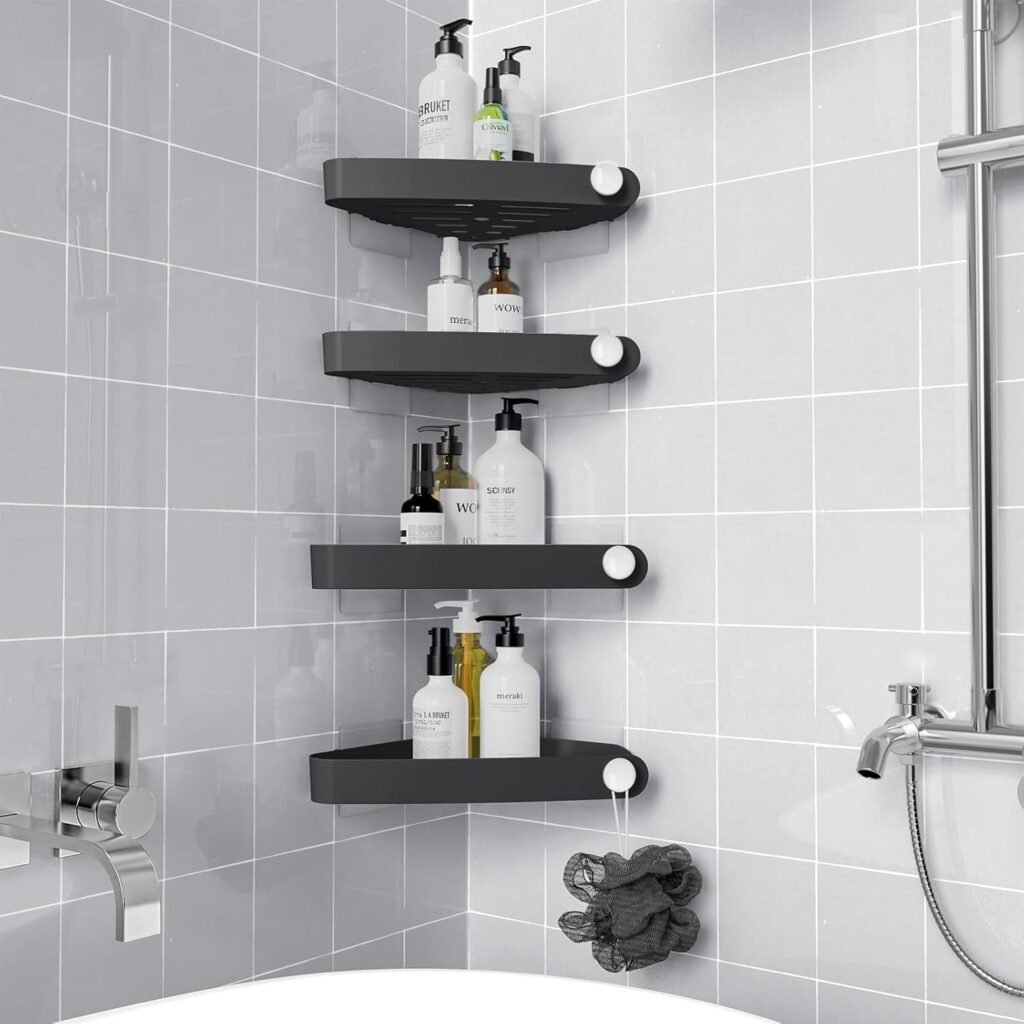
A corner shelf is exactly what it sounds like: a shelf, usually triangular, that mounts on top of the finished tile in a corner. Some are tiled-in during construction (these are sometimes called corner niches, which confuses everyone), but most corner shelves are surface-mounted after the fact, either with adhesive, brackets, or good old-fashioned silicone and prayer.
The difference matters more than people think. One requires planning before your tile is even ordered. The other can be added on a random Tuesday afternoon with a tube of construction adhesive and a YouTube tutorial.
Shower Niche Pros: Why I Almost Always Recommend It
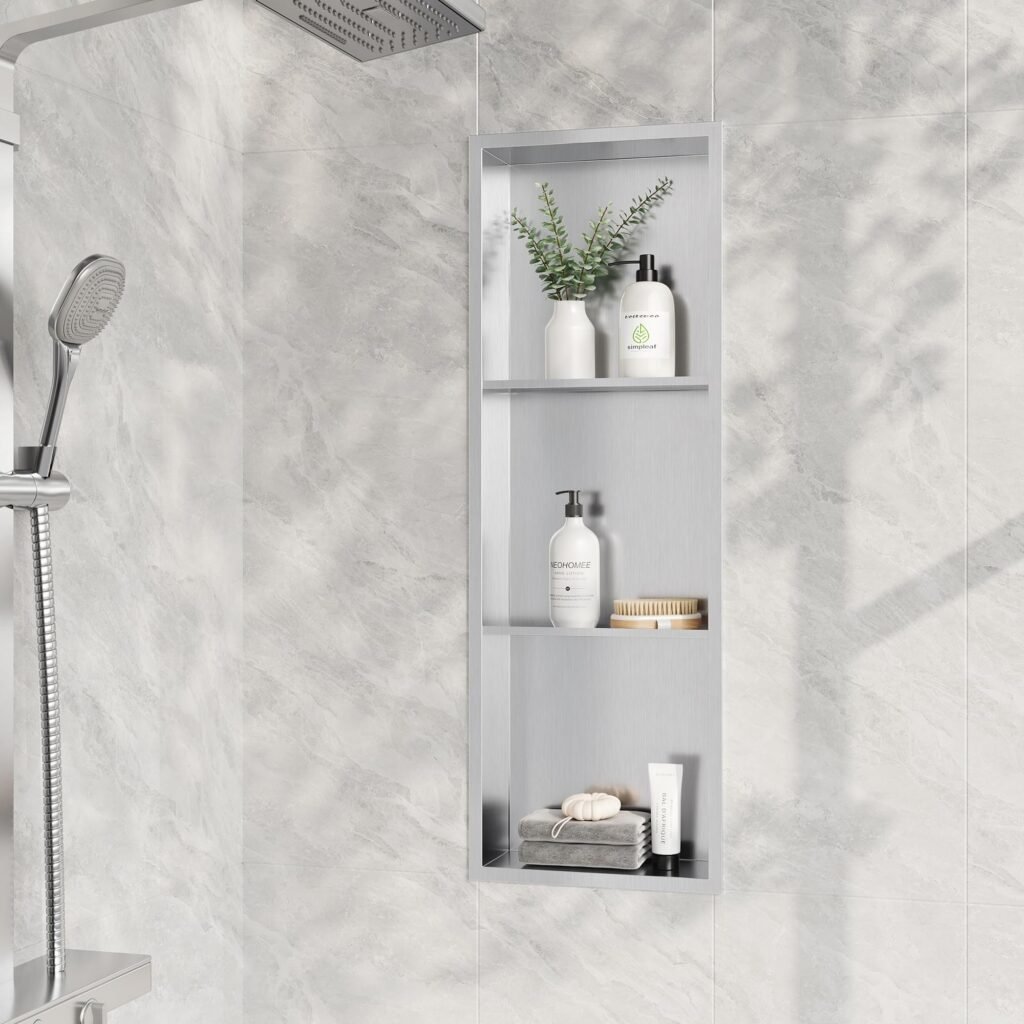
If you’re building new or gutting your bathroom down to the studs, I push clients and friends toward a niche every single time. Here’s why.
It looks like it was always supposed to be there. A niche is part of the wall. There’s no shelf floating awkwardly in the corner disrupting your tile pattern. When you’re going for that clean, spa-like bathroom look everyone pins on Pinterest, a niche is what actually delivers it. Corner shelves, even nice ones, tend to look like an accessory. A niche looks like architecture.
You get more usable space. A standard niche can be 14 to 16 inches wide and stacked with a shelf divider, giving you two full tiers of storage. That’s enough room for shampoo, conditioner, body wash, a razor, and a bar of soap, with room to spare. A corner shelf, especially the small triangular kind, barely fits three bottles before things start tipping over.
It handles water better long-term. A properly waterproofed niche, built with the same waterproofing membrane as the rest of your shower, doesn’t have seams where grime and mildew can build up in the same way exposed shelf brackets do. I’ve found that niches age better. Five years in, a well-built niche still looks sharp. A corner shelf five years in usually has grout lines going gray and silicone edges peeling.
Resale value likes it. Buyers and inspectors notice built-ins. A niche reads as a quality renovation. A slapped-on corner shelf, even a nice one, reads as a patch job, even when it isn’t.
The Catch: Shower Niche Installation Isn’t a Weekend Job
Here’s where I have to be honest with you, because too many blogs sell this as easy and it’s not.
Installing a niche means cutting into your wall framing, which means you need to plan it before drywall or backer board goes up. If your bathroom is already tiled and finished, retrofitting a niche means demo work: cutting through tile, backer board, sometimes into the stud cavity, then reframing, waterproofing, and re-tiling that whole section to match. That’s not a Saturday project. That’s a contractor-level job, or a serious DIY commitment if you know your way around a wet saw and a waterproofing membrane like RedGard or Kerdi.
You also need to think about plumbing and electrical before you cut. I always tell people: get a stud finder and a pipe detector out before anyone touches a saw. Cutting into a wall blind is how people end up with a very expensive, very wet surprise.
Corner Shelf Pros: When It’s Actually the Smarter Move
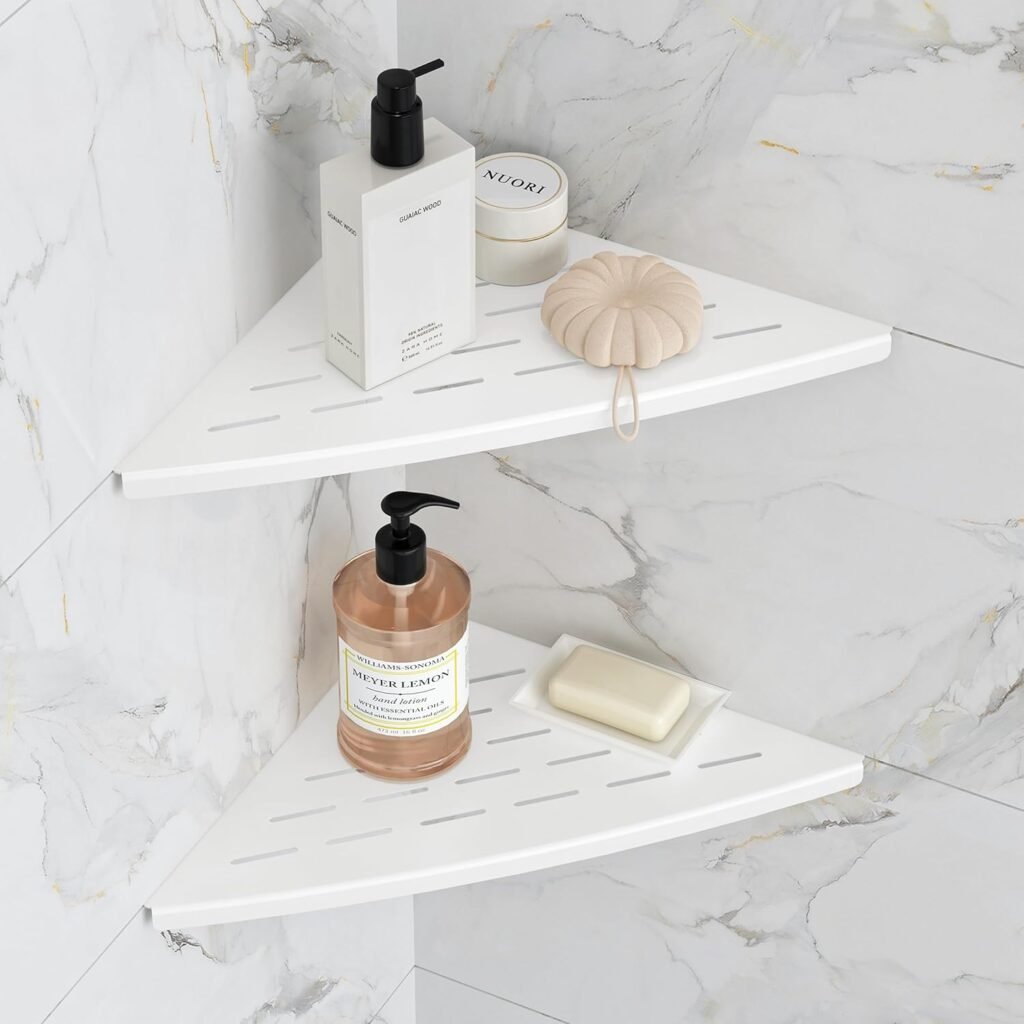
I’m not anti-corner-shelf. There’s a real place for them, and pretending otherwise would be dishonest.
It’s fast. If you’re renovating on a budget or you’re renting and can’t touch the studs, a corner shelf gets you organized storage in an afternoon. Tiled-in corner shelves, installed during a full retile, take a fraction of the labor a niche does since there’s no cutting into the wall cavity.
It works in a shower that’s already finished. This is the big one. If your tile is already up and looks great, and you don’t want to demo a section just for storage, a corner shelf is your only realistic option short of a full renovation. Adhesive-mounted shelves have come a long way. The good ones, properly installed on clean, dry tile with a quality construction adhesive, hold real weight and don’t budge.
It’s cheaper, full stop. A tiled-in niche with a shelf divider and a nice edge trim can run you anywhere from a few hundred to over a thousand dollars once you add labor. A solid corner shelf, even a nice teak or stainless one, is usually under a hundred dollars, plus maybe an hour of your time.
You can change your mind. Hate the shelf placement? Move it. Redecorating? Swap it for a new style. A niche is permanent. A corner shelf is commitment-free, which matters if you’re the type who rearranges furniture every season, like my sister, who has repainted her living room four times in three years.
Corner Shelf Cons: Where People Get Burned
I’ve found that the corner shelf’s biggest weakness is trust. You’re trusting an adhesive bond, or a handful of screws into tile, to hold weight in a wet, slippery environment, forever. That’s a lot to ask of a $3 tube of glue.
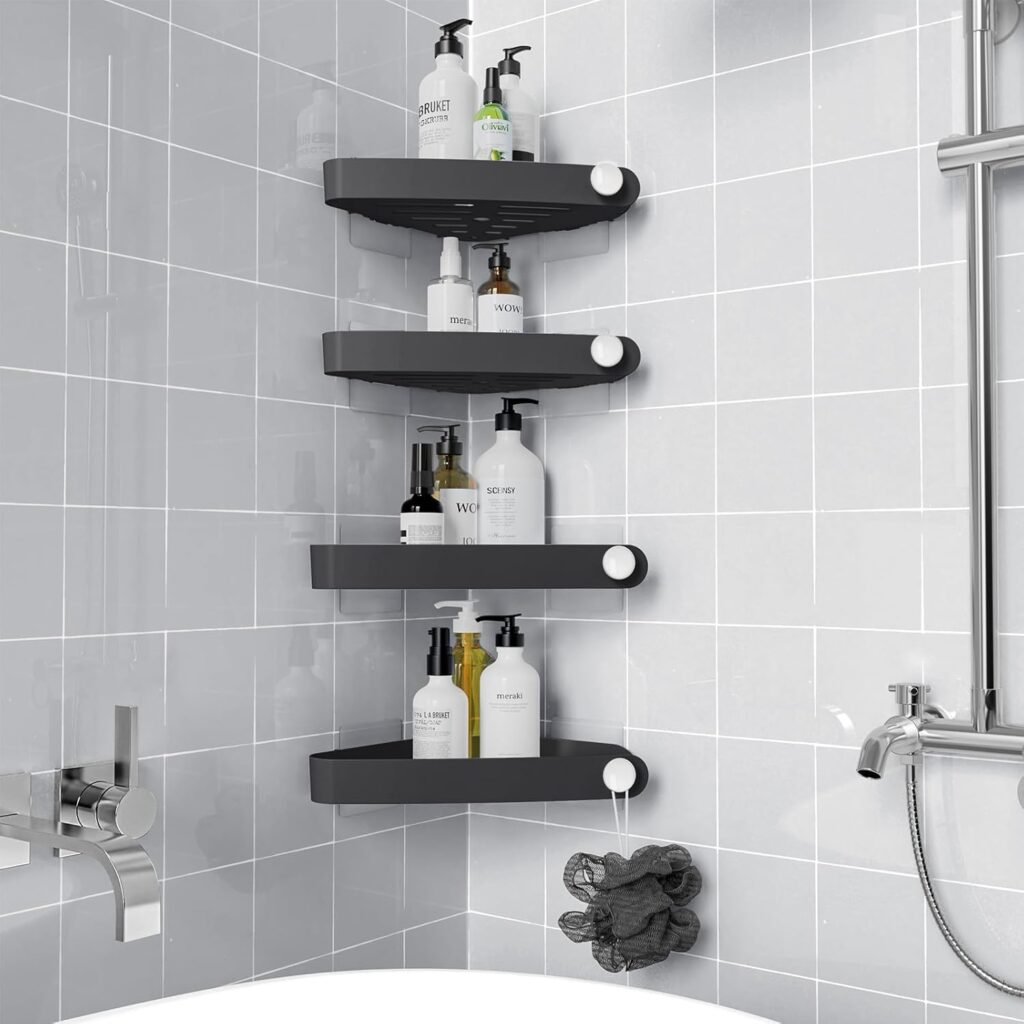
Suction cup shelves are the worst offenders. I don’t care what the packaging promises. Steam and heat break down suction seals over time, and you will wake up one morning to a shelf, three bottles, and a razor all on the shower floor. Skip these entirely.
Even the better adhesive-mounted shelves need near-perfect surface prep. Any soap scum, silicone residue, or moisture on the tile when you install it, and the bond fails early. I’ve reinstalled the same corner shelf twice for a friend because he didn’t degrease the tile properly the first time.
How to Install a Corner Shelf the Right Way
If you’re going the corner shelf route, here’s the process I actually follow, step by step.
- Clean the tile thoroughly. Use rubbing alcohol or a dedicated tile degreaser. Skip regular soap, since it leaves a film.
- Let it dry completely. Give it a full 24 hours if you can. Rushing this step is the number one reason shelves fall.
- Mark your placement. Shoulder height or slightly above works best for the main shelf, out of the direct spray so water doesn’t pool constantly on your bottles.
- Apply construction adhesive rated for wet environments, like a marine-grade or bathroom-specific sealant. Skip standard silicone caulk; it’s not built for holding weight.
- Press and hold the shelf firmly for the time listed on the adhesive tubes, usually 60 to 90 seconds.
- Wait the full cure time before use, which is often 24 to 72 hours depending on the product. I know that’s painful when you’re excited to use it. Wait anyway.
Quick side note: if your shelf includes screws for extra hold, use them, even if the adhesive alone is rated to handle the weight. Belt and suspenders. It costs you five extra minutes and saves you a shattered bottle of good shampoo down the road.
Real Talk: What Nobody Tells You About Either Option
Neither of these is foolproof, and I want to save you some grief here.
With niches, the number one failure point is bad waterproofing. If your installer skips the waterproof membrane behind the niche, or does a sloppy job on the corners and seams, water gets behind the tile and you’re looking at mold and rot inside your wall. You won’t see it happening. You’ll just notice a musty smell a year or two later, and by then it’s a much bigger repair. If you’re hiring this out, ask specifically what waterproofing system they’re using. If they can’t answer clearly, find someone else.
With corner shelves, the failure is usually more embarrassing than dangerous: gravity wins, and it happens at the worst time. That said, cheap glass shelves are a genuine safety issue. I don’t love the idea of a shattered glass shelf sitting at foot level in a shower. If you go glass, get tempered glass rated for bathroom use, not a decorative shelf that wasn’t designed to get wet.
One thing I’ll say about both: skip anything advertised as “no drilling, no tools, install in seconds.” I’ve never seen one of those hold up past six months in an actual daily-use shower. If it sounds too easy, it probably falls off too easily too.
And a niche is not something to add just because it’s trendy. If your bathroom is small and your shower is already tight on space, a niche cut too large can actually make the wall look busy and cramped. Proportion matters. A niche that’s too big for the wall looks like an afterthought, not a feature.
Cost Breakdown: What You’re Really Paying For
People always ask me for real numbers, so here’s my rough breakdown based on jobs I’ve either done myself or watched a contractor friend price out.
Tiled-in niche, new construction or full gut renovation: Materials alone (waterproofing membrane, backer board, niche shelf insert or framing lumber, extra tile and trim) usually run $150 to $400. Add labor, and a professionally installed niche typically lands between $500 and $1,200, depending on your region and how fancy your tile trim gets. A pencil edge or metal Schluter trim adds cost. A mitered tile edge, where the tile itself wraps the corner instead of using metal trim, adds even more labor time.
Retrofit niche into an already-tiled shower: This is the expensive option, and I always warn people about it upfront. You’re paying for demo, disposal, reframing, waterproofing, and retiling a patch that has to match your existing tile perfectly, which is rarely possible if your tile is more than a couple years old and discontinued. Expect $800 to $2,000 for a retrofit, sometimes more if the tile match requires retiling a larger section than just the niche itself.
Corner shelf, adhesive-mounted: Anywhere from $15 for a basic plastic or bamboo shelf to $150 for a solid teak, stainless steel, or designer glass version. Installation is free if you do it yourself, which most people do.
Corner shelf, tiled-in during a full retile: If you’re already retiling the whole shower anyway, adding a tiled corner shelf only costs you the price of the shelf insert itself, usually $30 to $80, plus maybe 30 extra minutes of your tile installer’s time. This is an underrated middle-ground option nobody talks about enough.
The takeaway: if you’re already paying a contractor to retile your whole shower, the price difference between a corner shelf and a niche shrinks dramatically. The niche only gets expensive when it’s a standalone retrofit into an otherwise finished bathroom.
Frequently Asked Questions
Can I add a niche without retiling the whole shower? Technically yes, but it’s rarely worth it. You’ll need to cut out a patch of tile and backer board, and matching that patch to your existing tile is the hard part. Discontinued tile lines make this nearly impossible without a visible seam.
Are corner shelves actually safe in a shower? Yes, as long as you skip suction cups and cheap glass, use a wet-rated adhesive, and follow the full cure time before loading it up. A properly installed shelf can hold several pounds without issue.
How big should a shower niche be? For a single-person shower, I like 12 to 16 inches wide by around 24 inches tall, with one shelf divider. Anything bigger starts eating into your tile layout and can look oversized on a small wall.
Do I need a professional to install a niche? If you’re comfortable with a wet saw, waterproofing membrane, and tile work, you can DIY it. If any of that makes you nervous, hire it out. A waterproofing mistake here is expensive to fix later, and it’s not the place to learn by trial and error.
So Which One Should You Actually Pick?
If you’re already renovating down to the studs, pick the niche. There’s no reason not to, and the long-term payoff in looks and function is worth the extra planning. If your bathroom is finished and you just need better storage without a demo project, a well-installed corner shelf will serve you fine for years.
I’ll be straight with you: I’ve found that people who go with a corner shelf purely to save money on a full renovation often end up doing the niche later anyway, once they see how much better it looks in someone else’s bathroom. If your budget allows it and you’re already mid-renovation, just do the niche. Future you will thank present you.
That’s my two cents from a decade of tile dust in my hair and silicone under my fingernails. Which one are you leaning toward, or did you already install one and regret it? Drop your questions or your horror stories in the comments below. I read every one of them, and I promise I’ve probably made the same mistake you’re about to make.