
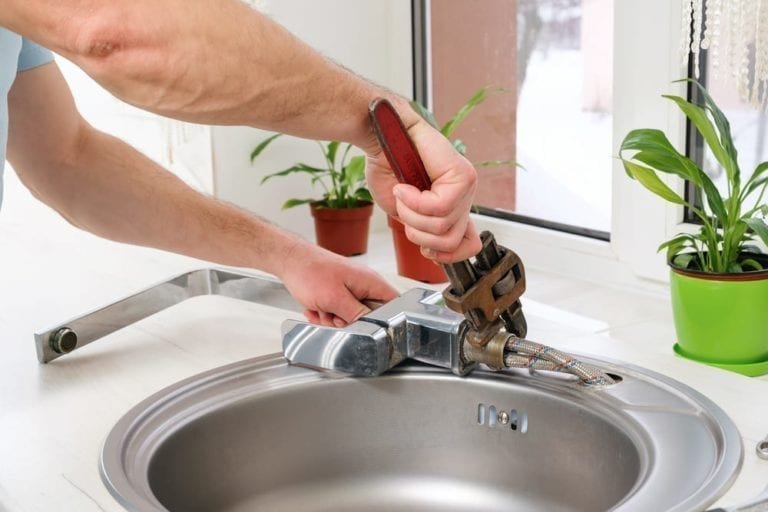
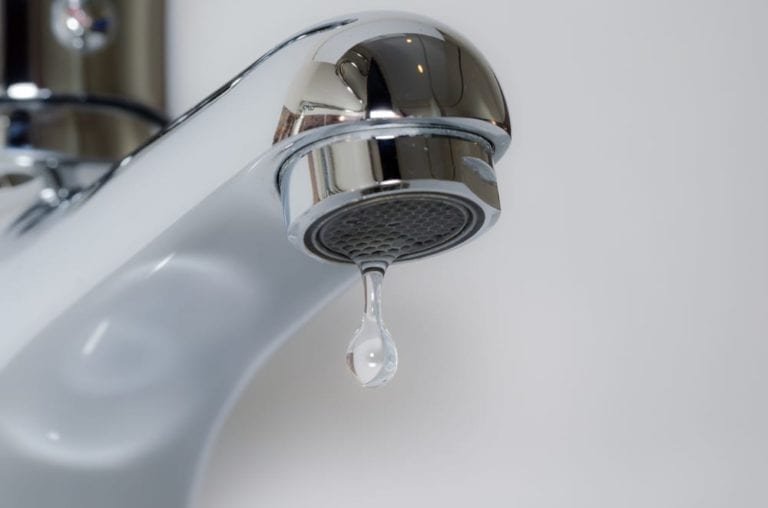
That drip. Drip. Drip. It’s 2 a.m., you’re staring at the ceiling, and your brain has decided the bathroom faucet down the hall is the most fascinating sound in the world. I get it. A leaky faucet is one of those problems that seems small until it’s costing you real money on your water bill and real sleep on your pillow.
Here’s the good news: fixing a dripping bathroom faucet is one of the most beginner-friendly repairs in the entire house. You don’t need a plumbing license, a truck full of tools, or a Saturday you’ll never get back. Most fixes take under an hour, and the parts cost less than a fast food meal for two.
I’ve replaced more cartridges, washers, and O-rings than I can count, in bathrooms ranging from 1970s ranch homes to brand new builds with fixtures that cost more than my first car. The good news is that no matter how fancy your faucet looks, it’s built on one of just a few basic mechanisms. Once you know which one you’ve got, the repair almost writes itself.
Let’s get your faucet fixed, quiet, and drip-free.
Why Is My Bathroom Faucet Dripping? (Common Causes)
Before you grab a wrench, it helps to know what’s actually causing the leak. A dripping faucet almost always comes down to one of these culprits:
- Worn-out washers or O-rings. In older compression faucets, rubber washers wear down over time from constant friction against the valve seat. Every time you crank the handle shut, you’re grinding that washer down a tiny bit more.
- A damaged cartridge. Newer faucets, especially single-handle designs, use a cartridge instead of washers. When the cartridge cracks or the seals inside wear out, water sneaks past even when the handle is fully closed.
- Corroded valve seat. This is the part where the faucet stem meets the spout. Mineral deposits and corrosion here create tiny gaps that water loves to exploit.
- Loose parts. Sometimes it’s not worn out at all, just loose. Vibration and years of use can back out screws and connections that just need a simple tightening.
I always tell people the same thing: figure out your faucet type first. Trying to fix a cartridge faucet with washer-repair steps is like trying to fix a bike with a car manual. Close, but not close enough.
And don’t ignore a small drip just because it seems harmless. A faucet leaking at just one drop per second can waste over 3,000 gallons of water a year. That’s not a typo. I ran the math myself after a client asked me why her water bill jumped $40 in a single month, and the culprit turned out to be a guest bathroom faucet nobody had used in weeks. The drip had been running the whole time.
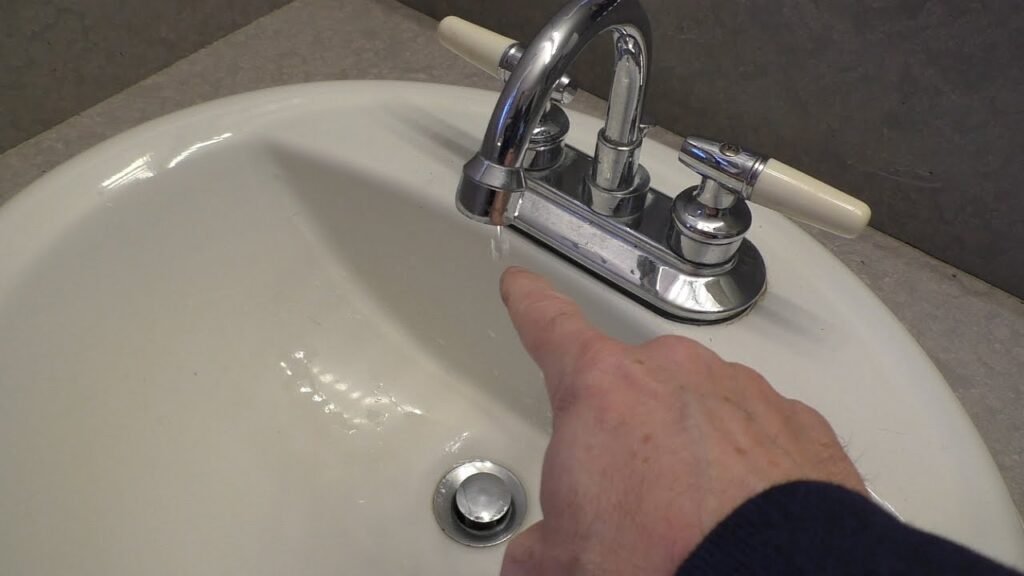
Tools and Materials You’ll Need
You probably have most of this stuff already sitting in a kitchen drawer or garage bin.
- Adjustable wrench or channel-lock pliers
- Phillips and flathead screwdrivers
- Allen wrench set (a lot of handles use hex screws hidden under a decorative cap)
- Replacement parts (washers, O-rings, or a cartridge specific to your faucet brand)
- Plumber’s grease
- A rag or towel
- A small container for screws so you don’t lose them down the drain (ask me how I know)
Quick side note: take a picture of your faucet’s brand name and model number before you start, if you can find it. It’s usually stamped somewhere on the base or handle. That one photo will save you a return trip to the hardware store when you’re standing in the plumbing aisle trying to describe your faucet from memory to a very patient employee.
Step 1: Turn Off the Water Supply
This is the step people skip, and I promise you, skipping it turns a 20-minute repair into a soaked-bathroom disaster story you’ll be telling at parties for years.
- Look under the sink for the two shut-off valves, one for hot and one for cold.
- Turn both clockwise until they stop.
- Turn on the faucet to release any remaining pressure and confirm the water is off.
- Plug the drain with a rag or stopper. Small screws and springs have a magical attraction to open drains.
If your bathroom doesn’t have shut-off valves under the sink (common in older homes), you’ll need to shut off the water at the main valve for the house instead.
Step 2: Identify Your Faucet Type
This determines everything about your repair, so don’t skip it.
- Compression faucets have separate hot and cold handles that you have to turn to shut off. These are the classic style found in older homes and are almost always the culprit behind washer-related drips.
- Cartridge faucets use a single handle or two handles that lift and turn with a quarter turn instead of multiple cranks. Water flow is controlled by a cartridge inside rather than a rubber washer.
- Ball faucets are single-handle designs that sit on top of a rounded ball mechanism. These are common in kitchens but do show up in some bathroom setups too.
- Disc faucets use two ceramic discs inside a cylinder and are known for being extremely durable, but when they do fail, it’s usually the seals that go first.
If you’re not sure, remove the handle and take a look. The internal mechanism will make it obvious pretty quickly.
Step 3: Disassemble the Faucet Handle
- Look for a small cap on top of the handle. Pop it off with a flathead screwdriver to reveal the screw underneath.
- Remove the screw and set it in your container.
- Gently wiggle and pull the handle straight up and off. If it’s stuck, a bit of penetrating oil around the base can help loosen years of mineral buildup.
- Depending on your faucet type, you’ll either see a retaining nut, a cartridge, or a ball assembly underneath.
Take your time here. I once got impatient with a stubborn handle and used way more muscle than necessary, and the plastic base cracked right down the middle. Slow and steady wins this particular race.
Step 4: Fix a Compression Faucet (Washer Replacement)
- Use your wrench to remove the packing nut, which sits below where the handle was attached.
- Pull out the stem assembly.
- At the bottom of the stem, you’ll find the old rubber washer held on by a small brass screw. Remove the screw and swap in the new washer, matching the size exactly.
- Check the O-ring higher up on the stem too. If it looks flattened, cracked, or grooved, replace it while you’re in there.
- Inspect the valve seat inside the faucet body. If it feels rough or pitted when you run a finger over it, you may need a valve seat wrench to resurface or replace it.
- Reassemble everything in reverse order.
Step 5: Fix a Cartridge Faucet
- Remove the retaining clip or nut holding the cartridge in place. This part varies by brand, so this is where that photo you took earlier comes in handy.
- Pull the old cartridge straight up and out. Needle-nose pliers help if it’s wedged in tight.
- Bring the old cartridge to the hardware store to match it exactly, or order the specific replacement part number for your faucet brand.
- Coat the new cartridge with a thin layer of plumber’s grease.
- Insert it, lining up the flat sides or notches correctly. It typically only fits one way.
- Reattach the retaining clip and reassemble the handle.
Step 6: Fix a Ball or Disc Faucet
Ball faucets are the trickiest of the bunch because there are several small parts (springs, seats, and a cam) that all need to go back in the exact right order. I strongly recommend buying a complete repair kit specific to your faucet model rather than sourcing individual pieces. It costs a few dollars more but saves you from the headache of a part that’s almost, but not quite, the right fit.
Disc faucets are simpler. Remove the cylinder, check the neoprene seals on the bottom for wear, and replace the entire cylinder assembly if the discs themselves are scratched or chipped.
Step 7: Reassemble and Test
- Put the handle back on and tighten the screw.
- Snap the decorative cap back into place.
- Turn the water supply valves back on slowly.
- Run the faucet through hot and cold, checking for leaks at the base, the handle, and underneath the sink.
- Let it run for a couple of minutes and check again. Some leaks only show up under sustained water flow.
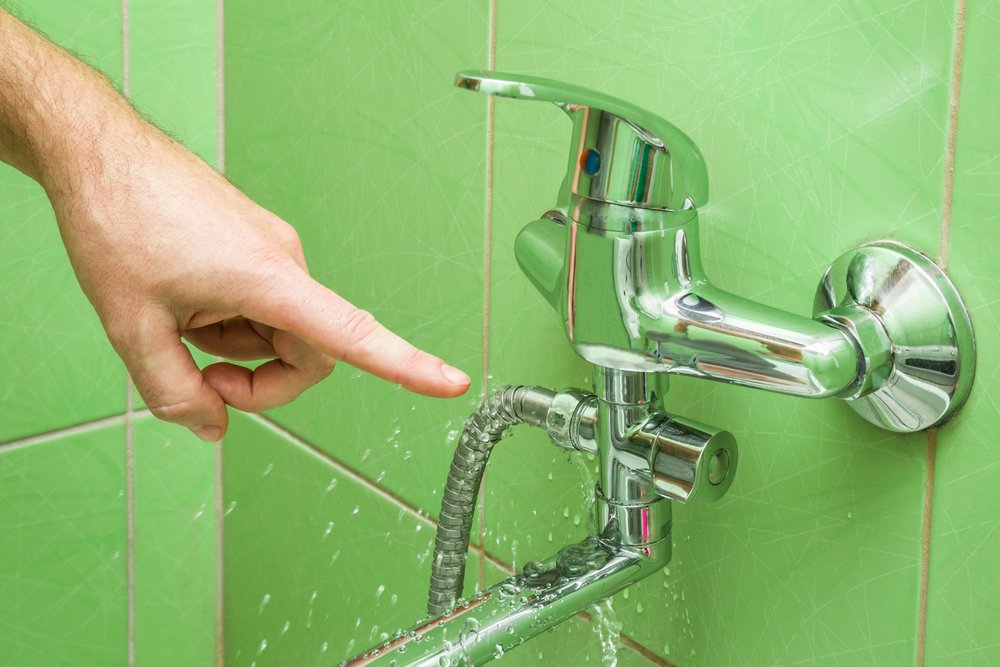
Real Talk: What Can Go Wrong (And What’s Not Worth Fixing)
Here’s where I get honest with you, because plenty of home improvement content skips this part entirely.
- Mismatched parts are the number one headache. Faucet manufacturers do not use universal parts, no matter what the guy at the hardware store tells you. Bring the old part with you or look up the exact model number online before buying anything.
- Old shut-off valves can fail on you. If your under-sink valves haven’t been touched in a decade, there’s a real chance they won’t turn off completely, or they’ll start leaking once you touch them. If that happens, you’re looking at a valve replacement, which is a slightly bigger job but still very doable.
- Stripped screws happen more than you’d think. Cheap faucet hardware sometimes uses soft metal screws that strip out if you’re using an underpowered screwdriver. Keep a screw extractor kit handy just in case.
- Sometimes the faucet itself is just done. If you’re on your third repair in two years, or the finish is peeling and the body is corroded, I’ll be blunt: stop repairing it. A new mid-range faucet runs $40 to $150 and will save you money and frustration compared to endless patch jobs on a fixture that’s past its prime.
- Skip the “just tighten it more” trick. Cranking the handle harder to stop a drip doesn’t fix anything. It just wears out the washer and valve seat faster, and eventually you’ll snap the handle or strip the stem. I’ve seen it happen, and it always turns a cheap fix into an expensive one.
When to Call a Plumber Instead
I’m all for DIY, but there are moments to hand this off. If you’ve replaced the cartridge or washer and the drip continues, the problem might be deeper in your plumbing, like a pressure issue or a failing supply line. If you’re dealing with corroded pipes, low water pressure throughout the house, or a leak that’s causing visible water damage to cabinets or flooring, that’s your cue to call in a licensed plumber. There’s no shame in it. Knowing your limits is part of being a smart homeowner, not a failure of DIY skill.
Frequently Asked Questions
- How often should I replace faucet washers? There’s no set schedule, but if your home is more than 15 years old and nobody has touched the faucets, I’d plan on it eventually. Washers wear out from use, not from age sitting idle, so a guest bathroom that barely gets used will hold up far longer than your main bathroom faucet.
- Can I use plumber’s tape instead of new washers? No. Plumber’s tape (the white Teflon tape) is for sealing threaded pipe connections, not for stopping a worn washer from leaking. It’s a completely different job, and using it on a washer won’t fix your drip.
- Why does my faucet drip only from the spout, not the handle? That’s almost always a worn washer, cartridge, or valve seat inside the faucet body itself, not a problem with the handle mechanism. Follow the steps above based on your faucet type and you should be able to track it down.
- Is it normal for a new faucet to still drip a little? A brand-new faucet shouldn’t drip at all. If it does, check that all connections are tightened properly first. If tightening doesn’t help, you may have gotten a faulty cartridge, which happens more often than manufacturers like to admit. Don’t hesitate to use the warranty and request a replacement part.
Parting Wisdom
A dripping faucet isn’t just annoying, it’s wasted water and wasted money, drop by drop, day after day. The fix is almost always cheaper and easier than people expect, and there’s a genuine satisfaction in shutting off that drip yourself instead of waiting around for someone else to do it.
Grab your wrench, take that photo of your faucet model number, and give it a shot this weekend. Your water bill, and your sleep schedule, will thank you.
Have you tackled a faucet repair before, or is this your first time popping off that handle? Drop your questions or your own faucet horror stories in the comments below. I read every one, and I promise your zucchini-takeover story can’t be weirder than mine.