
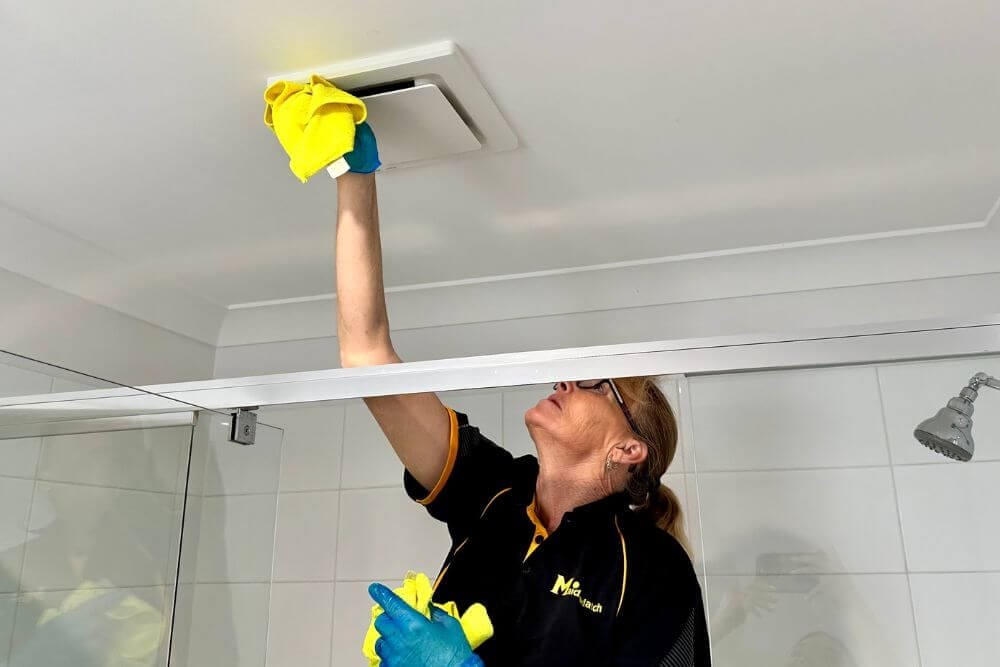
You flip on your bathroom fan expecting a nice quiet hum, and instead you get a rattle that sounds like a dying moth trapped in a coffee can. Or worse, nothing happens at all except a puff of gray dust falling onto your shoulder. If that sounds familiar, your vent is begging for help.
I’ve pulled apart more grimy bathroom fans than I can count, and I promise you this: that dust bunny colony living in your vent cover isn’t just gross. It’s cutting your fan’s power by half, letting moisture linger on your walls, and setting the stage for mold that loves to grow exactly where you can’t see it. The good news? Cleaning it out takes less time than a shower.
Let’s get your fan breathing again.
Why Your Bathroom Exhaust Fan Vent Gets So Dirty
Bathroom vents pull in warm, moist air every time you shower. That moisture grabs onto floating dust, hairspray residue, and bathroom lint like a magnet. Over months, that mix cakes onto the fan blades and cover in a sticky gray film.
My guest bathroom fan once got so clogged that it sounded like a lawnmower stuck in second gear. I finally pulled the cover down and found a layer of fuzz thick enough to stuff a pillow. That’s when I started checking mine every few months instead of ignoring it until it screamed for attention.
The problem compounds fast. A dirty vent can’t pull moist air out of the room efficiently, so that moisture settles on your ceiling, in the ductwork, and around the fan housing itself. Add darkness and stagnant air, and you’ve built a five-star hotel for mold spores.
If your bathroom always smells a little musty no matter how much you scrub the tile, your vent might be the actual culprit, not your grout.
Signs Your Bathroom Vent Needs Cleaning Right Now
Before we get into tools and steps, check for these warning signs. If you spot even one, stop reading and go grab your step stool.
A fan that’s louder than it used to be is usually the first clue. Dust buildup throws off the blade balance, and an unbalanced blade wobbles and hums louder with every rotation. My mother-in-law’s fan got so loud she started calling it “the jet engine,” and sure enough, the blades were coated thick enough to change their shape.
Steam that lingers on the mirror for way longer than normal is another sign. A healthy fan should clear a foggy mirror in about ten to fifteen minutes after a hot shower. If it’s taking thirty minutes or more, your fan isn’t pulling air the way it should.
Weak airflow you can actually feel is the easiest test. Hold a single square of toilet paper up to the grille while the fan runs. A strong fan will hold that paper flat against the vent. A weak, clogged fan barely moves it at all.
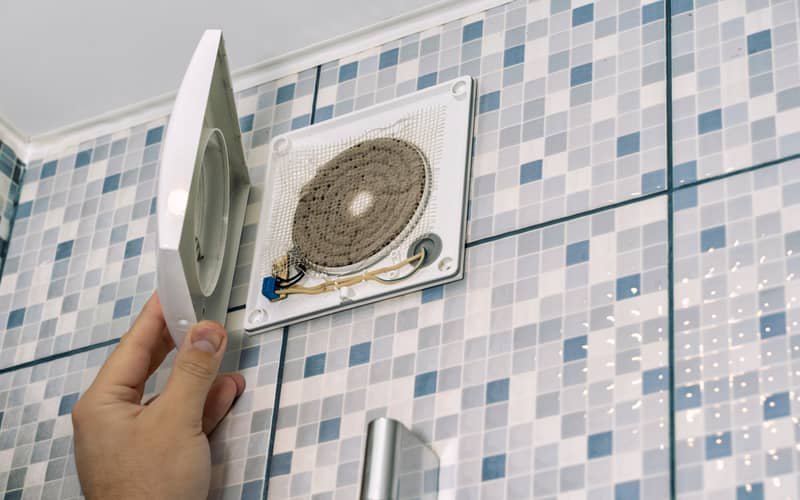
Finally, any visible dust rimming the outside edges of the cover means there’s a lot more buildup hiding on the inside where you can’t see it. Dust doesn’t just appear on the surface; it’s usually a sign of what’s packed into the blades and motor housing behind it.
Tools You Need for Bathroom Fan Cleaning
You don’t need a contractor’s toolbox for this job. Here’s what I keep on hand:
- A step stool or ladder tall enough to reach the ceiling comfortably
- A Phillips or flathead screwdriver, depending on your fan cover
- A vacuum with a hose attachment and a soft dust brush
- An old toothbrush or small scrub brush
- Mild dish soap and warm water
- A microfiber cloth
- White vinegar for mold spots
Quick side note: skip the bleach spray unless you’re dealing with visible black mold and good ventilation while you work. Bleach fumes in a small bathroom with the power off is not a fun way to spend your Saturday.
How to Clean a Bathroom Exhaust Fan Cover
Start here before you touch anything electrical. This is the easiest win and it takes ten minutes.
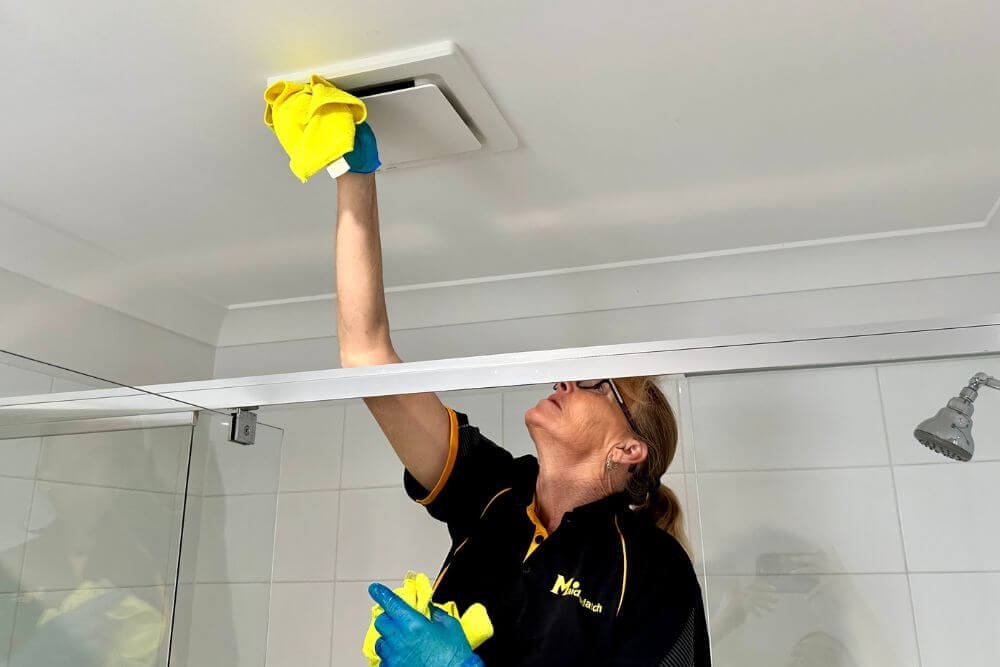
- Step 1: Turn off the power. Flip the breaker or at minimum switch off the bathroom light and fan circuit. Fans are low voltage, but I still don’t trust myself around live wiring while balancing on a stool.
- Step 2: Remove the cover. Most covers either pop off with a firm tug, or they’re held by two small spring clips you squeeze and release. A few older units use screws. Don’t force it. If it’s not budging, look for hidden clips near the corners.
- Step 3: Soak the grille. Fill your sink or a bucket with warm water and a squirt of dish soap. Let the cover sit for ten minutes to loosen baked-on grime.
- Step 4: Scrub and rinse. Use your toothbrush to get into the slats, then rinse thoroughly and let it air dry completely before reinstalling. Wet plastic near a light fixture is asking for trouble.
- Step 5: Vacuum the fan housing. While the cover dries, use your vacuum’s brush attachment to clear dust from the fan blades and motor housing. Don’t spray liquid up into the fan itself; you just want suction, not soaking.
Removing Mold from Bathroom Vents
If you spot black or greenish spots on the cover or inside the housing, that’s mold, and it needs a bit more muscle than soap alone.
Mix equal parts white vinegar and water in a spray bottle. Vinegar kills most household mold species without the harsh fumes of bleach. Spray the moldy areas, let it sit for fifteen minutes, then scrub with your brush and wipe clean.
For mold that’s crept into the ductwork itself, a spray bottle won’t cut it. That’s a job for a longer flexible brush designed for dryer vents, which works surprisingly well on bathroom exhaust ducts too. Push it in as far as it’ll go, twist, and pull out slowly to drag debris with it.
I made the mistake once of assuming a quick wipe-down would handle a mold patch that had actually spread up into the first few feet of ducting. It came right back within a month. If you can still smell mildew after cleaning the visible parts, assume it’s further up the pipe and grab that flexible brush.
Deep Cleaning the Fan Motor and Blades
This step scares people off, but it’s simpler than replacing a light bulb in most cases.
- With the cover off and power still disconnected, look for the mounting bracket holding the fan motor to the housing.
- Most motors slide out or unclip after removing one or two small screws.
- Once it’s free, wipe the blades individually with a dry microfiber cloth first to remove loose dust.
- For caked-on grime, use a barely damp cloth, never a soaked one, since these motors are not designed to get wet.
- Check the motor for a small oil port, often marked with an arrow or an “oil” stamp. A drop or two of lightweight machine oil here can quiet a squeaky fan instantly.
Bonus tip: while the motor’s exposed, spin the blades gently by hand. If they feel gritty or catch instead of spinning freely, that’s your rattling noise explained.
Bathroom Vent Cleaning Frequency: How Often Is Enough
I get asked this constantly, so here’s my honest answer based on what I’ve seen in real homes:
- Households with one or two people showering daily: clean the cover every 3 months
- Larger households or homes with long hair, hairspray, or heavy humidity: every 6 to 8 weeks
- Full motor and duct cleaning: once a year, ideally before humid summer months hit
If your fan runs constantly or louder than normal, don’t wait for the calendar. That’s your fan telling you it’s struggling.
Preventing Mold and Dust Buildup Between Cleanings
A few small habits keep your vent working longer between deep cleans.
Run the fan for at least 20 minutes after every shower, not just during it. Moisture keeps evaporating off the walls and tile long after the water’s off, and that lingering humidity is exactly what feeds mold growth in your ductwork.
Crack a window when weather allows. Extra airflow reduces how hard your fan has to work and cuts down how much moisture settles into the vent itself.
Wipe the cover with a dry cloth once a month. This alone can double the time between full soap-and-water cleanings, since it stops dust from bonding into that sticky, hard-to-remove film.
Keep the bathroom door open for a bit after showering if the fan is weak or you’re between cleanings. It sounds too simple to matter, but letting humid air disperse into the rest of the house instead of sitting trapped in one small room takes a lot of pressure off the vent and slows down mold growth considerably.
Consider a humidity-sensing switch if you’re tired of remembering to turn the fan on and off. These swap in for your existing switch, cost around twenty to forty dollars, and automatically run the fan whenever bathroom humidity crosses a set threshold. I installed one in my main bathroom a couple years back, and it’s cut down on lingering steam more than any cleaning schedule ever did, since it doesn’t rely on me remembering to flip a switch after a rushed morning shower.
Real Talk: What’s Not Worth the Effort (and What Can Go Wrong)
Here’s where I get honest with you.
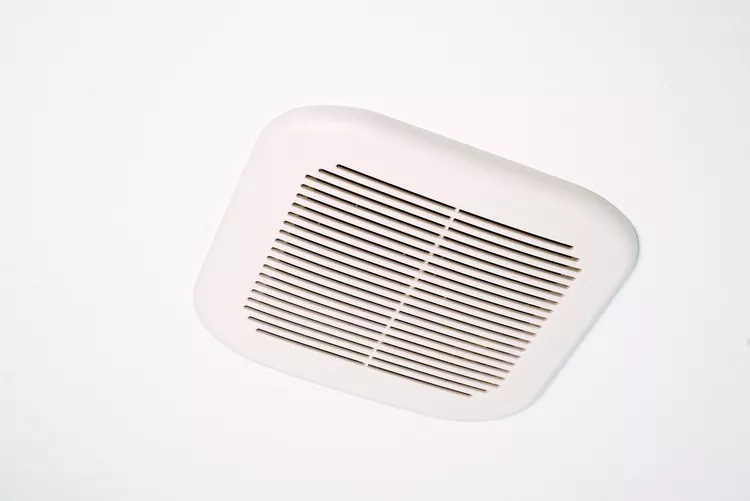
Those scented vent inserts you see marketed as “bathroom fan fresheners” are a total waste of money. They mask smells for a week, then clog the airflow even more than the dust does. Skip them.
Also skip any DIY fan cleaning kit that includes a spray-on “instant mold remover” promising results with zero scrubbing. I’ve tried three different brands over the years, and none of them touched mold that had already set into the plastic. Elbow grease and vinegar beat these every time, and they cost a fraction of the price.
One real risk worth mentioning: don’t attempt to clean or replace ductwork inside your attic or wall cavity unless you’re comfortable working around electrical wiring and insulation. That part of the job is where DIY bathroom projects turn into emergency room visits or, at minimum, a very expensive electrician bill. Cleaning the cover, blades, and first few feet of accessible duct is a safe weekend project. Anything buried deep in the wall is a call-a-professional situation.
And if your fan hasn’t worked well even after a full cleaning, don’t keep pouring time into it. Bathroom fans typically last 10 to 15 years. If yours is older than that and still underperforming after cleaning, replacing it usually costs less than the hours you’ll burn trying to nurse it along.
There’s also a spot people constantly forget: the roof or wall cap where the duct actually vents to the outside. That cap has a small flap that’s supposed to open when air pushes through it and close the rest of the time to keep bugs and rain out. Over the years I’ve found flaps stuck shut with grime, bird nesting material jammed in the opening, and one memorable case of a wasp nest built right into the vent hood. If you’ve cleaned the fan and cover thoroughly but airflow is still weak, that outside cap is worth checking, though it usually means getting on a ladder outside the house rather than inside the bathroom.
I’ll also say this plainly: don’t paint over your vent cover. I’ve seen people repaint a bathroom ceiling and just paint straight over the grille to save time. It looks fine for about a week, then the paint clogs the slats and airflow drops immediately. If you’re repainting, pop the cover off first, paint the ceiling, and put the clean cover back once everything’s dry.
Final Thoughts on Keeping Your Bathroom Vent Clean
A clean bathroom vent isn’t glamorous work, but it’s one of those chores that quietly protects your whole house. Less moisture means less mold, fewer musty smells, and a fan that actually does its job instead of just making noise.
Set a reminder on your phone right now for three months out. Future you will thank present you the next time that fan kicks on strong and quiet instead of wheezing like it’s on its last legs.
Have you found a vent cleaning trick that works better than what I’ve listed here? Drop it in the comments below. I’m always looking for new tricks, and I’d bet other readers dealing with the same dusty, moldy vent would love to hear it too.