
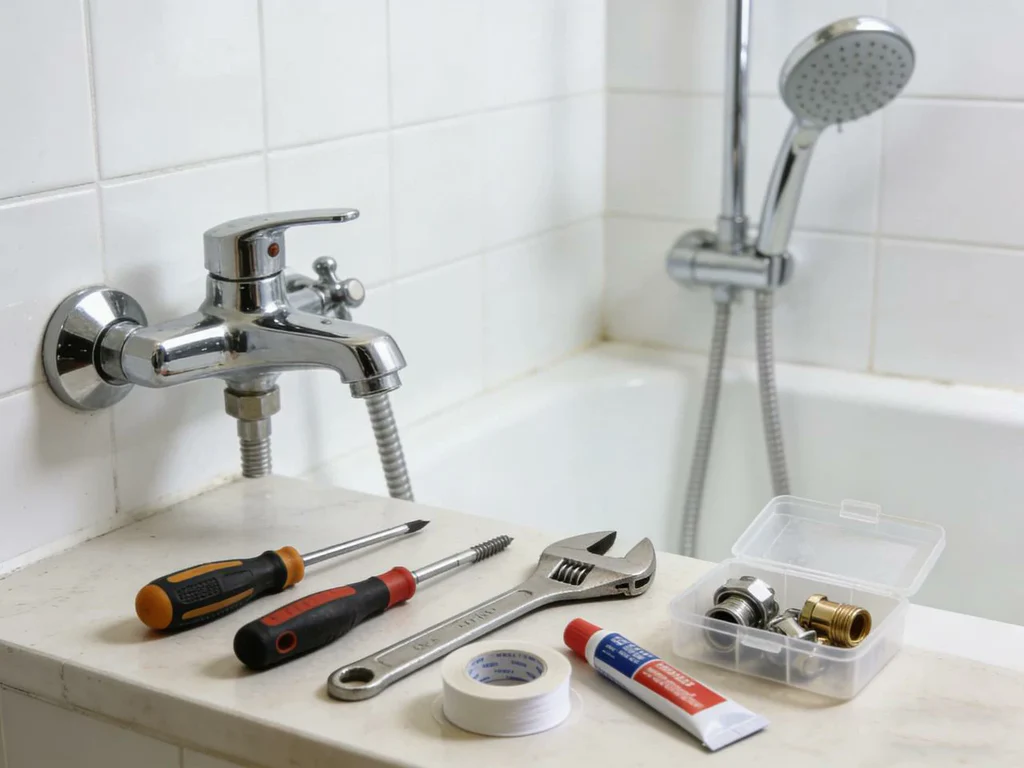
Water dripping behind your shower wall at 2 a.m. is one of the worst sounds in homeownership. You can’t see it, you can’t always hear it during the day over the kids or the TV, and by the time you notice a soft spot in the drywall, you’re not looking at a $12 washer anymore. You’re looking at a demo job.
I get calls (okay, texts from neighbors who “just want a quick opinion”) about shower valves more than almost anything else in the bathroom. People assume a leaky valve means a full retile. Most of the time it doesn’t. Most of the time it’s a cartridge, a worn seat, or a stem packing that gave up. This guide walks through exactly how I troubleshoot a shower valve leak, in the order I actually check things, so you can figure out what’s wrong before you call a plumber or start swinging a hammer.
What Causes a Shower Valve to Leak in the First Place
Before you touch a wrench, it helps to know what you’re actually hunting for. A shower valve is the part hidden in the wall that controls water flow and temperature. It’s connected to your shower handle (or handles) on one end and your shower head and tub spout on the other. When people search “shower valve leaking behind wall” or “shower handle drips after turning off,” they’re almost always dealing with one of these:
- A worn-out cartridge (most common in single-handle valves)
- Mineral buildup on the valve seat
- A cracked or brittle O-ring
- Corroded or loose valve stem packing (common in older two-handle setups)
- A cracked valve body itself, which is rarer but does happen with cheap plastic valves
Hard water is the villain behind most of these. If you’re in an area with hard water, mineral deposits build up on rubber seals and metal seats like plaque on teeth. That buildup keeps the valve from sealing all the way, and water sneaks through even when the handle is fully off.
Tools You’ll Actually Need Before You Start
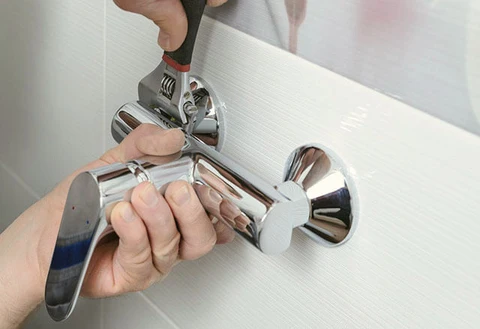
I’m not going to send you to the hardware store five separate times, so grab these before you open anything up:
- A flathead and Phillips screwdriver
- Channel-lock pliers and needle-nose pliers
- An adjustable wrench, plus a deep socket set if you’ve got a two-handle valve
- Plumber’s tape (Teflon tape)
- A small flashlight or your phone light, since valve cavities are dark and awkward
- A rag or two, because water will get everywhere no matter how careful you are
One more thing worth grabbing: a small bucket or towel to set on the tub floor. It catches drips and stray screws so you’re not fishing a retaining clip out of the drain later. That happened to me once with a shower at my sister’s place, and I spent twenty minutes with a magnet on a string trying to get it back.
How to Tell Where the Leak Is Actually Coming From
This is the step everyone skips, and it’s the reason so many people replace parts that were never broken. That time I spent an entire Saturday convinced my shower cartridge was shot, only to find out the leak was coming from a hairline crack in the tub spout diverter. Different part entirely. Wasted afternoon.
Here’s how I narrow it down:
- Turn off the water and watch the shower head. If it drips slowly after you’ve shut the handle off completely, that points to the valve cartridge or seat, not the head itself.
- Check the handle base. Water seeping out around the edge of the handle, not the spout, usually means the O-ring or stem packing behind the trim plate has failed.
- Check the wall below the shower, not just inside it. Staining, bubbling paint, or a musty smell on the wall opposite your shower (like in a hallway or closet) tells you water has been getting into the wall cavity for a while, not just today.
- Feel for temperature drift. If your water randomly goes hot then cold with no one touching the handle, that’s a cartridge problem, not a leak issue, but it’s worth ruling out while you’re in there.
- Listen for it at night. This sounds strange, but a quiet house at 11 p.m. makes even a slow drip obvious. If you can hear it but can’t see it during the day, that confirms you’re dealing with an in-wall leak rather than something visible at the fixture.
- Check your water bill. A jump of even a few dollars a month, with no other explanation, is a decent early warning sign that something behind a wall is running when it shouldn’t be. I know a family who caught a slow shower valve leak this way months before it ever showed up as a stain.
Getting this diagnosis right saves you money and saves your weekend. I’d rather spend fifteen extra minutes confirming the source than spend a Saturday replacing the wrong part twice.
Fixing a Single-Handle Shower Valve Leak (Cartridge Replacement)
Single-handle valves are by far the easiest to fix, and honestly the most common in homes built after the 90s. Here’s my step-by-step:
- Shut off the water. Find your home’s main shutoff or, if you’re lucky, a dedicated shutoff behind an access panel near the shower. No access panel? Check the wall behind the shower in an adjacent closet or the garage.
- Remove the handle. Pop off the decorative cap with a flathead screwdriver, then unscrew the handle screw underneath.
- Pull off the trim sleeve and retaining clip. Most cartridges are held in with a small metal or plastic clip. Needle-nose pliers work great here.
- Pull the cartridge straight out. It might be stuck from mineral buildup. A pair of channel-lock pliers with a gentle back-and-forth wiggle usually does it. Do not yank sideways or you’ll crack the housing.
- Take the old cartridge to the hardware store. Brand and model matter here. Moen, Delta, and Kohler all use different cartridge shapes, and even within a brand there are variations by decade.
- Install the new cartridge, reverse the steps, and test. Turn the water back on slowly and check for leaks before you put the trim back together fully.
This job takes me about 30–45 minutes including the hardware store run, and cartridges usually run $15–40 depending on the brand.
A couple of things I always check while I’m in there. First, look at the orientation arrow on the cartridge before you pull it. Most have a small notch or arrow that needs to line up a specific way, and if you install the replacement backward, you’ll get scalding hot water when you turn the handle to what should be cold. That’s not a fun surprise for whoever showers next. Second, inspect the rubber seals on the new cartridge before installing it. Occasionally a part comes from the factory with a nicked O-ring, and it’s much easier to swap it out on the counter than after you’ve already sealed everything back up in the wall.
If the cartridge comes out clean and the new one goes in fine but you’re still seeing a drip, check the shower head itself before assuming the valve failed again. A worn washer inside the shower head or an old flow restrictor can mimic a valve leak, and it’s a five-minute fix instead of round two on the cartridge.
Fixing a Two-Handle Shower Valve Leak (Stem and Seat Repair)
Older homes, especially anything built before the 90s, tend to have separate hot and cold handles. These use a compression stem system instead of a cartridge, and the repair is a little more old-school.
- Shut off the water supply the same way as above.
- Remove the offending handle (test hot and cold separately to figure out which one is leaking).
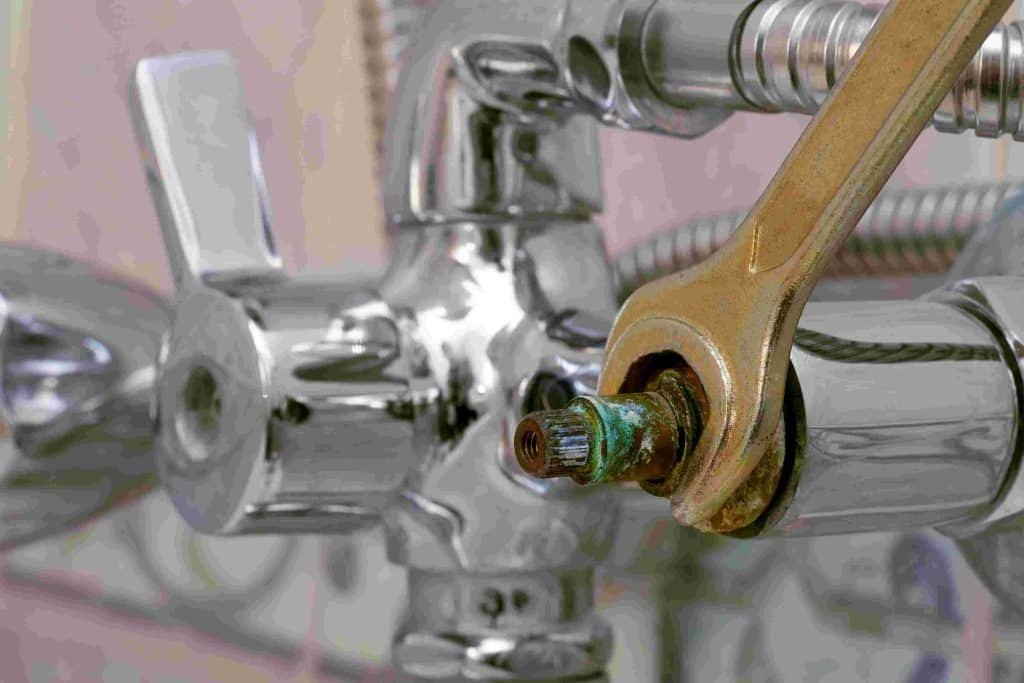
- Unscrew the stem using a deep socket wrench. These stems are usually brass and can be seized from mineral deposits, so a little penetrating oil helps.
- Inspect the rubber washer at the bottom of the stem. If it’s cracked, flattened, or crumbling, that’s your leak. Replace it with an exact match from the hardware store.
- Check the valve seat (the metal ring the washer presses against inside the wall). If it’s pitted or rough, a seat-dressing tool can smooth it out, or you may need to replace the seat entirely with a seat wrench.
- Reassemble and test.
I’ll be honest: two-handle valve repairs are fiddly. The parts are small, they’re old, and sometimes a stem that’s been in the wall since 1987 just doesn’t want to come out gracefully.
A trick that’s saved me more than once: if the stem won’t budge even with penetrating oil, let it sit for a full 20 minutes rather than forcing it with more torque. Brass stems are soft, and rounding off the head means you’re now dealing with an extraction problem on top of a leak problem. Also worth noting, hot and cold stems on some older valves aren’t interchangeable even though they look identical. Keep them labeled as you remove them so you don’t mix them up on reassembly.
If you replace the washer and reface the seat but the drip continues, check the packing nut just above the stem threads. That’s a separate seal from the washer, and a worn packing nut will let water seep up around the handle stem itself rather than out the spout. A wrap or two of graphite packing string or plumber’s tape around the threads usually solves it.
When Mineral Buildup Is the Real Culprit
If your valve is leaking and you live somewhere with hard water, don’t skip this step even if you’ve already replaced a part. I’ve reinstalled a brand-new cartridge into a valve body still coated in calcium scale and watched it start leaking again within a month.
- Remove the cartridge or stem completely.
- Soak the valve body opening in a 50/50 vinegar and water solution using a rag stuffed into the cavity, or a vinegar-soaked paper towel wrapped around it, for at least an hour.
- Scrub gently with an old toothbrush. Never use metal tools inside the valve body; you’ll scratch the sealing surfaces and create new leak paths.
- Rinse thoroughly before reinstalling any new parts.
Quick side note: if you’re dealing with mineral buildup constantly, it might be worth looking into a whole-house water softener. It’s not cheap, but it extends the life of every fixture in your home, not just the shower.
Diverter Valve Leaks: The One Everyone Forgets About
If your leak is coming from the tub spout and not the handle area at all, you’re probably dealing with a diverter valve, not the main shower valve. This little mechanism redirects water from the tub spout up to the shower head when you pull the lever.
- Check the tub spout diverter pin or pull-up rod for corrosion or stripped threads.
- Unscrew the spout (usually counterclockwise, sometimes with a small setscrew underneath first) and inspect the rubber gaskets inside.
- Replace the whole spout if the diverter mechanism feels loose or won’t hold pressure. Spouts are cheap, usually under $20, and not worth fussing over individually.
Real Talk: What Actually Goes Wrong and What’s Not Worth the Effort
I want to save you from some mistakes I’ve made or watched other people make.
Universal cartridges that claim to fit “most” valve brands are, in my experience, a total waste of money even though they look convenient on the shelf. They almost never seal quite right, and you’ll be back in that wall within six months. Spend the extra ten minutes finding the exact match.
Don’t over-tighten the retaining clip or trim screws thinking it’ll stop a leak. It won’t. Over-tightening cracks plastic housings and strips threads, which turns a $20 fix into a full valve replacement.
If your valve body itself is cracked, plastic ones especially, no amount of new cartridges or washers will fix that. That’s a full valve replacement, which usually means opening the wall. This is the one scenario where I’ll tell you to stop DIYing and call a plumber, because getting the new valve set at the correct depth behind tile is not a beginner project.
Also, if your home was built before 1986 and you’re opening up old plumbing, be aware some fittings and solder from that era contained lead. If you’re unsure, it’s worth having it checked before you go tearing into anything extensively.
And one more honest note: if you’ve replaced the cartridge, cleaned the mineral buildup, and you’re still getting a leak behind the wall (not at the handle), the supply line fittings themselves might be the problem, not the valve. That’s usually a sign it’s time to bring in a pro, because diagnosing a pinhole leak in copper behind tile without cutting into more wall than necessary takes real experience.
Bonus real talk: people love to reach for plumber’s putty or silicone caulk around the base of the handle trim thinking it’ll seal a leak. It won’t fix anything internal, and it just makes the next repair messier because now you’re scraping dried caulk off the trim plate before you can even get to the screws. Save the caulk for where it belongs, around the trim’s outer edge against the tile, purely for cosmetic water-splash protection, not as a leak fix.
Final Thoughts
A dripping shower valve feels like a bigger problem than it usually is. Nine times out of ten, it’s a $20 part and thirty minutes of your Saturday, not a bathroom renovation. The key is slowing down long enough to actually diagnose where the water is coming from before you start replacing things.
Have you tackled a shower valve repair yourself, or is there a specific valve brand giving you trouble? Drop your questions or your own war stories in the comments below. I read every one.