
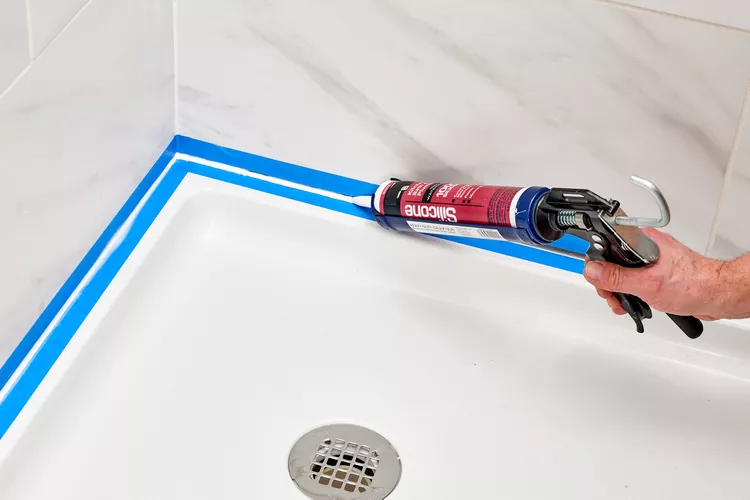
There’s a special kind of misery that comes from finishing a caulk job, standing back to admire your work, and watching a hairline crack open up at the corner three days later. You did everything “right.” You cleaned the tile, you taped the edges, you smoothed the bead with your finger like every YouTube video told you to. And it still failed.
I’ve re-caulked more shower corners than I can count, in my own house and for half the neighbors on my street who got tired of paying a plumber $200 for a 20-minute job. The truth nobody tells you upfront is this: corners fail more than flat runs because they move. Every time your house settles, every time the tub flexes under your weight, that corner joint is absorbing stress the flat wall never sees. Pick the wrong caulk there, and you’re re-doing this job every six months.
So let’s fix that. Below are the five caulks I actually reach for when a shower corner needs sealing, based on what consistently shows up as Amazon best-sellers and what’s actually held up in my own bathrooms. I’ll tell you which one I’d buy again and which one I regret.
What Makes a Caulk Good for Shower Corners Specifically
Before the list, a quick reality check. Corner caulk has a harder job than flat-seam caulk. It needs three things:
- Flexibility — corners move more than flat walls, so a rigid caulk will crack first here.
- Mold resistance — corners trap water and soap scum longer than anywhere else in the shower.
- Strong adhesion to two different surfaces at once, since most corners join tile to tile, or tile to a fiberglass tub surround, at an angle.
Any caulk that skips even one of these three is setting you up for a redo. Keep that checklist in mind as you read.
1. GE Silicone 1 Kitchen & Bath Caulk — Best Overall for Corners
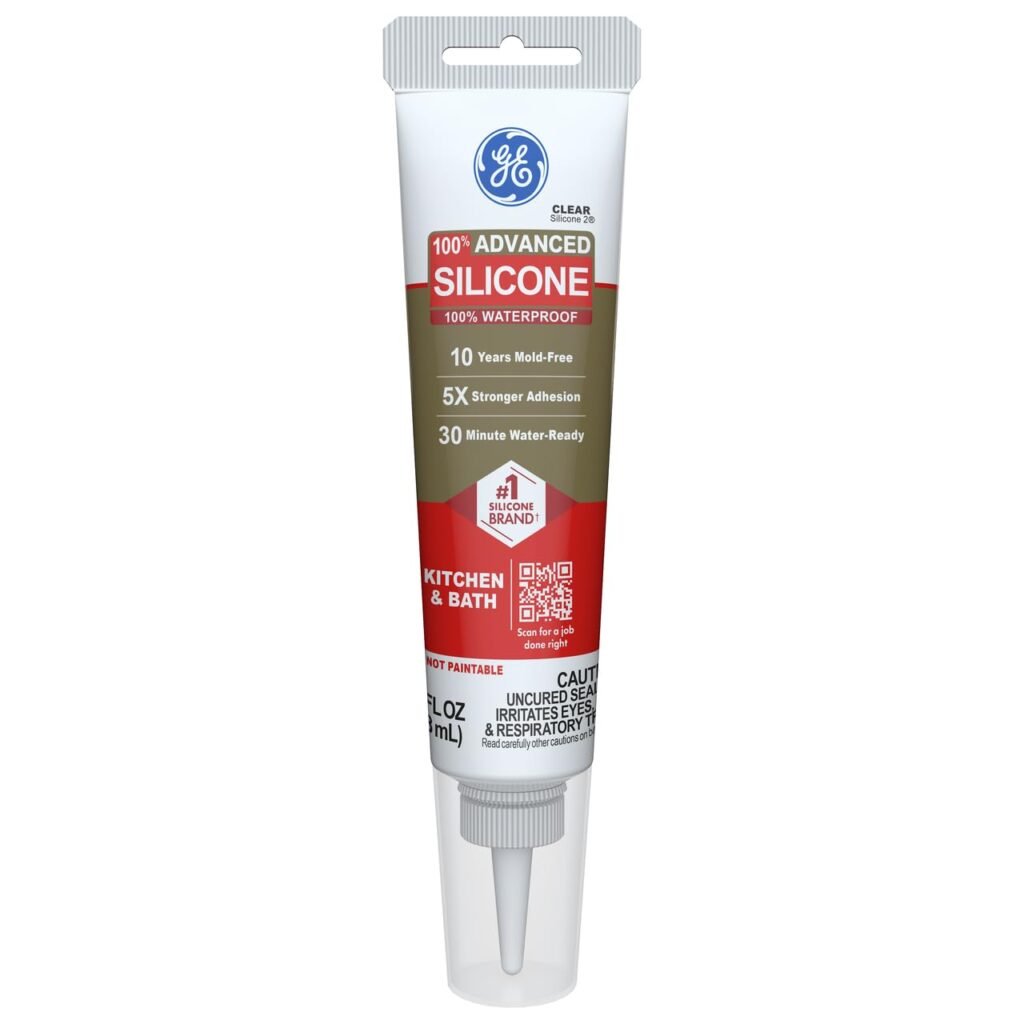
This is the caulk I grab first for any corner that sees daily water contact. It’s 100% silicone, not a hybrid, and that matters more than people realize.
GE’s formula is built specifically for high-moisture zones, and it’s genuinely rated as waterproof within about 30 minutes of application. That’s a big deal if you’ve got one bathroom in the house and can’t tell the family to hold their showers for a full day while caulk cures. I’ve used this on a corner that gets direct spray from an overhead rain showerhead, and years later the seal is still flexible and hasn’t yellowed.
The adhesion is where this one separates itself from cheaper options. Silicone-tile bonds can be finicky, especially in corners where you’re asking the caulk to grip two different angles at once. GE’s version grabs on fast and stays put, even through the expansion and contraction that comes from hot showers followed by a cold bathroom overnight.
My one gripe: this isn’t paintable, and it’s not the easiest thing to tool into a perfectly smooth concave line if you’re a first-timer. Practice your bead on a scrap piece of tile before you commit to the real corner. I’ve found that a wet finger and a steady hand get you 90% of the way there, but a proper caulk-finishing tool gets you the other 10%, and that last 10% is what makes a corner look professionally done instead of homemade.
2. Gorilla Caulk & Seal 100% Silicone — Best for a Clean, Nearly Invisible Line
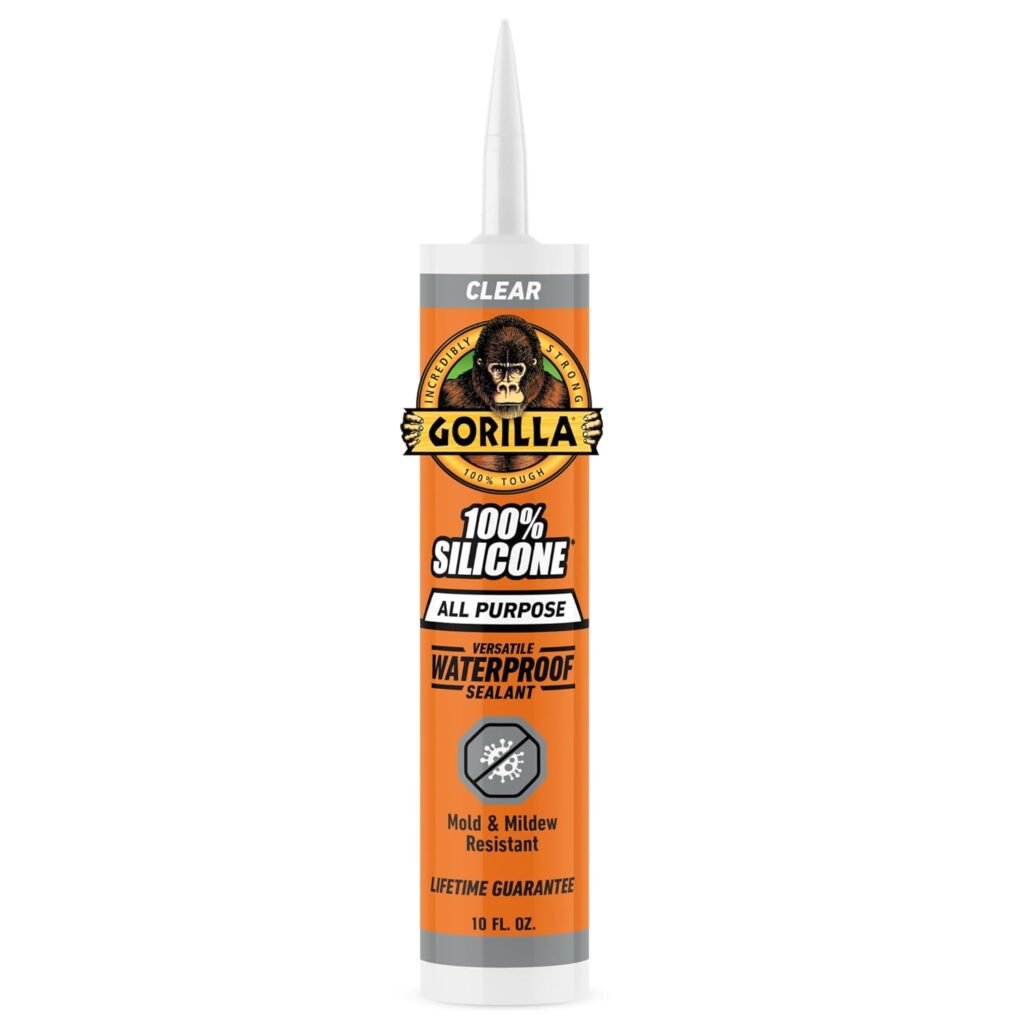
Gorilla built its whole brand on being tough, and their caulk lives up to that reputation in the shower. It applies smoothly, bonds hard, and once it cures, it’s barely noticeable against most tile colors.
What I like most is how forgiving it is to work with. It flows well out of the tube without stringing everywhere, and it doesn’t get overly sticky when you’re trying to tool it into that classic concave corner shape. If you’ve ever fought with a caulk that clumps up on your finger and drags instead of smoothing, you’ll appreciate how different this feels.
It stays flexible long after curing, which is exactly what you want in a corner joint. I sealed a corner in my daughter’s bathroom with this two years ago, and it hasn’t cracked despite that shower getting used twice a day by a kid who treats every bath like a swimming pool.
One thing to flag: this formula isn’t rated for aquariums, brick, masonry, metal, or cement, so don’t grab this same tube for a project outside the bathroom. It’s also not paintable, so if your shower trim needs a painted finish rather than a clear or white silicone line, this isn’t your pick. Stick it to tile, porcelain, fiberglass, or acrylic tub surrounds and it performs beautifully.
3. DAP Kwik Seal Plus — Best Budget Option That Doesn’t Feel Cheap
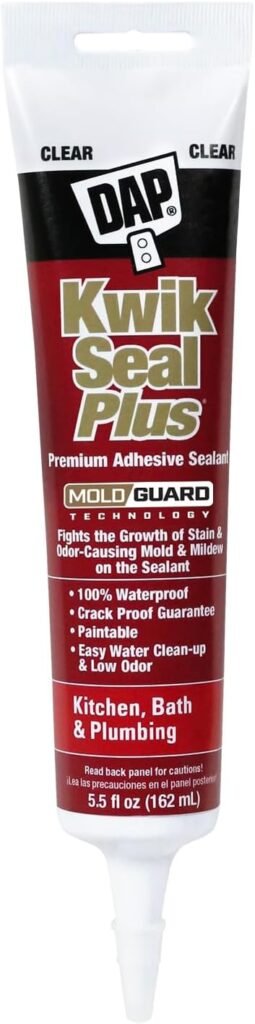
I’ll be honest, I went into testing this one skeptical. It’s roughly half the price of the silicone options above, and I’ve found that cheap caulk is usually cheap for a reason. This one surprised me.
Kwik Seal Plus is a siliconized latex caulk, which means it splits the difference between pure silicone and basic acrylic caulk. It creates a genuinely waterproof barrier once cured, and it includes Microban antimicrobial protection built right into the formula, which actively fights the mold and mildew that corners are so prone to growing.
The application experience is where the budget price tag doesn’t show. Cleanup is simple: a wet rag handles excess caulk on the tub or tile before it sets, no mineral spirits or special solvents required. That alone makes it a better choice for a first-timer than pure silicone, which is much less forgiving if you smear it somewhere you didn’t mean to.
It’s paintable too, which the silicone options above are not. If your bathroom trim or corner needs to match a painted wall color rather than staying clear or white, this is the caulk that lets you do that. Just budget in the drying time: it needs about 2 hours before you can paint over it, and a full 24 hours before that corner should see running water. Rush that step and you’ll undo all your work.
4. Loctite Polyseamseal Tub and Tile Sealant — Best for Fast Repairs and Touch-Ups
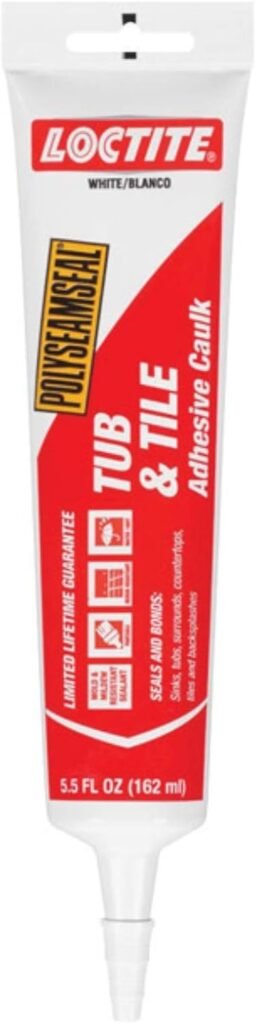
Sometimes you don’t need to re-caulk an entire corner. You need to patch a two-inch section where the old caulk peeled up, and you need it done in ten minutes without hauling out a full caulking gun and cartridge.
That’s the job this one is built for. It comes in a small, squeeze-tube format instead of the big cartridge-and-gun setup, which makes it perfect for spot treatments around fixtures and corner touch-ups rather than a full shower re-caulk. I keep one of these under my bathroom sink specifically for the moment I notice a tiny gap starting before it turns into a real leak.
The formula holds up surprisingly well for something this convenient. It resists cracking and shrinking over time, and it maintains its thickness instead of thinning out and losing its seal the way some squeeze-tube products do after a few months.
Where it falls short compared to the full silicone options above is coverage and long-term durability on a high-traffic corner. This is a maintenance tool, not a full re-caulking solution. If more than a few inches of your corner seal has failed, skip this one and go with GE or Gorilla instead. Save the Loctite tube for the small stuff.
Quick side note: if you’re not sure whether your corner needs a full re-caulk or just a touch-up, run your fingernail along the seam. If it’s soft, cracked, or lifts away from the tile in more than one spot, that’s a full redo. If it’s just one small gap, a touch-up tube like this one will save you an afternoon.
5. Bonus Pick: Self-Adhesive Caulk Strip Tape — Best for Renters or Caulk-Phobic Beginners
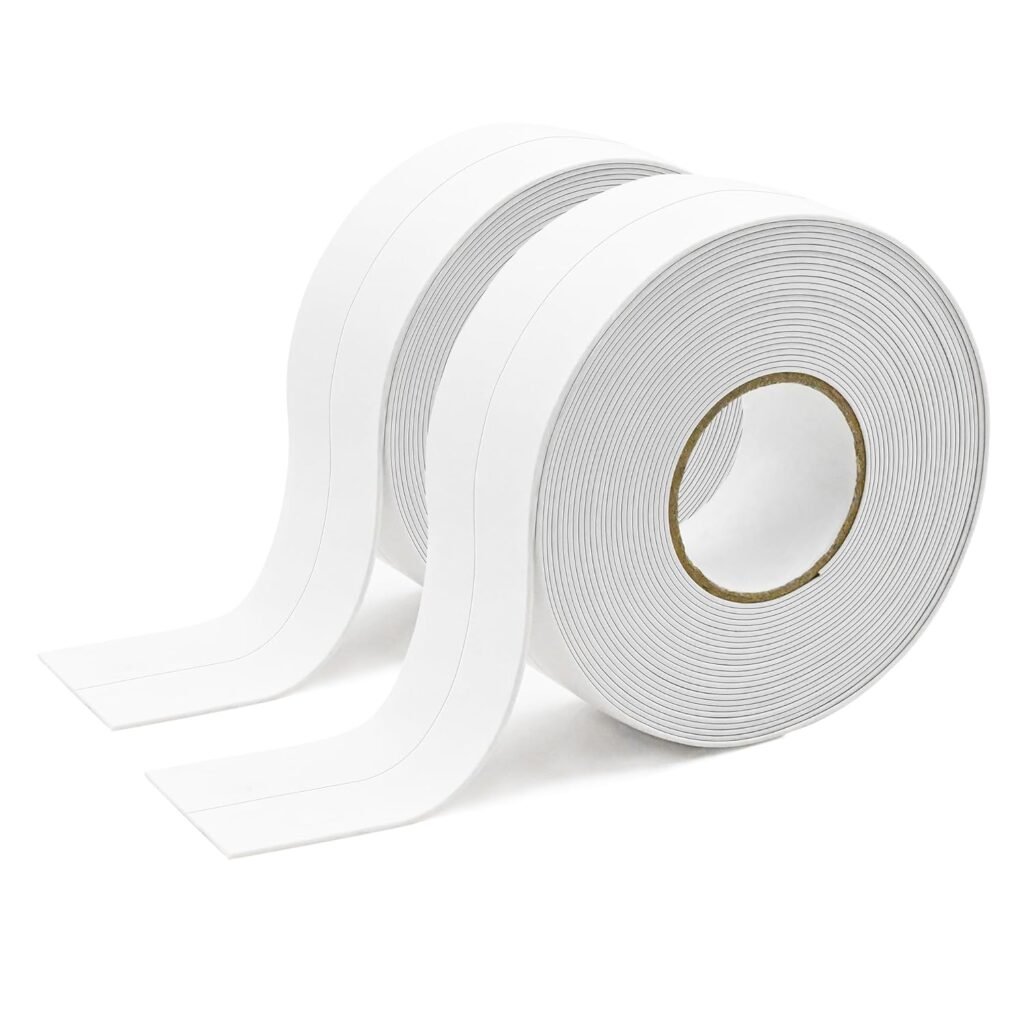
I almost didn’t include this one because it isn’t technically caulk, but it consistently sells like crazy on Amazon and I get asked about it constantly, so it earns a spot.
This is a peel-and-stick waterproof strip you press directly over an existing corner seam instead of applying wet caulk at all. No caulking gun, no tooling, no mess. For renters who can’t risk botching a caulk job on a bathroom they don’t own, or for anyone who’s tried and failed at a clean silicone bead more than once, this is a genuinely useful shortcut.
I’ve used it in a rental bathroom myself, and it held up for about a year before the edges started peeling at the corner where two strips met. That’s the tradeoff: it looks clean on day one, but it’s not a permanent fix the way real silicone is. Water can work its way underneath the tape over time if the initial seal wasn’t pressed down firmly enough.
My honest take: this is a fine stopgap or a quick cosmetic fix before a move-out inspection. It is not a substitute for real silicone caulk on a corner that sees daily shower spray long-term. Treat it as training wheels, not a permanent solution.
Real Talk: What Actually Goes Wrong With Shower Corner Caulk
Here’s the part most articles skip because it’s not as fun to write as the product recommendations.
Skipping the old caulk removal is the number one mistake I see. Caulking directly over old, failed caulk feels like a shortcut, and it never works. The new caulk can’t bond properly to old silicone residue, and you’ll be back here in two months wondering why it already peeled. Pull every scrap of the old bead out with a caulk removal tool or a sharp utility knife before you start.
Rushing the dry time is the second-biggest killer. I get it, everyone wants their shower back the same night. But running water over caulk before it’s cured, even silicone rated for fast waterproofing, weakens the bond before it’s had a chance to fully set. Read the label, and add a few extra hours as insurance if your bathroom runs humid.
Skipping the isopropyl alcohol wipe-down is a small step people love to skip, and it shows. Soap scum and body oils sit on tile even after a scrub, and caulk won’t grip a surface that’s got an invisible oily film on it. A quick wipe with rubbing alcohol right before you caulk makes a bigger difference than the brand of caulk you chose.
And honestly, paying a professional $200 for a straightforward corner re-caulk is, in my opinion, a total waste of money. This is a genuinely beginner-friendly project once you’ve done it once. Where professionals earn their fee is on full shower surrounds with multiple angles and materials, not a single corner seam.
One thing that’s not worth the effort: trying to caulk over active mold. If you see black spots under or around the old caulk, no sealant on this list will fix that. You have to treat the mold with a bleach solution first, let it dry completely, and only then apply new caulk. Sealing over active mold just traps it and makes the eventual failure worse.
Final Thoughts
The right caulk for your shower corner really comes down to how much moisture that corner sees every day and how much patience you have for the application process. For a corner that gets hit with spray every single shower, I’d reach for GE Silicone 1 or Gorilla Caulk & Seal without hesitation. For a budget-friendly job or a corner near painted trim, DAP Kwik Seal Plus earns its keep. And if you just need a quick patch, keep a tube of Loctite Polyseamseal in the cabinet for emergencies.
Whatever you pick, don’t skip the prep work. The caulk matters less than the surface you’re putting it on.
Have you tried any of these on your own bathroom corners, or found one I didn’t mention that’s earned a permanent spot in your toolbox? Drop it in the comments below, I’m always curious what’s actually working in other people’s bathrooms.