
Steam fogging up your mirror for twenty minutes after every shower. A weird rattle that sounds like a marble rolling around in your ceiling. Or worse, a fan that just clicks and does nothing at all. If any of that sounds familiar, you’re not alone, and you don’t need to call an electrician for most of it.
I’ve pulled apart more bathroom exhaust fans than I can count, in my own house and in three different rentals I’ve flipped over the years. Most of the time the fix takes less than an hour and costs under twenty bucks. Every once in a while it’s a bigger deal. This guide walks you through how to tell the difference.
Why Your Bathroom Fan Isn’t Working Right
Before you start unscrewing things, it helps to understand what a bathroom exhaust fan actually needs to do its job. It needs unrestricted airflow in, a motor that spins freely, and an exit path outside that isn’t blocked or crushed. When any one of those three things breaks down, you get one of the classic symptoms: no power, weak suction, loud noise, or moisture that just won’t clear.
I always tell people to diagnose before you buy. I’ve seen folks replace a perfectly good fan motor when the real problem was a bird’s nest sitting in the roof vent cap. Save your money and figure out which category you’re actually dealing with first.
1. Bathroom Fan Not Turning On At All
This is the scariest-sounding problem but usually the easiest fix. Start with the obvious stuff.
- Check the wall switch. Flip it off and on a few times. If you have a switch that also controls a light, sometimes the fan half of the switch fails while the light keeps working fine.
- Check your breaker panel. A tripped breaker for the bathroom circuit will kill the fan along with your outlets. Reset it and see what happens.
- Pop the fan cover down and look for a reset button on the motor housing itself. Some models, especially ones with a built-in heater, have a thermal cutoff that trips if the motor overheats.
- Test the switch with a non-contact voltage tester. If you’re getting no voltage at the switch box, the problem is wiring, and that’s when I’d bring in an electrician instead of guessing.
That last one matters. I am completely comfortable swapping switches and cleaning fan blades, but I do not mess around with wiring inside a wall unless I actually know what I’m doing. A fan is not worth a house fire.
2. Bathroom Fan Running But Not Removing Moisture
This is the most common complaint I hear, and it’s almost never the motor. It’s airflow.
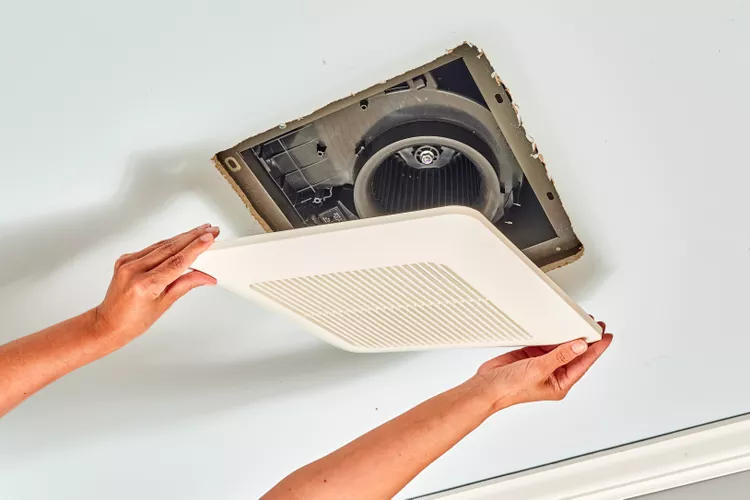
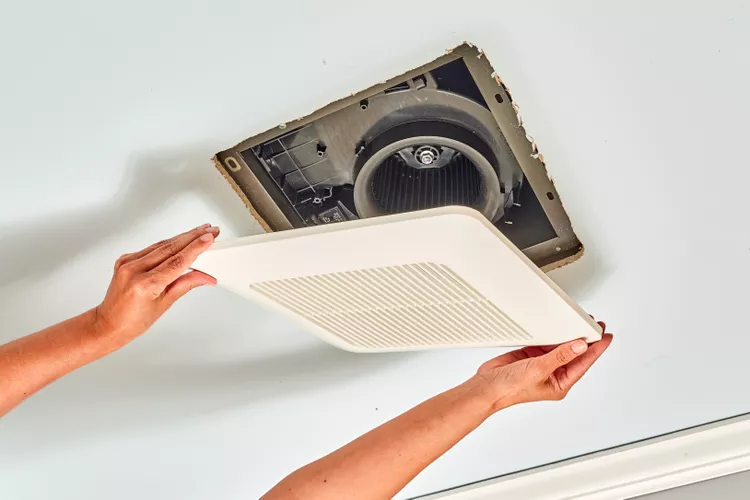
Pull the cover off (most just pop or twist free) and check the intake grille for dust buildup. A thick layer of dust and hair on those slats can cut airflow by half, easy. I clean mine every six months with a vacuum brush attachment and it makes a genuinely noticeable difference.
If the intake is clean, the blockage is probably further down the line. Bathroom fans vent through flexible or rigid ductwork that runs to either a roof cap, a soffit vent, or a wall cap. These ducts sag over time, especially the cheap accordion-style flex duct that a lot of builders use. A sagging duct traps condensation, which pools, which then blocks airflow and eventually grows mold. Not fun to discover.
The exterior vent cap is the other usual suspect. Birds and wasps love building nests right at the exit point because it’s warm and sheltered. Go outside, find your roof or wall cap, and check that the flap moves freely when the fan is running. If it barely flutters, something’s blocking it.
3. That Rattling, Buzzing, or Grinding Noise
A fan that used to be quiet and now sounds like a helicopter landing on your roof usually means one of two things: the motor bearings are wearing out, or something loose is vibrating against the housing.
Cheap builder-grade fans, and I mean the ones that came standard in a lot of homes built in the 90s and 2000s, use sleeve bearings that dry out over time. You can sometimes extend their life by adding a couple drops of light machine oil to the motor shaft, but honestly, once a motor starts grinding, it’s on borrowed time. I’ve squeezed maybe another year out of a dying motor with oil. Never longer than that.
Loose mounting screws are the easier fix. Bathroom fans get installed between ceiling joists on a mounting bracket, and if that bracket wasn’t tightened properly, the whole housing vibrates every time the fan spins. Tighten every visible screw you can reach before assuming you need a new motor.
4. Weak Airflow Even With A Clean Fan
If you’ve cleaned everything and airflow is still weak, check that your fan is actually sized correctly for your bathroom in the first place. This trips people up constantly. The rule of thumb is 1 CFM (cubic feet per minute) per square foot of bathroom, with a minimum of 50 CFM even in a small bathroom. A big soaker tub or a walk-in shower bumps that number up further.
I once put a builder-basic 50 CFM fan into a bathroom with a giant walk-in shower and a soaking tub, thinking any fan was better than no fan. Wrong move. That room stayed steamy for half an hour after every shower no matter how clean the ductwork was. The fan just wasn’t powerful enough for the volume of moist air it needed to clear. Swapping it for a 110 CFM unit solved it completely.
5. Humidity Sensor Fans Not Kicking On Automatically
If you’ve got one of the newer humidity-sensing fans, meaning it’s supposed to switch on by itself when it detects steam, and it’s not doing that, the sensor calibration is probably off rather than broken. These units have a small dial or digital setting, usually behind the cover, that controls how much of a humidity jump triggers the fan.
I installed one of these in my own bathroom a few years back and spent a solid week annoyed that it never turned on during showers but would randomly kick on at 3am for no reason. Turned out the sensitivity was set too low, so it was picking up on tiny ambient humidity swings from the HVAC system instead of the actual shower steam. Cranking the sensitivity dial up two notches fixed it completely. Check your manual for the exact adjustment range since it varies by brand, but most let you nudge it in small increments until it’s actually responding to your shower and not your air conditioner.
6. Fan Runs Continuously And Won’t Shut Off
A fan that won’t turn off, even after you flip the switch, usually points to a stuck relay or a wiring issue at the switch itself rather than the fan motor. Before assuming the worst, kill power at the breaker and see if the fan actually stops. If it does, the fan itself is fine and the switch is the problem. If it keeps running even with the wall switch off but the breaker on, you’ve got a wiring fault and that’s a job for an electrician, not a Saturday afternoon project.
Timer switches are notorious for this. The little dial timers that used to be popular wear out their internal spring mechanism after years of use and can stick in the “on” position. If you’ve got one of these installed, swapping it for a basic rocker switch or a digital timer switch solves the problem for good and costs less than fifteen dollars.
How To Test Your Bathroom Fan’s CFM Yourself
You don’t need fancy equipment for a rough check. Grab a single square of toilet paper or a paper towel, hold it up against the running fan grille, and watch how it reacts.
- Turn the fan on and let it run for a few seconds.
- Hold the tissue an inch or two below the grille.
- A strong fan should hold the tissue flat against the grille almost like suction.
- If it barely moves or flutters weakly, your airflow is compromised somewhere, or the fan itself is underpowered for the room.
This won’t give you an exact CFM number, but it tells you fast whether you’ve got a real airflow problem worth chasing down.
Cleaning Your Bathroom Exhaust Fan The Right Way
Regular cleaning prevents most of the problems on this list before they start. Here’s my actual routine, not the sanitized version you’ll find on a manufacturer’s website.
- Cut power at the breaker, not just the wall switch. I know it’s tempting to skip this step for something that “only takes a second,” but I don’t take chances with anything I’m sticking my fingers into.
- Remove the cover. Most snap off with a firm pull, some have a spring clip you’ll need to squeeze.
- Vacuum the blades and housing with a brush attachment. Don’t use water directly on the motor.
- Wipe the cover itself with warm soapy water and let it dry completely before reattaching.
- While it’s open, glance at the wiring connections to make sure nothing’s come loose or looks scorched.
Quick side note: if your fan cover is yellowed plastic that’s cracked or brittle, just replace the whole cover. They’re cheap, usually under ten dollars, and a fresh cover instantly makes the whole bathroom look better maintained.
Bathroom Fan Making Your Room Cold In Winter
This one isn’t a malfunction, it’s a design flaw in older fans. If your bathroom gets noticeably colder near the fan in winter, you likely have a backdraft damper that isn’t sealing properly, letting outside air leak back in through the duct when the fan’s off.
Most exterior vent caps have a flap meant to close when the fan isn’t running. Over time these flaps warp, get stuck open by debris, or just wear out. You can usually replace just the exterior cap for well under thirty dollars, and it’s a fifteen-minute job with a ladder and a caulk gun.
When To Replace The Whole Fan Instead Of Repairing It
Sometimes the smarter move is skipping the repair altogether. Here’s how I decide.
- If the motor hums but the blades don’t spin, even after cleaning and oiling, the motor windings are likely shot. Replace it.
- If you’re constantly fighting condensation and mold no matter what you clean, the fan is probably undersized for the room, not broken. Replace it with a higher CFM model.
- If the housing itself is cracked, rusted, or the mounting bracket has failed, patching it is a losing battle. Replace the whole unit.
- If your current fan is loud enough that you avoid running it, even a mid-range modern fan rated around 1.0 to 1.5 sones will feel like a night and day difference. That noise rating matters more than most people realize when they’re shopping.
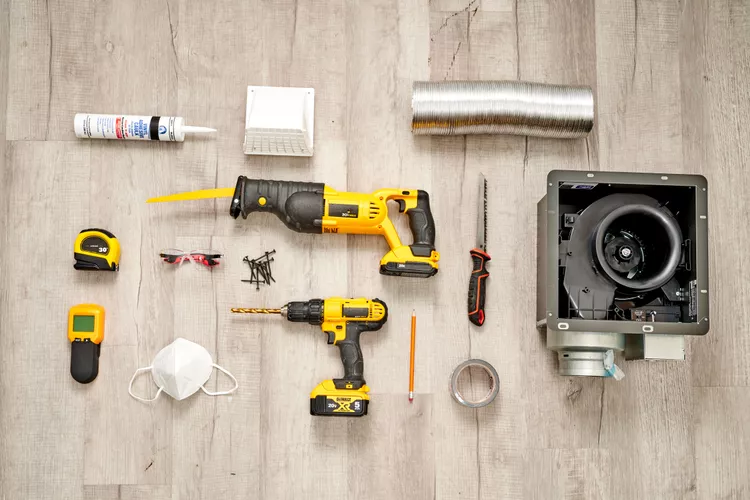
Installation itself isn’t as scary as people assume. Most retrofit fans are designed to fit into the same ceiling opening as your old one, and if your existing ductwork and wiring are in decent shape, you’re really just disconnecting three wires, unscrewing the old housing, and reversing the process with the new unit. I’d still recommend killing the breaker and double-checking with a voltage tester before touching any wires, every single time, no exceptions.
Real Talk: What’s Not Worth Fixing And What Can Go Seriously Wrong
Here’s where I get honest with you instead of pretending every fan is worth saving.
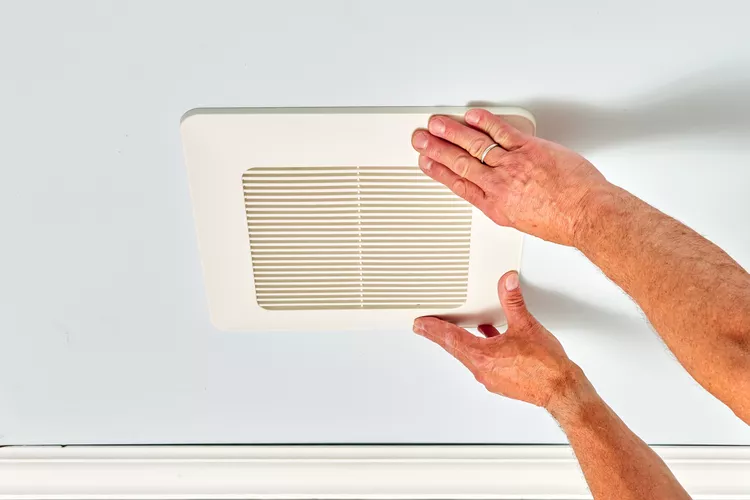
If your fan is more than 15 years old and the motor is grinding, don’t bother trying to nurse it back to life. New fans today are dramatically quieter and more energy efficient than what builders installed a decade or two ago. You’ll spend more time and money chasing small repairs than just swapping the whole unit for around sixty to a hundred dollars.
Mold in the ductwork is the one issue I will not tell you to DIY casually. If you pull the cover and see black growth creeping into the duct itself, not just surface dust, that’s a moisture problem that’s been going on a while. You can clean visible mold with a bleach solution, but if it’s extensive or the ducting itself is compromised, get a professional to look at it. Breathing mold spores while you’re up on a ladder in a tight attic space is not a risk worth taking to save a service call fee.
And please, don’t ever vent your bathroom fan into your attic space instead of outside. I’ve seen this in two different older homes I looked at buying, and it’s a disaster waiting to happen. All that warm moist air just dumps into your attic, soaks the insulation, and eventually rots your roof deck from the inside. If you discover your fan is doing this, rerouting the ductwork to actually exit outside should be priority one, even before worrying about noise or CFM.
One more thing worth saying plainly: skip the fans with built-in Bluetooth speakers unless you genuinely will use it constantly. I put one in a rental bathroom years back thinking it’d be a nice touch, and it just became one more thing to eventually troubleshoot when the pairing glitched. Simple and reliable beats fancy and fragile in a bathroom fan every time.
Final Thoughts
Most bathroom fan problems come down to airflow, not electronics. Clean the intake, check the exterior vent cap, and make sure the ductwork isn’t sagging before you spend money on a replacement motor or a whole new unit. Save the electrician call for actual wiring issues, and don’t ignore mold if you find it.
What’s going on with your fan right now? Is it dead silent, screaming like a jet engine, or just not pulling the steam out fast enough? Drop your situation in the comments below and I’ll help you figure out what’s actually causing it.