
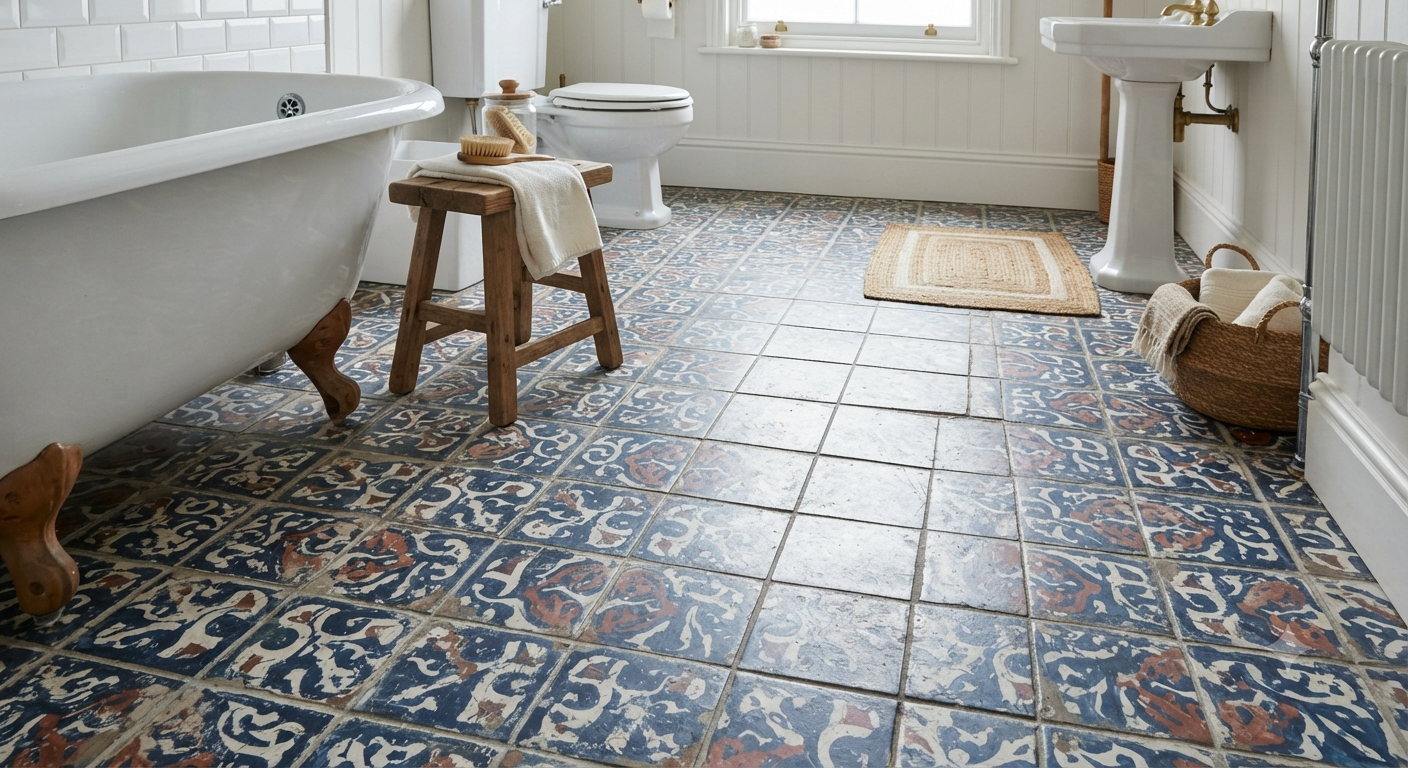
Your bathroom floor is ugly and you know it. That builder-grade beige tile from 1994 isn’t going anywhere on its own, and every quote you’ve gotten for a full retile job made your stomach drop. So now you’re standing in the aisle at the hardware store, staring at a can of “tile-ready” paint, wondering if this is a genius hack or a colossal waste of a Saturday.
I get this question constantly from neighbors, cousins, and random people at backyard barbecues once they find out I flip houses for a living. The short answer is yes, you can absolutely paint bathroom floor tiles. The longer answer is that it only works if you respect the process, pick the right products, and go in with realistic expectations about how long it’ll last.
My buddy Marcus called me last spring in a panic because he’d already bought the paint and wanted to start “tonight” before his in-laws visited that weekend. I talked him down, made him wait three days so he could actually prep the floor right, and that bathroom still looks great over a year later. The guy two streets over who didn’t wait? He was back at the paint store by August.
Let’s get into what actually works, what’s a trap, and how to do this without ending up with paint peeling off your floor in six months.
Can You Really Paint Over Bathroom Floor Tile?
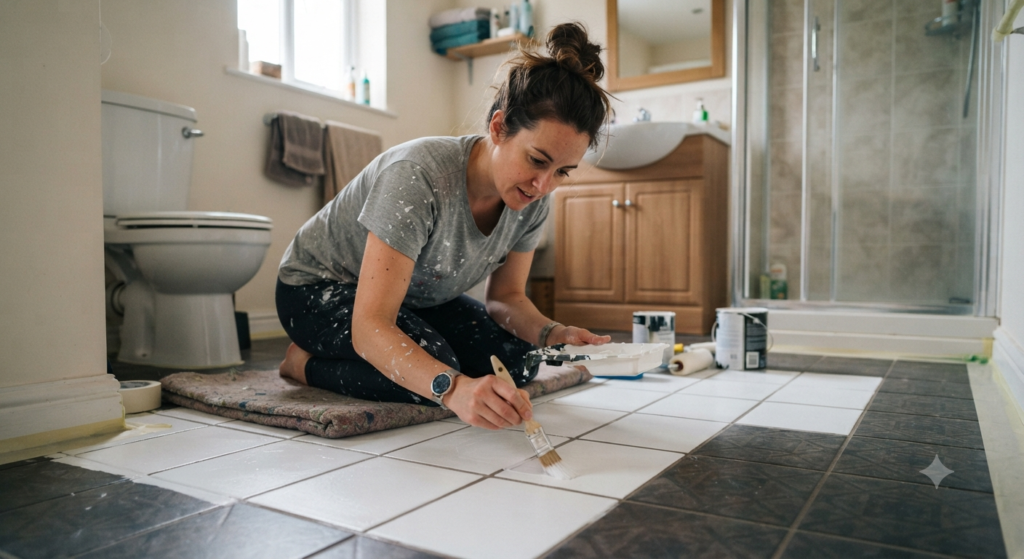
Yes. Floor tile paint is a real thing, and it’s come a long way from the chalky, easily-scratched stuff my uncle tried in his basement bathroom back in 2009. Modern epoxy and urethane-based tile coatings are tough enough to handle foot traffic, water splashes, and the occasional dropped hair straightener.
But here’s my honest opinion: painting bathroom floor tile is a stopgap, not a permanent fix. I’ve refinished probably fifteen bathroom floors over the years for clients who wanted a fast, cheap refresh before selling a house or while saving up for a real renovation. It buys you two to five years of a floor that looks good in photos and holds up fine under normal use. It is not the same as new tile, and anyone who tells you otherwise is trying to sell you something.
If you’re renting, staging a house to sell, or just need the bathroom to stop looking like a time capsule while you save for the real remodel, painting is a smart move. If you’re planning to live in this house for the next twenty years, I’d think twice.
What You Need Before You Start This Project
Don’t just grab a random can of paint from the garage. Floor tile takes a beating that wall tile never sees, so your materials matter more here than almost anywhere else in the house.
Here’s my shopping list, built from trial and error:
- Epoxy floor coating or urethane tile paint – Grab something specifically labeled for floors, not just tile. Wall tile paint will peel off a bathroom floor embarrassingly fast.
- Etching solution or a deglosser – This preps the tile surface so paint actually grips instead of sliding right off.
- A quality primer made for tile or slick surfaces – Skipping this step is the single biggest reason DIY tile paint jobs fail.
- Fine-grit sandpaper (220 grit works well) – For scuffing up glazed tile before priming.
- Painter’s tape, a small foam roller, and an angled brush – For grout lines and edges.
- A clear polyurethane topcoat – This is what actually protects your paint job from water and foot traffic.
Quick side note: don’t cheap out on the topcoat. I’ve seen people spend good money on epoxy paint and then skip the sealer to save twenty bucks, and their floor looked trashed within four months. The topcoat is doing most of the heavy lifting here.
How to Paint Bathroom Floor Tile Step by Step
Alright, here’s the actual process. I’m going to walk you through this the way I’d explain it to a friend standing in their bathroom with me, not the way a paint can label does it.
Step 1: Clean Like You Mean It
Grout and bathroom floors collect soap scum, hair product residue, and a weird film that builds up over years. Scrub the entire floor with a degreasing cleaner, then rinse thoroughly. Any residue left behind will show up as a bubble or a weak spot in your paint later.
Let the floor dry completely. I mean completely. Run a fan in there overnight if you have to. Painting over even slightly damp grout lines is asking for trouble.
Step 2: Etch or Deglosses the Tile Surface
Glazed tile is basically slippery on a microscopic level, and paint needs something to grab onto. Apply your etching solution or deglosser according to the product instructions, then rinse and let it dry again.
For extra grip, I go over the whole floor with 220-grit sandpaper afterward. It doesn’t take much, just enough to knock the shine off. You’re not trying to sand through the tile, just rough up the surface.
Step 3: Prime the Whole Floor
This step is non-negotiable. Use a primer made for tile or glossy surfaces, and apply it evenly with a foam roller. Get into the grout lines with your angled brush.
Let it cure for the full time listed on the can, not just until it feels dry to the touch. I know waiting is boring. Do it anyway.
Step 4: Apply Your Paint or Epoxy Coating
Now the fun part. Apply thin, even coats rather than one thick one. Two to three thin coats will always outperform one heavy coat, both in looks and durability. Heavy coats crack and peel way faster.
Work in small sections and keep a wet edge so you don’t get visible lines where one section meets another. Let each coat dry fully before adding the next.
Step 5: Seal It With a Topcoat
Once your final coat of paint is dry, apply at least two coats of clear polyurethane topcoat. This is your floor’s armor against water, foot traffic, and the inevitable dropped shampoo bottle.
Let the whole system cure for the full recommended time before you walk on it in shoes, and even longer before you let it get wet. Most products want 3 to 5 days of cure time before you can shower normally again. I know that’s a long time to use the other bathroom, but rushing this step is how good paint jobs die young.
Best Paint Options for Bathroom Floor Tile
Not all products marketed for tile are created equal. Here’s what I actually reach for on job sites.
Two-part epoxy kits are the toughest option out there. They’re a little more work because you’re mixing components on a timer, but the durability makes it worth the hassle for a floor that gets real foot traffic. These typically run you more upfront, but they last the longest of any DIY option.
Porch and floor enamel is a budget-friendlier choice that still holds up reasonably well in a low-traffic guest bathroom. It won’t survive a busy family bathroom with kids tracking in sand from the yard, but for a powder room, it’s a solid pick.
Tile-specific paint kits that bundle primer, paint, and topcoat together take the guesswork out of matching products. I like these for beginners because everything is formulated to work together, which cuts down on compatibility issues.
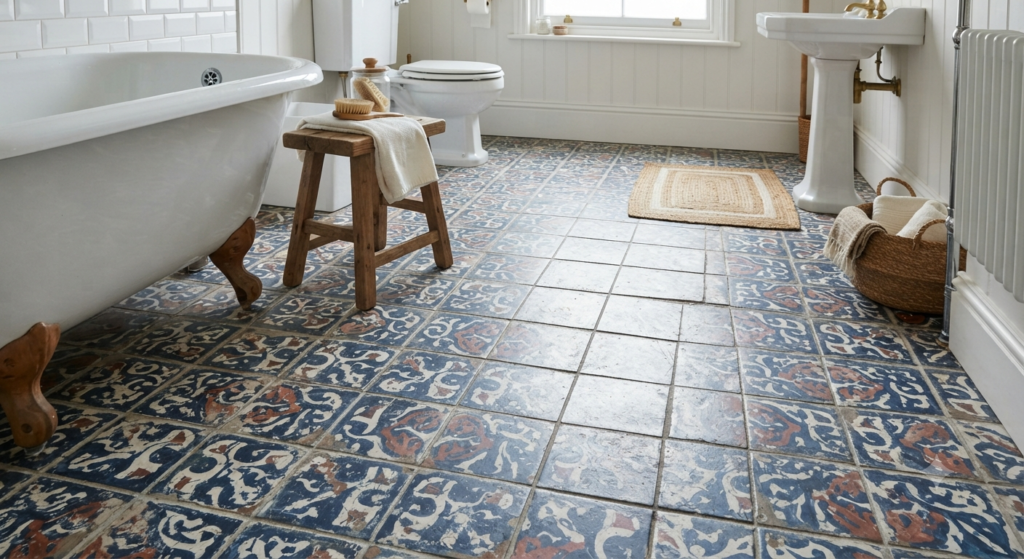
Stencil and pattern kits have exploded in popularity for people wanting that trendy cement-tile look without the cost. I’ve done a few of these for clients and they photograph beautifully. Just know that a stenciled floor shows wear in high-traffic spots faster than a solid color, since any little chip stands out against the pattern.
Painting vs. Retiling: What’s the Real Cost Difference?
This is the math I walk every client through before they commit to either project, because the numbers surprise most people.
A DIY tile floor painting project for an average bathroom typically runs somewhere between $50 and $200, depending on how much square footage you’re covering and whether you go with a basic enamel or a two-part epoxy kit. That price covers your primer, paint, topcoat, and prep supplies. You’re mostly paying for your own time and effort, which for a small bathroom is usually a weekend.
A full tile retile job, by contrast, often lands anywhere from $1,500 to $5,000 or more once you factor in materials, labor, and the inevitable surprises hiding under your old floor. I’ve opened up more than one “simple” tile job only to find water damage or rotted subfloor that turned a two-day job into a two-week nightmare. That’s the risk you take on with a full renovation that painting simply doesn’t carry.
So on pure dollars, painting wins every time. The catch, and I keep repeating this because it matters, is that you’re trading a much lower price tag for a shorter lifespan. If you do the math on cost per year of use, retiling often comes out ahead over a ten-year stretch. Painting wins if you only need the floor to look good for a handful of years, or if you genuinely can’t swing renovation money right now.
Color and Design Ideas That Actually Work
Once you’ve settled on painting, the fun part is picking a look. I’ve learned a few things about what holds up visually and what doesn’t.
Solid, mid-tone colors hide wear the best. Very pale colors like white or cream show every scuff and hair almost immediately, and very dark colors like black show dust and water spots constantly. A warm gray, soft greige, or muted blue tends to camouflage the everyday grime of a bathroom floor far better than either extreme.
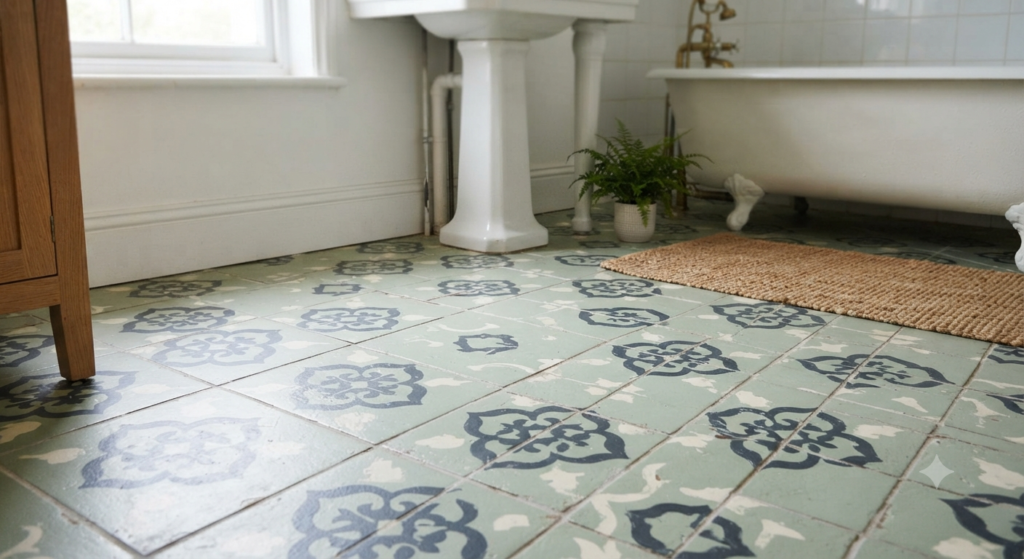
Faux cement tile patterns are everywhere on Pinterest right now, and I understand the appeal. They genuinely look fantastic in photos. Just know that stencil work takes considerably longer to apply than a solid color, and any future touch-ups are trickier to blend in seamlessly. If you love the look and don’t mind the extra effort, go for it. If you want the fastest, lowest-maintenance option, stick with solid color.
Matching your grout lines to the tile color, rather than leaving them a contrasting white, makes small bathrooms feel bigger and hides the grout wear I mentioned earlier. This is my go-to trick for tiny powder rooms especially.
Real Talk: What Can Go Wrong With Painted Tile Floors
Here’s where I stop cheerleading and get honest with you, because I’ve cleaned up enough of these projects gone sideways to know the pitfalls.
Peeling near the toilet and shower are the most common complaint I hear. Those spots get the most water exposure and the most foot traffic, so if your prep work was even slightly rushed, that’s where it shows first. Pay extra attention to sealing those zones.
Grout lines are sneaky. They’re porous and uneven, and paint sometimes doesn’t cure evenly across them the way it does on the flat tile surface. You might notice grout lines wearing lighter or rougher than the rest of the floor within the first year.
The floor will feel different underfoot. Painted and sealed tile has a slightly different texture than raw glazed tile, and it can feel a bit tacky or plasticky, especially in humid weather. Most people don’t notice after a week or two, but it catches some folks off guard.
Cost savings shrink if you have to redo it. A can of epoxy floor paint costs a fraction of a retile job, sure. But if you rush the prep and have to strip and repaint in eight months, you’ve now spent nearly as much time and almost as much money as if you’d just saved up for real tile in the first place. This is the trap I see people fall into most.
And honestly, resale value doesn’t move much either way. Buyers can usually tell painted tile from real tile up close, and while a fresh, clean-looking floor helps with showings, don’t expect it to add real dollar value to an appraisal.
How Long Does Painted Tile Floor Actually Last?
With solid prep, quality epoxy, and a proper topcoat, expect two to five years of good-looking floor in a normal-use bathroom. High-traffic family bathrooms with kids and pets land on the shorter end of that range. A guest bathroom that barely gets used could stretch closer to five or even six years before it needs attention.
Compare that to ceramic tile, which can last twenty-five years or more with basic care, and you can see why I call this a stopgap. It’s a great tool for the right situation. It’s just not magic.
Parting Wisdom
Painting bathroom floor tile is one of those projects where the prep work is 80% of the job and the actual painting is the easy part. Rush the cleaning, skip the etching, or cheap out on the topcoat, and you’ll be redoing this in under a year. Respect every step, and you’ll get a genuinely nice-looking floor that buys you real time before a full renovation.
If your bathroom is more of a “this needs to survive daily chaos for the next decade” situation, save up for real tile instead. But if you need a fast, budget-friendly refresh, this project earns its spot on your weekend to-do list.
Have you painted a bathroom floor before, or are you about to attempt your first one? Drop your questions or your own horror stories in the comments below. I read every one, and I’d genuinely love to hear how your floor turns out.