
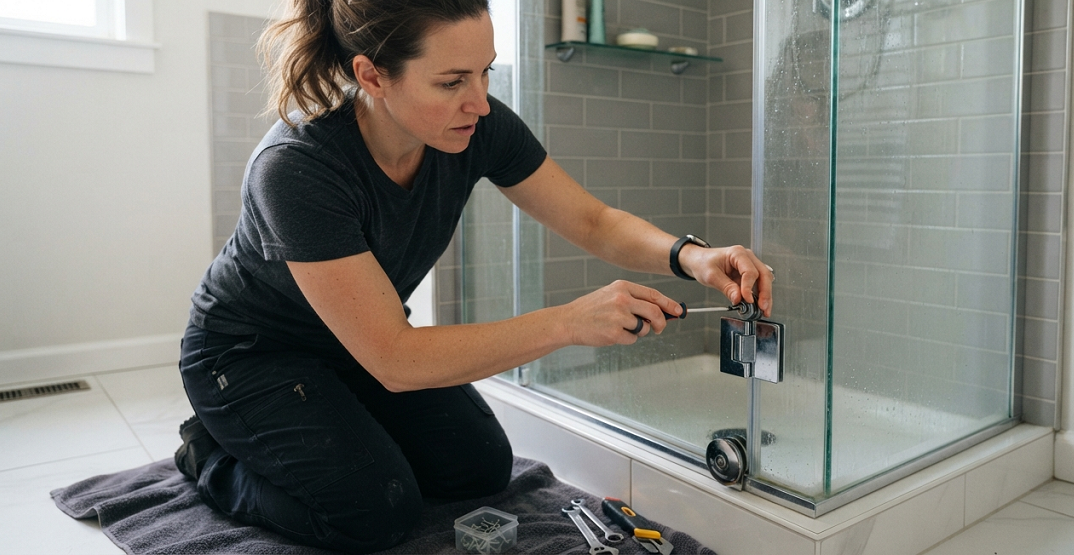
Water pooling on your bathroom floor every single morning is not a “quirky old house” problem. It’s a broken shower door problem, and it’s fixable in an afternoon for less than the cost of a decent dinner out.
I’ve replaced more shower door rollers, gaskets, and hinges than I can count, mostly because my own house came with a glass door that sounded like a shopping cart with a bad wheel every time someone opened it. My neighbor once called a glass company for a quote on a “totally shattered” enclosure. Turned out one roller had popped off the track. The fix cost her four dollars and fifteen minutes. The quote she almost paid for? Six hundred bucks.
That’s the thing about shower door repair. It looks intimidating because the door is glass and glass feels expensive and fragile. But 90% of the problems people search for — a sliding door that won’t slide, a door that leaks at the bottom, a hinge that’s stripped, a frame full of pink mildew stains — come down to small, cheap parts that wear out. You don’t need to replace the whole enclosure. You need to know which part is the culprit.
This guide walks through the most common shower door problems, how to diagnose them, and exactly how to fix each one yourself.
Tools You’ll Need Before You Start
You don’t need a full workshop for any of this. Here’s what actually lives in my bathroom repair kit, and it’s the same stuff I grab every single time.
- A Phillips and flathead screwdriver
- A small level (a phone app works in a pinch, but a real level is more accurate against glass)
- A utility knife or sharp scissors for trimming sweeps
- White vinegar, baking soda, and a spray bottle
- Plastic anchors in a couple of sizes, in case a screw hole is stripped
- Silicone-based lubricant spray, not an oil-based one
- A soft cloth or microfiber towel so you’re not setting glass down on bare tile
Quick side note: keep a small dish nearby for screws as you remove them. Shower door screws are tiny, and I’ve watched more than one get kicked under a vanity and never seen again.
How to Diagnose a Broken Shower Door Before You Buy Parts
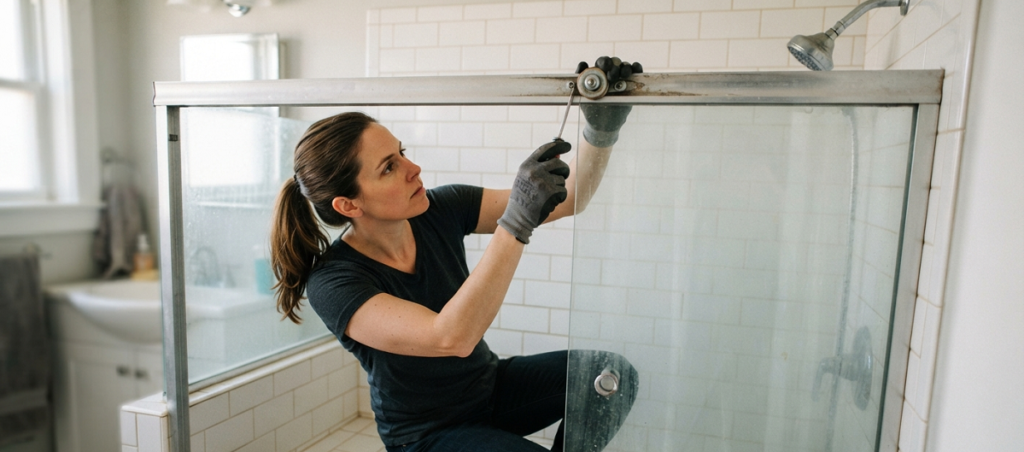
Before you order anything, figure out what type of door you actually have. This matters because parts are not universal.
Sliding (bypass) doors run on a track with rollers or guides at the bottom. These are the ones that get grindy and jump the track.
Pivot or hinged doors swing open like a regular door and rely on hinges mounted to the wall or frame.
Frameless doors use heavy-duty hinges and clamps directly on the glass, with no metal frame around the perimeter.
Framed or semi-frameless doors have an aluminum frame that holds weatherstripping, sweeps, and sometimes the rollers.
Once you know your door type, the symptom usually points straight to the part:
- Door is hard to slide or grinds → rollers or track buildup
- Door won’t stay shut or sags → hinges or pivot pins
- Water leaks out the bottom → door sweep or threshold seal
- Water leaks out the sides → vertical seal strips or the frame itself
- Door is foggy, stained, or coated in white film → hard water buildup, not actually a mechanical problem
- Bonus issue nobody expects: a musty smell even after cleaning, which usually means water is trapped inside the frame’s weep holes and needs to drain out, not just be wiped up
Fixing a Sliding Shower Door That Won’t Slide Smoothly
This is the most common complaint I hear, and it’s almost never the glass. It’s the rollers.
Step 1: Pop the door out of the track. Most sliding doors lift up and out, or have a small screw at the top that releases the door panel. Check your manufacturer’s manual if you have it, but most bypass doors just lift up about a half inch and swing out at the bottom.
Step 2: Inspect the rollers. Flip the door over. You’ll see two or four small wheels along the top or bottom edge. If they’re cracked, flat-spotted, or the wheel doesn’t spin freely when you flick it, that’s your problem.
Step 3: Remove the old rollers. They’re usually held on with a single Phillips screw. Some styles slide out of a track and just need to be popped free with a flathead screwdriver.
Step 4: Buy exact replacements, not close-enough ones. Take the old roller to the hardware store or match it against photos online by brand and model. Off-brand rollers that are “almost the same size” will bind and wear out again in a month.
Step 5: Reinstall and test. Screw the new rollers in, set the door back on the track, and slide it a few times before you declare victory. It should glide with almost no resistance.
While the door’s off, clean the actual track with an old toothbrush and some vinegar. Mineral deposits and soap scum build up in there and make even brand-new rollers feel sticky. I’ve fixed doors for people who were about to buy a $40 roller kit when a five-minute scrub with vinegar solved it completely.
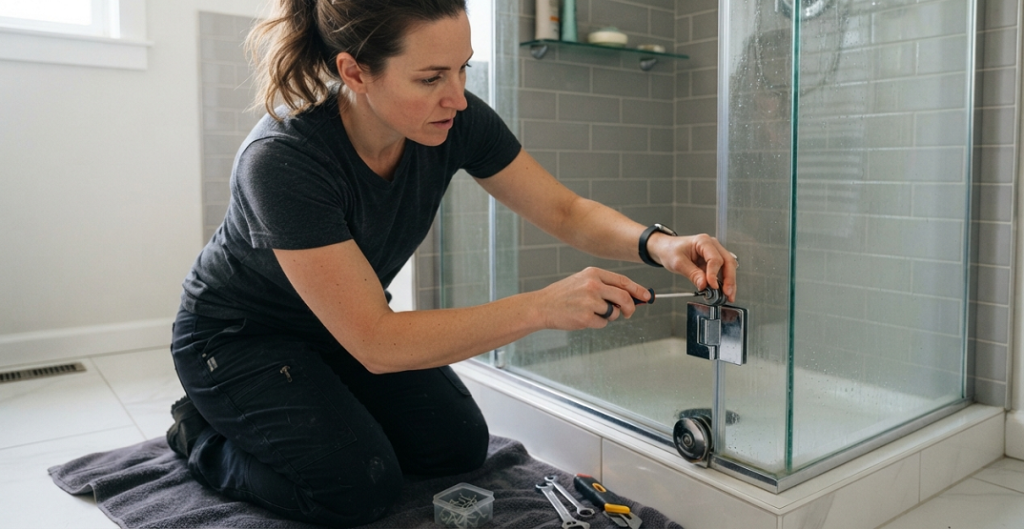
Fixing a Leaking Shower Door at the Bottom
Water escaping under the door and soaking your bath mat means your door sweep is shot. The sweep is that rubbery strip along the bottom edge of the glass or frame that’s supposed to seal against the shower base.
Step 1: Check the sweep for cracks, gaps, or a flattened shape. Sweeps harden and crack over years of hot water and cleaning chemicals. Once they lose their flexibility, they stop sealing.
Step 2: Measure the width of your door panel. Sweeps are sold by length and you’ll trim them to fit, so buy one slightly longer than you need.
Step 3: Pull the old sweep off. Most just slide out of a channel or peel away if they’re adhesive-backed. Clean the glass or frame edge thoroughly afterward, because any leftover residue will keep the new sweep from sealing.
Step 4: Slide or press the new sweep into place. Trim the ends with sharp scissors or a utility knife for a clean fit.
Step 5: Run a test. Close the door and run the shower for a few minutes before you trust it with a real shower. Check the floor outside the door for any dampness.
Quick side note: if your shower base isn’t level, no sweep in the world will fully stop the leak. A door that seals perfectly on one side but gaps on the other is telling you the base has settled or was installed slightly off. That’s a bigger fix, and it’s worth checking with a level before you assume the sweep is defective.
Fixing Loose, Sagging, or Squeaky Shower Door Hinges
A door that droops and scrapes the shower base, or one that swings shut on its own, has a hinge problem.
- Step 1: Tighten every screw first. I know that sounds too simple, but half the “broken hinge” complaints I’ve seen were just loose screws. Grab a screwdriver and snug up every hinge screw before you assume anything’s actually broken.
- Step 2: Check for stripped screw holes. If the screw spins without tightening, the hole is stripped. Toothpicks dipped in wood glue can work in a wall stud, but for tile or fiberglass, you’ll want plastic anchors or a slightly larger screw instead.
- Step 3: Inspect the hinge pin. Pivot doors swing on a metal pin inside the hinge barrel. If it’s worn or bent, the door will feel loose no matter how tight the screws are. Some hinges let you replace just the pin; others require the whole hinge assembly.
- Step 4: Lubricate with the right product. Don’t use WD-40 on shower hardware. It attracts grime and can degrade rubber gaskets over time. Use a silicone-based spray instead, made for wet environments.
- Step 5: Replace the full hinge if it’s corroded. Once chrome or brass plating starts flaking off, no amount of tightening will fix it. Match the hinge by brand and model, since glass thickness and mounting hole spacing vary.
Frameless glass hinges are pricier than framed-door hinges, sometimes $30 to $60 each, but replacing two hinges is still dramatically cheaper than replacing an entire frameless panel.
Cleaning Cloudy, Stained, or Hard Water-Damaged Shower Glass
This isn’t technically a “repair,” but it’s the search that brings most people to this topic, so I’m not skipping it.
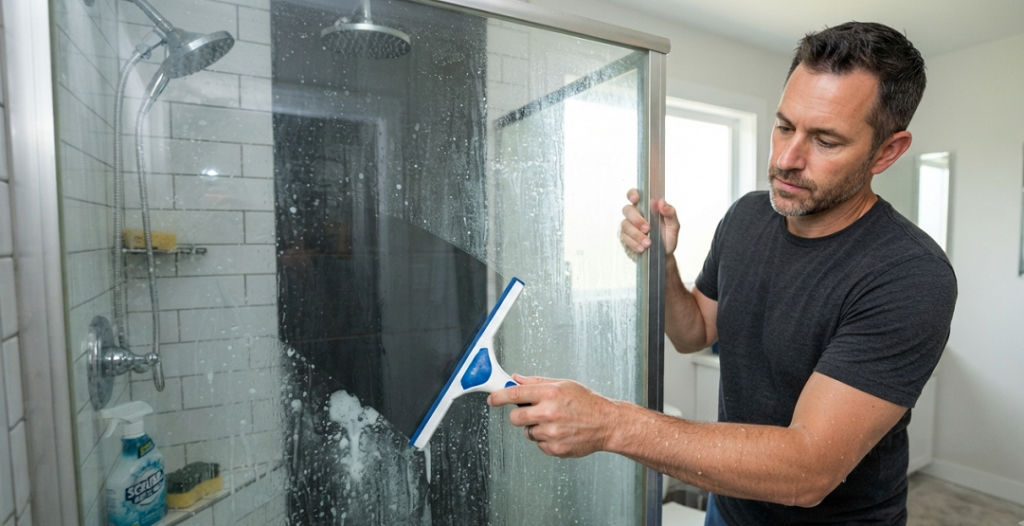
That cloudy white film is mineral deposits from hard water, and it etches into the glass surface over time if it’s ignored. Once it’s truly etched, no cleaner brings it back. Prevention and early treatment matter here.
- Mix equal parts white vinegar and water in a spray bottle and soak the glass for ten minutes before wiping
- For heavier buildup, use a paste of baking soda and water and scrub gently with a non-abrasive pad
- A dedicated hard water stain remover with the right acidity will outperform vinegar on serious buildup, but always test a small corner first
- Squeegee the glass after every shower, which sounds excessive until you realize it’s the single biggest thing that prevents this problem from coming back
- Bonus tip that actually saves money long-term: a rain-x style glass treatment applied every few months makes water bead up and slide off instead of drying into spots
I’ll be blunt here. Fancy “shower glass coating” kits that promise permanent protection are, in my experience, mostly marketing. They work great for a few weeks and then perform exactly like a regular sealant. Save your money and just squeegee daily instead.
Real Talk: What Actually Goes Wrong With DIY Shower Door Repairs
Here’s where I tell you the stuff the tutorials skip.
- Frameless glass is heavy and unforgiving. A single glass panel can weigh 40 to 50 pounds. If you’re removing or reinstalling a frameless door by yourself, you’re one slip away from a cracked panel or a smashed toe. Get a second person for anything frameless.
- Mismatched parts will bite you later. I already mentioned this, but it’s worth repeating because it’s the single biggest mistake I see. A roller that’s “close enough” or a sweep that’s “basically the same size” will fail again within a few months, and now you’ve bought the part twice.
- Some leaks aren’t the door’s fault at all. If your shower pan is cracked, your grout has failed, or your base isn’t level, you can replace every seal on that door and still get water on the floor. Rule out the structure before you blame the hardware.
- Caulk is not a repair strategy, it’s a bandage. I’ve seen people caulk over a broken sweep or a cracked hinge mount instead of fixing the actual part. It holds for a few weeks, traps moisture behind it, and usually makes the eventual real repair messier and moldier.
- Old anodized aluminum frames can crumble. If your frame is from the 80s or 90s, the metal can be pitted and weak from years of chemical cleaners. Screws that go into corroded aluminum sometimes just aren’t going to hold, no matter what hardware you buy. At that point you’re not fixing a door, you’re replacing an enclosure, and it’s fine to admit that.
- Skip the enclosure-wide glass cleaners with strong acids if you have chrome or brass trim. Those acids look great on glass and quietly destroy metal finishes at the same time.
Shower Door Repair Cost vs. Replacement Cost
People searching for shower door repair almost always want to know one thing underneath everything else: is this worth fixing, or should I just replace the whole thing?
Here’s roughly what I’ve seen parts run:
- Replacement rollers: $10 to $25 for a set
- Door sweeps: $10 to $20
- Framed door hinges: $8 to $20 each
- Frameless hinges: $30 to $60 each
- Vertical seal strips: $10 to $15
Compare that to a new enclosure, which typically runs anywhere from $500 for a basic framed unit to well over $1,500 for a custom frameless install with tempered glass. Even if you replace every single part on a door in one afternoon, you’re still looking at under $150 in most cases.
The only time replacement genuinely makes more sense than repair is when the frame itself is corroded beyond saving, the glass has actual cracks or chips (never patch cracked tempered glass, it’s a safety issue, full stop), or you’re dealing with a door so outdated that parts simply aren’t manufactured anymore. Outside of those situations, repair wins on cost almost every time.
Final Thoughts on Fixing Your Shower Door Yourself
Most shower door problems are small parts wearing out, not the door itself failing. Rollers, sweeps, hinges, and seals are cheap and simple to swap once you know what to look for, and doing it yourself will save you hundreds compared to a service call for what’s usually a fifteen-dollar part.
The one rule I’d stick to no matter what: match your replacement parts exactly, and don’t caulk over a problem instead of actually fixing it.
What’s going on with your shower door right now? Tell me the symptoms in the comments below, and I’ll help you figure out exactly which part is the culprit.