
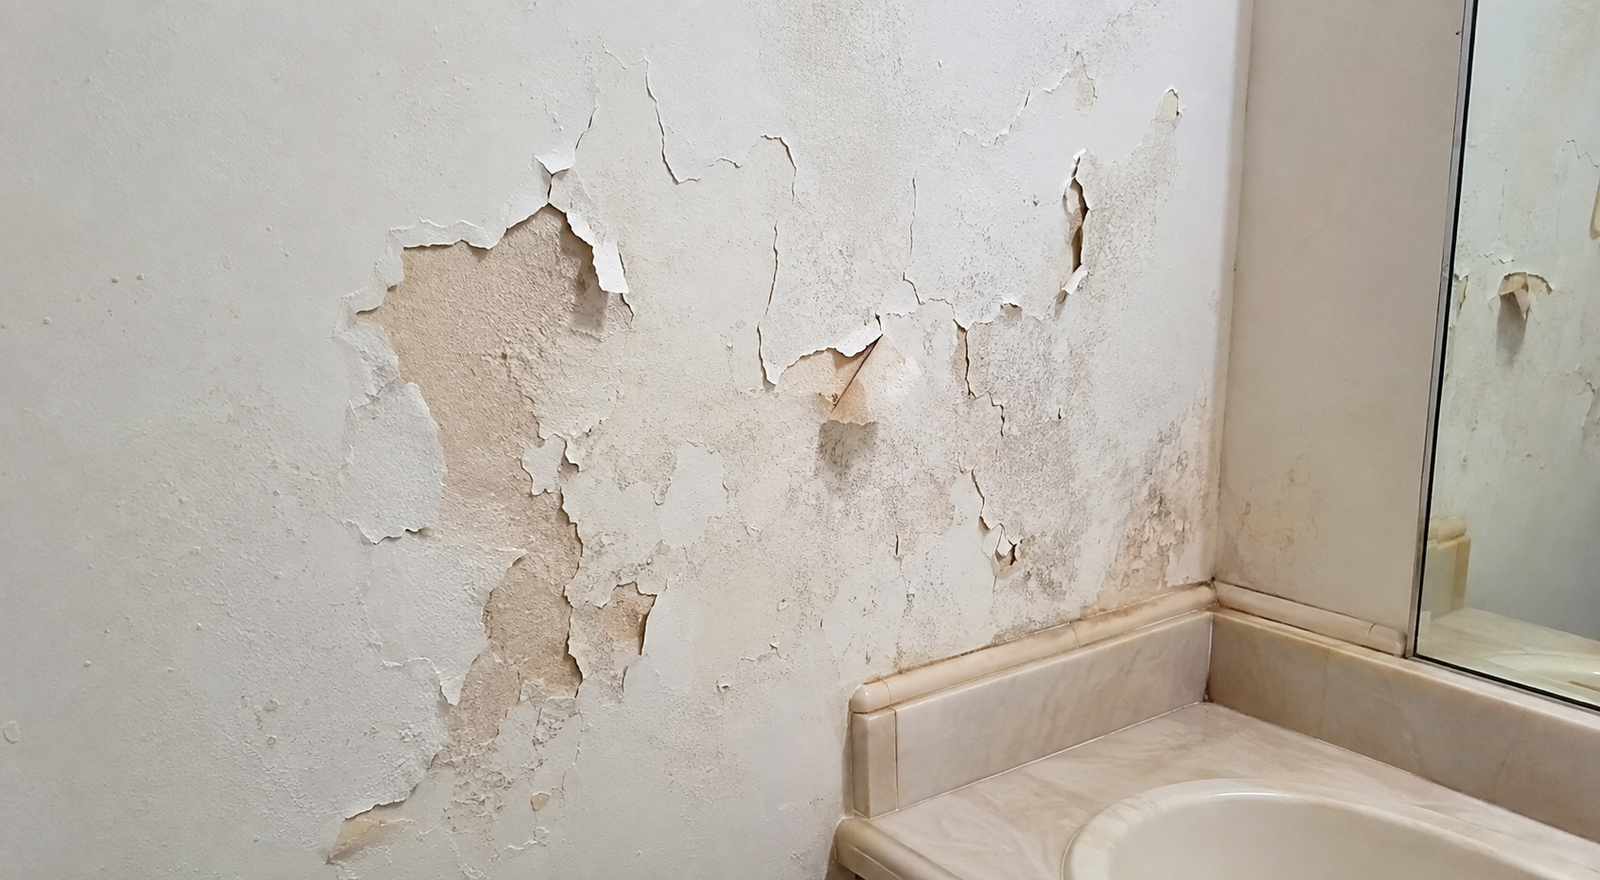
You just repainted that bathroom eight months ago. Now there are curling flakes above the shower, a bubble forming near the window, and a strip by the baseboard that comes off in your hand when you touch it. Frustrating doesn’t begin to cover it.
Here’s the truth nobody tells you at the paint store: bathroom paint doesn’t fail because you picked the wrong color. It fails because of moisture, prep work, and product choices that have nothing to do with brand loyalty. I’ve repainted more bathrooms than I can count, including three in my own house after I ignored my own advice the first time around. My upstairs guest bath peeled twice before I figured out what I was doing wrong.
The first time, I blamed the paint brand. I switched brands, repainted, and watched the exact same bubbles show up in the exact same corner four months later. Turns out the problem was never the can. It was a combination of a leaky exhaust fan duct and a wall I hadn’t cleaned properly before rolling on primer. Once I fixed the actual cause instead of just repainting over the symptom, that wall has stayed put for six years now.
This guide walks you through exactly why bathroom paint peels, how to fix it right now, and what to do so you’re not back here again next year. Stick with me through the whole process, even the boring parts like cleaning and drying time. Those are the steps that actually determine whether your paint job lasts.
Why Bathroom Paint Peels in the First Place
Before you grab a scraper, you need to know what you’re dealing with. Peeling paint in a bathroom almost always comes down to one of these:
- Excess moisture and poor ventilation. Steam from hot showers gets trapped against the wall. Paint can only handle so much humidity before the bond between the paint and the surface underneath just gives up.
- Painting over a dirty or damp surface. Soap scum, dust, and hidden moisture in the drywall will stop paint from sticking no matter how many coats you slap on.
- Skipping a primer, or using the wrong one. Bathroom walls need a moisture-resistant primer. Regular wall primer isn’t built for a room where the humidity spikes every single day.
- Using the wrong paint sheen or formula. Flat and matte paints look nice, but they’re porous. They soak up moisture like a sponge instead of shedding it.
- An underlying leak. Sometimes peeling paint isn’t a paint problem at all. It’s a plumbing problem wearing a paint costume.
- Old, brittle paint layers. If your bathroom has been painted five or six times over the decades without ever being stripped or properly prepped, you’ve probably got layers that are barely holding onto each other. New paint on top of a weak foundation is only ever as strong as the weakest layer underneath.
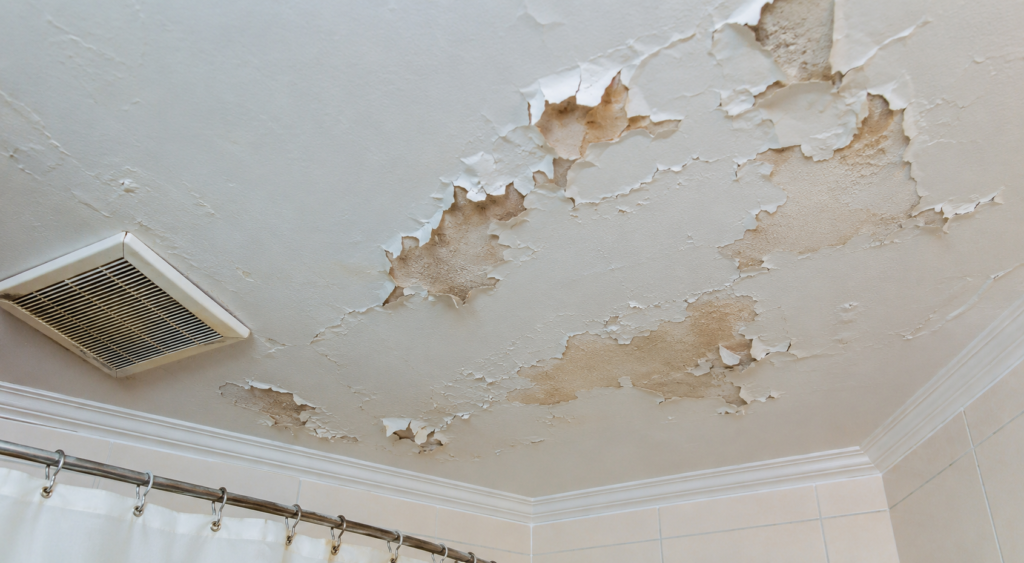
Once you know which of these is your culprit, the fix gets a lot easier. Take a minute before you start scraping and actually look at where the peeling is happening. Is it clustered right above the tub? That points to ventilation or splash damage. Is it near the ceiling? That’s often condensation. Is it around a window frame? You might be looking at a leak instead of a simple moisture issue. Matching the location to the cause will save you from fixing the wrong thing.
How to Fix Peeling Paint in a Bathroom: Step by Step
Grab your supplies and let’s get into it. Here’s what you’ll need before you start:
- Putty knife or paint scraper
- 120-grit and 220-grit sandpaper (or a sanding sponge)
- TSP cleaner or a vinegar-water mix
- Mold-killing primer (bathroom or “kilz” style)
- Bathroom-rated paint in satin or semi-gloss
- Angled brush and a small roller
- Painter’s tape and a drop cloth
Step 1: Scrape Off All Loose and Bubbling Paint
Don’t try to save the flaking sections. Take your putty knife and scrape until you hit solid, well-adhered paint on every side. This part is not glamorous. I once spent an entire Saturday morning scraping a single shower wall because I got impatient and tried to paint over a few “small” bubbles the first time. They came right back within a month.
Work in sections and go past the visibly damaged area by a couple of inches. Peeling paint is sneaky. It’s usually loose further out than it looks.
Step 2: Clean the Wall Thoroughly
Mix TSP cleaner (or a strong vinegar-water solution if you want something gentler) and wipe down the entire wall, not just the peeling spot. Bathroom walls collect a film of soap residue, hairspray, and body oils that you can’t always see but that will absolutely ruin your paint job.
Rinse with clean water and let the wall dry completely. This isn’t a five-minute step. Give it a few hours, especially if your bathroom doesn’t have great airflow.
Step 3: Sand the Edges Smooth
Once dry, sand the edges of the scraped area with 120-grit sandpaper to smooth out the transition between old paint and bare wall. Follow up with 220-grit for a finer finish. You’re aiming for a surface where you can’t feel a ridge when you run your hand over it.
Wipe away the dust with a damp cloth before moving to the next step. Skipping this is how you end up with a wall that looks fine wet and terrible once it dries.
Step 4: Check for Mold or Water Damage
This is the step people skip, and it’s the one that comes back to bite them. If you see any dark spots, soft drywall, or a musty smell when you scraped, stop and deal with that first. A small mold patch can usually be treated with a bleach-water solution or a mold-specific cleaner. Anything bigger than a dinner plate, or drywall that feels soft or spongy, is a sign you need to cut out the damaged section and patch it before painting over anything.
Painting over mold doesn’t kill it. It just hides it for a while.
Step 5: Apply a Moisture-Resistant, Mold-Inhibiting Primer
This step is non-negotiable. A good bathroom primer creates a barrier that blocks moisture from getting into the wall and gives your paint something solid to grip. Apply one coat, let it dry fully per the can’s instructions, and resist the urge to rush this part.
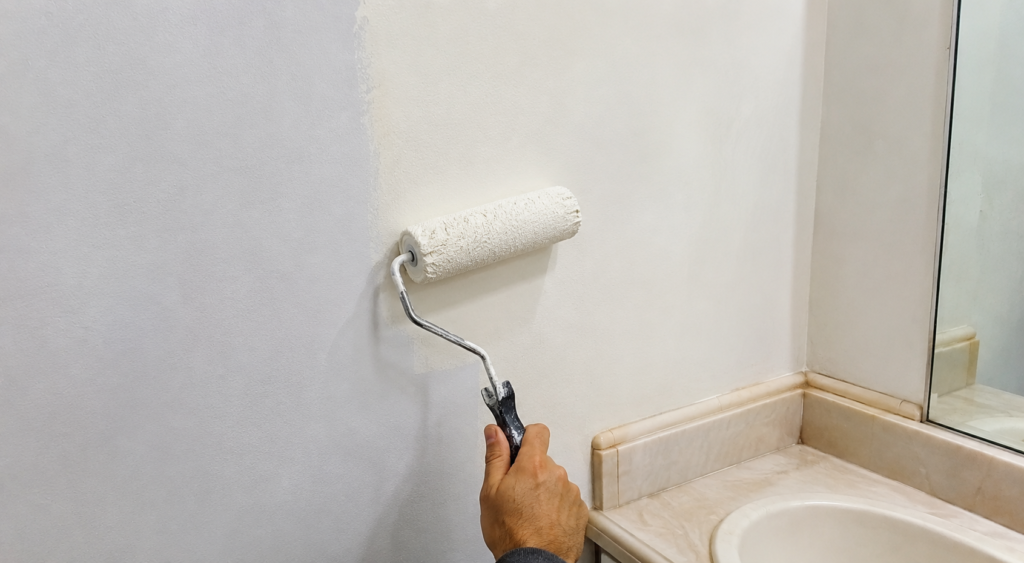
Step 6: Paint with a Bathroom-Rated Satin or Semi-Gloss
Skip the flat and matte finishes here. Satin or semi-gloss sheens are more moisture-resistant and easier to wipe down. Apply two thin coats rather than one thick one. Thin coats dry more evenly and are far less likely to bubble.
Let each coat dry completely before adding the next. I know waiting is the worst part, but a rushed second coat is exactly how you get a repeat peeling job three months later.
Best Paint and Primer for Bathroom Walls
Search “best bathroom paint” and you’ll get a hundred conflicting opinions. Here’s what actually matters when you’re standing in the paint aisle.
Grab paint labeled specifically for bathrooms, kitchens, or “high humidity” areas. These formulas include mildewcides and are built to handle temperature swings without cracking. A satin or semi-gloss sheen sheds water better than eggshell or flat, which is why I always steer people away from flat finishes in a bathroom, even if the color selection looks better.
For primer, stick with a stain-blocking, mold-resistant option. These are usually labeled as bathroom primer or mold-inhibiting primer right on the can. Don’t substitute a basic all-purpose primer here, even if you have some left over from another project. It’s tempting to save a few dollars, but it’s the single biggest reason bathroom paint jobs fail early.
If your bathroom gets heavy steam from long, hot showers, some painters go a step further and use an epoxy-based paint on the shower surround itself. It’s more expensive and a bit trickier to apply, but it holds up to constant moisture better than standard latex paint ever will.
I get asked a lot whether it’s worth spending extra on the premium version of a paint line versus the basic tier. In a bathroom, my answer is almost always yes. The cheaper lines usually cut corners on the resin content, which is exactly what helps paint flex and resist moisture without cracking. You’re only painting a room this size once every few years if you do it right, so the extra twenty or thirty dollars is worth it.
Preventing Peeling Paint From Coming Back
Fixing the peeling paint is only half the job. If you don’t change the conditions that caused it, you’ll be back here in a year or two.
- Run your exhaust fan every single time you shower, and leave it running for 15 to 20 minutes afterward. This is the single biggest thing you can do to protect your paint job, and it costs nothing.
- Crack a window if you have one. Even a small gap helps push humid air out faster than a fan working alone.
- Wipe down wet walls after showering. I know it sounds excessive, but a quick squeegee pass on the shower walls cuts down on standing moisture that eventually creeps onto the painted surfaces nearby.
- Check your caulk lines twice a year. Cracked or missing caulk around the tub and shower lets water sneak behind the wall, which is a much bigger problem than surface peeling.
Quick side note: if your bathroom has zero exterior windows and a weak exhaust fan, consider upgrading the fan itself. A fan that’s too small for the room size will never keep up, no matter how good your paint job is.
Real Talk: What’s Not Worth the Effort (and What Can Go Wrong)
I’m not going to sugarcoat this part.
- Painting over peeling paint without scraping first is a waste of your time. I don’t care how good the new paint is. If the old layer isn’t sticking, the new layer isn’t going to magically fix that. You’re just adding weight to something that’s already failing.
- Cheap “one coat” paints almost never deliver in a bathroom. They’re formulated for low-humidity rooms like bedrooms and hallways. Save your money and buy a proper bathroom-rated paint instead of buying the cheap stuff twice.
- If the peeling keeps coming back in the exact same spot, it’s not a paint problem. That’s usually a sign of an active leak, failed caulk, or a ventilation issue that paint can’t fix. I’ve seen people repaint the same wall three times over two years because they never addressed the leaky supply line behind it. Don’t be that person. If you’ve fixed the surface correctly and it’s still peeling in the same six-inch patch, call a plumber before you touch a paintbrush again.
- Don’t paint in a bathroom with no airflow at all. You need the wall to dry properly between coats and after the final coat goes on. If your ventilation is that bad, run a portable fan pointed at an open door while you work, and keep it running for a full day after you finish.
- Textured walls hide problems. If your bathroom has heavy texture, it’s a lot easier for loose or peeling sections to hide underneath. Run your hand over the whole wall, not just the spots that look obviously bad, before you call the job done.
- Rushing dry time between coats is the most common mistake I see. Humidity slows down drying time even outside the bathroom itself, especially if you’re painting in the fall or winter with the windows shut. Touching a coat before it’s fully cured can peel it right back off with your roller, undoing twenty minutes of work in about three seconds. If the can says four hours, treat that as a minimum, not a suggestion, especially in a room that’s naturally damp to begin with.
- Don’t assume a fresh coat of caulk will fix peeling paint. Caulk and paint solve different problems. Caulk seals gaps and stops water from getting behind the wall. Paint is a surface coating. If you caulk around the tub but skip fixing the actual peeling paint on the wall above it, you’ll still have a problem, just a slightly smaller one.
Final Thoughts
Peeling bathroom paint is almost never about bad luck. It’s about moisture, prep, and picking the right products for a room that gets treated differently than every other space in your house. Scrape it back, clean it properly, prime with something built for humidity, and finish with a satin or semi-gloss paint. Do that, and you shouldn’t be back here scraping again next spring.
Have you dealt with peeling paint in your bathroom, and what finally worked for you? Drop your questions or your own fixes in the comments below. I read every one.